Inflated Text V1.0
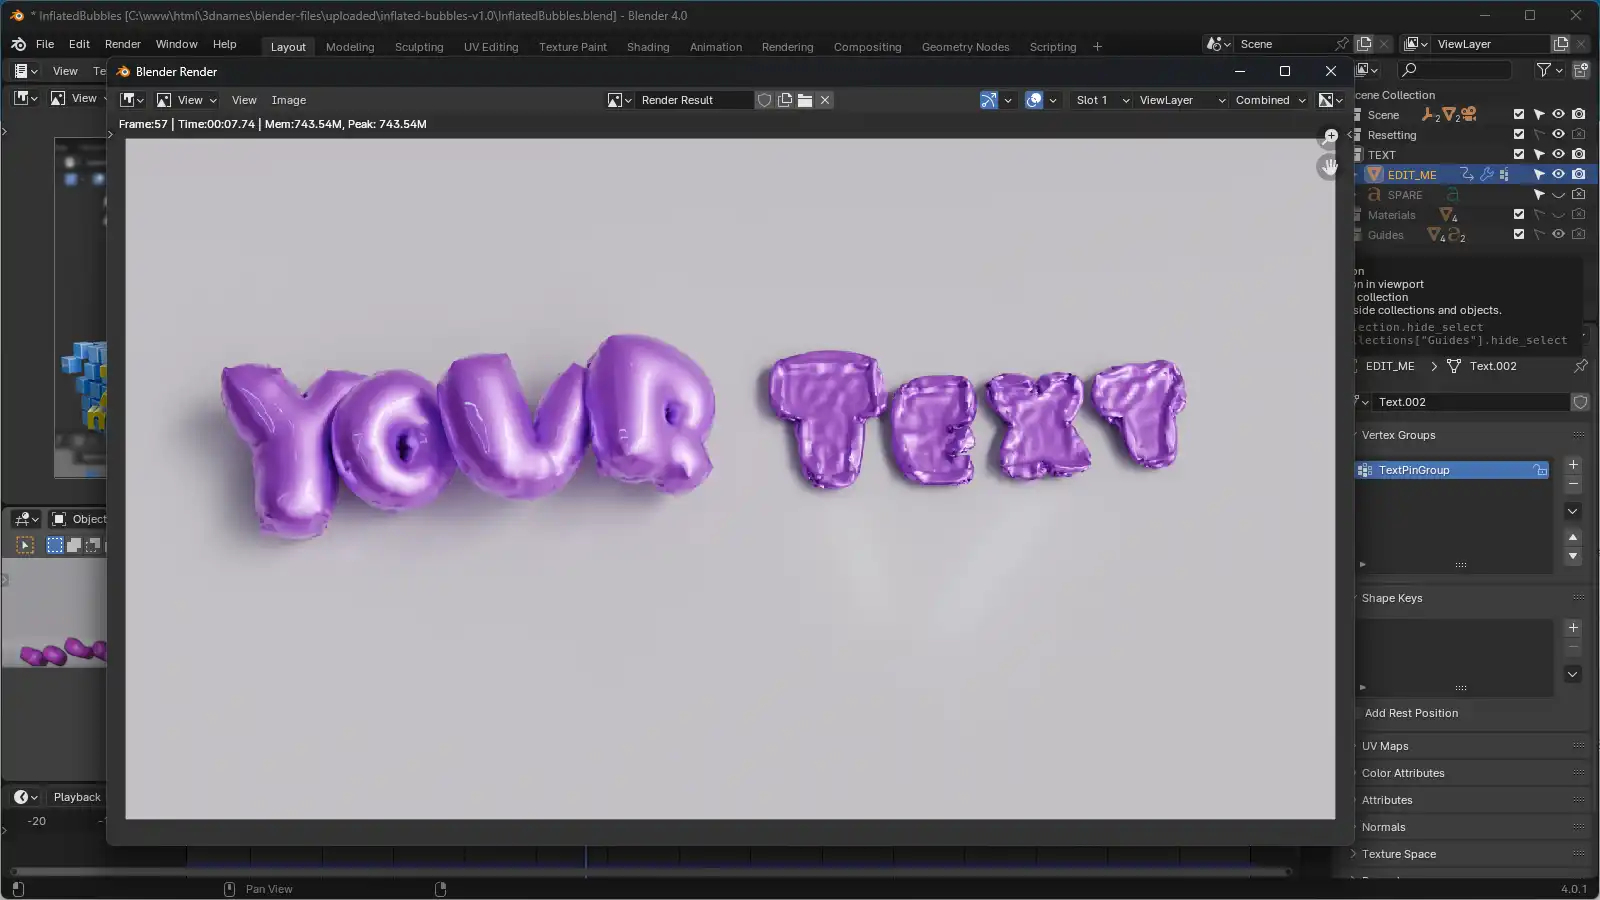
This setup guide from www.3dnames.co will guide you through how you can create the following Inflated Text using our Blender file.
We have designed this download file to be used by anyone, and you do not have to have any knowledge of using Blender as long as you follow this step by step guide.
We have made this guide interactive, with checkboxes to tick off at each step, so you can keep track of your progress.
Happy Animating!
Video Previews
Create these animations with any text you like using our Blender file and this guide!
Need help? Chat to us on our Discord Channel
Join our DiscordYou will need Blender Installed...
Please make sure you have Blender v4.0.1 installed on your computer, you can download it for free from https://www.blender.org/download/releases/4-0/ - this file was made using Blender v4.0.1
Interactive Guide - toggle the switch on each step to mark it as completed!
Steps quick overview
1. Open Blender File
Mark as completedDownload the ZIP file, extract it somewhere and open up the InflatedBubblesV1.0.blend file in Blender, we recommend using version Blender 4.0.1 or higher.
2. Launch the 3D Names Panel
Mark as completedWhen you open the file - all you need to do is press the small play icon ▷ at the top - then in the 3D Viewport there will be a new Panel called "3D Names" - this contains all of the setup scripts to make this files effect work.
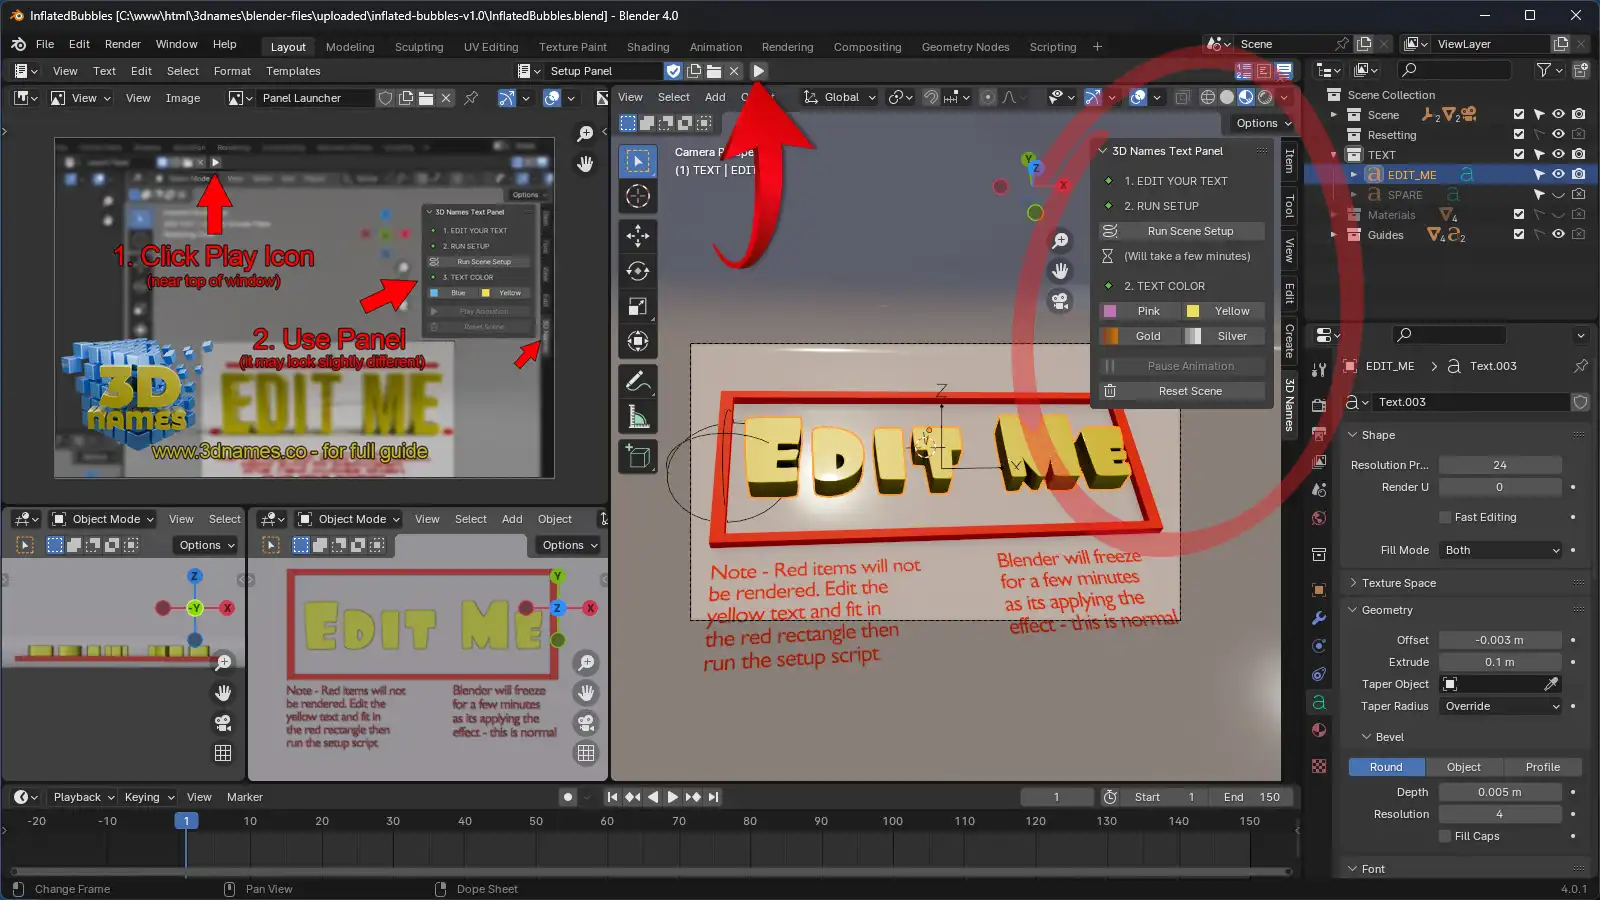
As you can see above this is the new Panel that does all the hard work for us!
3. Edit your text
Mark as completedNow select the text that says "Edit Me" and press the "Tab" key on your keyboard to enter edit mode. Now you can type your own text, then press the "Tab" key again to exit edit mode.

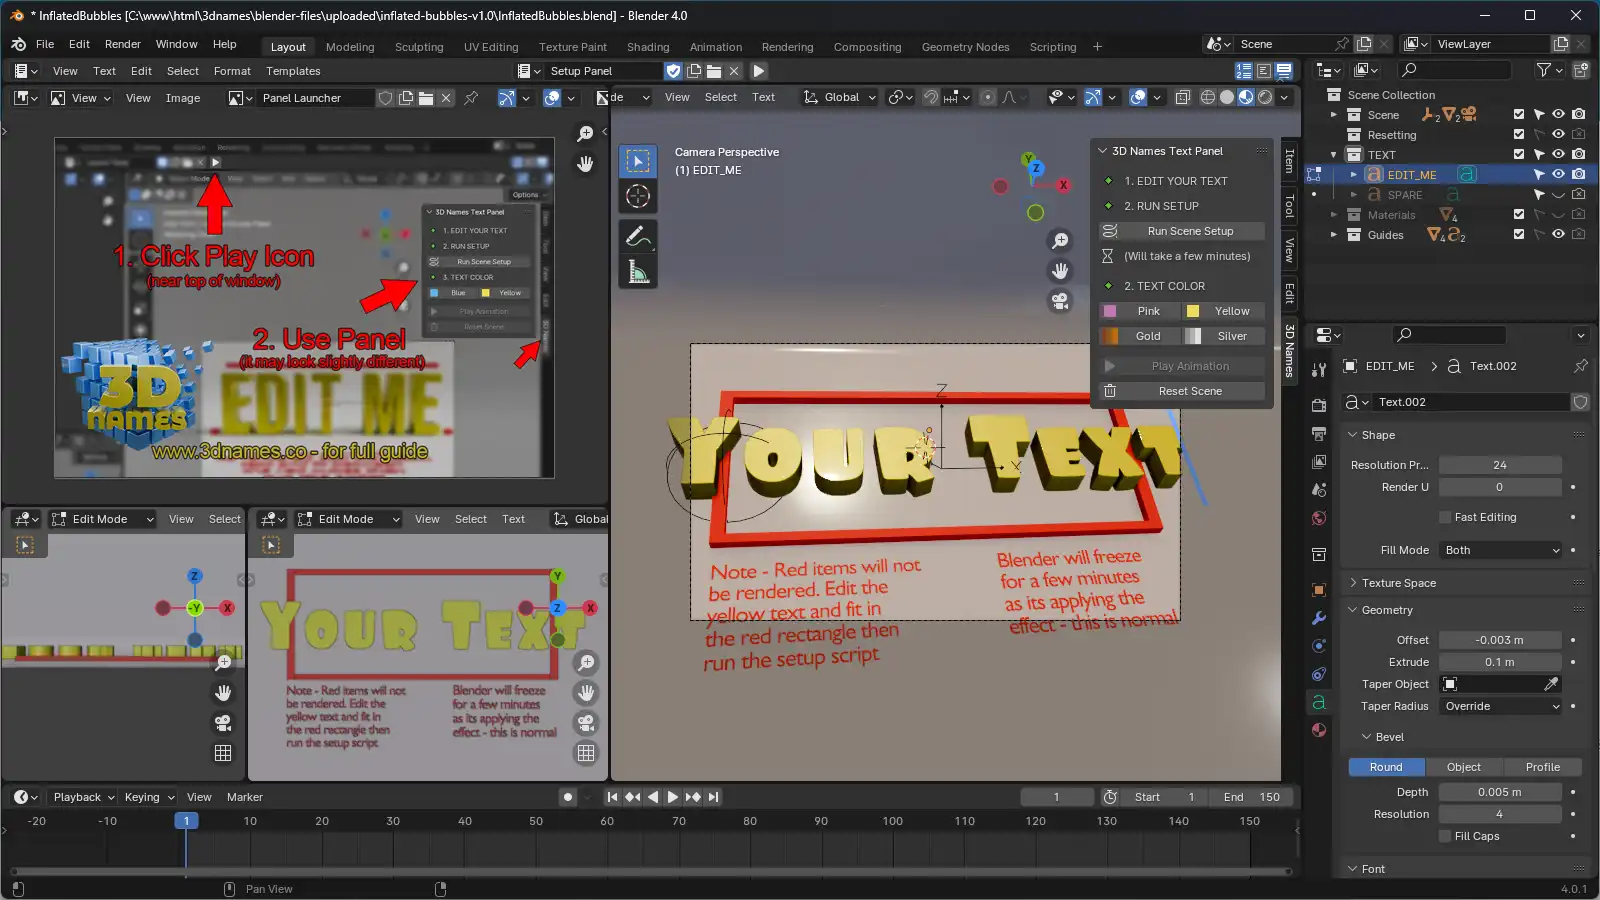
4. Scale text to fit in rectangle
Mark as completedUse the "S" key on your keyboard to scale the text to the size you want. You can also use the "G" key to move the text around. Make sure it fits within the Red rectangle.
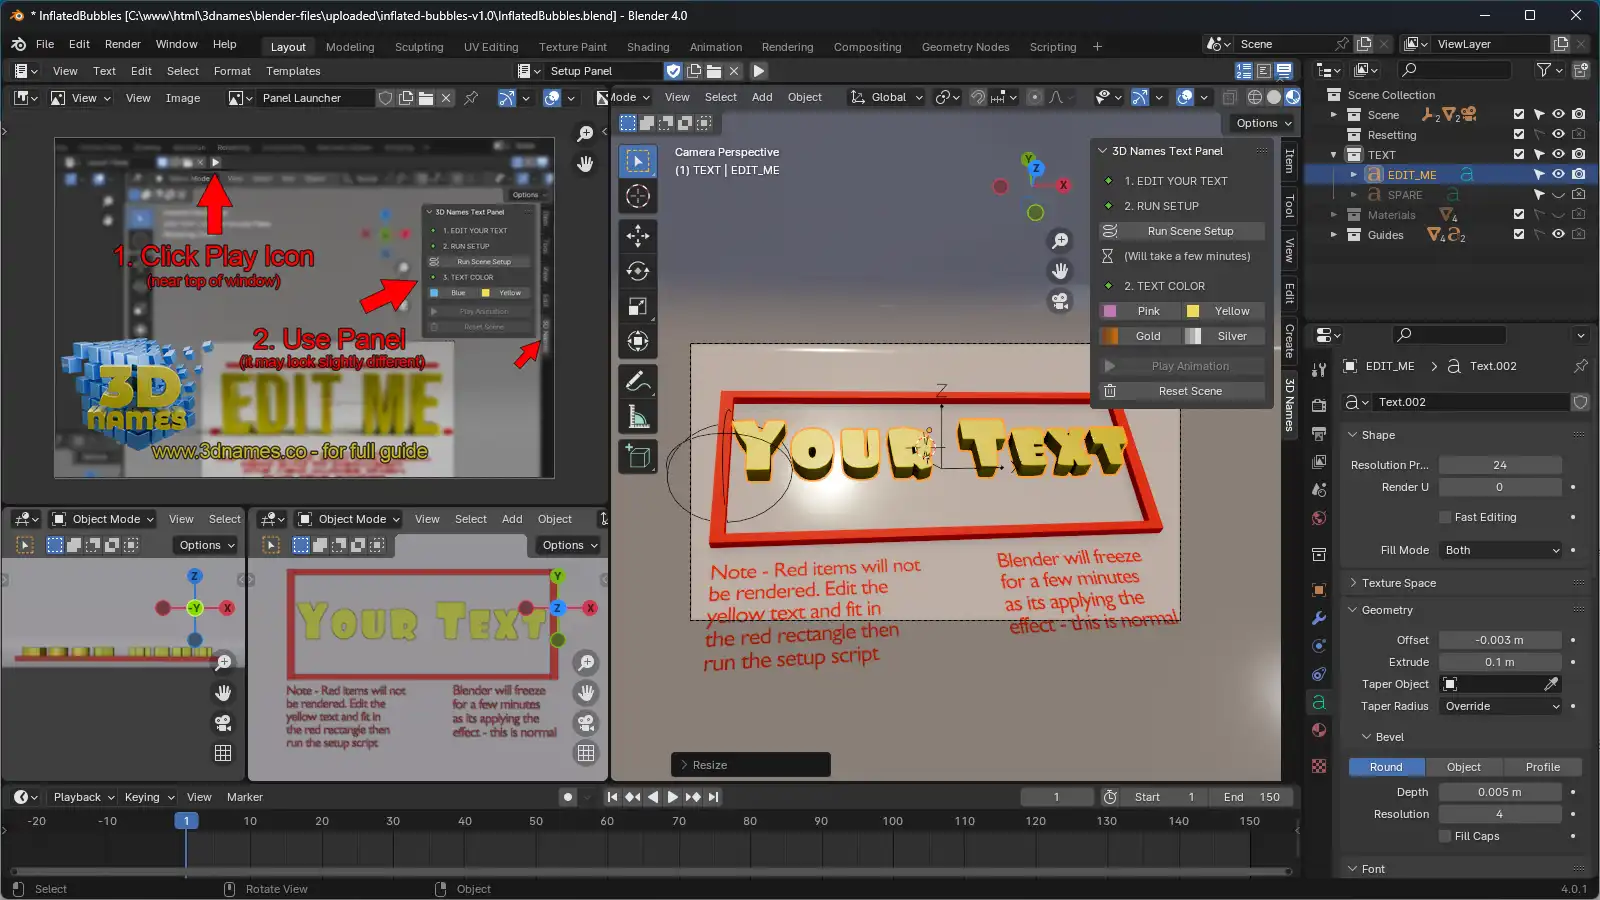
5. Run Scene Setup
Mark as completedOnce you have edited your text you now need to press the "Run Scene Setup" button in the 3D Names Panel. This part does all of the complicated setup of the inflation effect, if you are on a Windows machine a console window will open to show you the progress, if not then the setup will be done in the background and can take a few minutes, so please be patient. Its normal for the Blender window to freeze up as this is a complex setup process, just wait a few minutes and it'll soon be done.
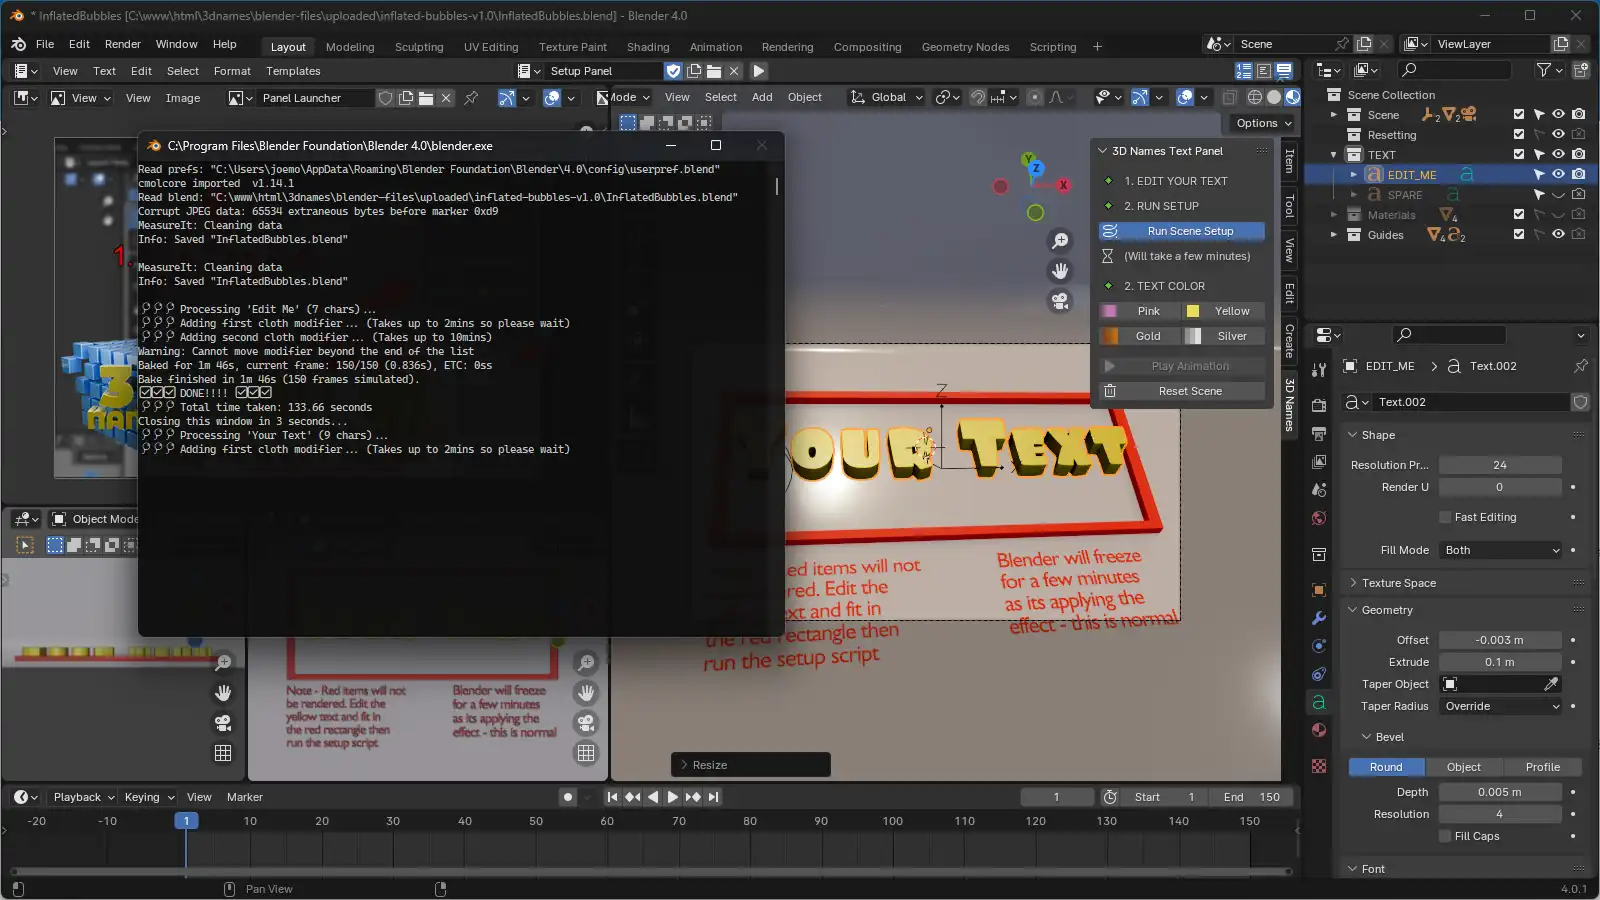
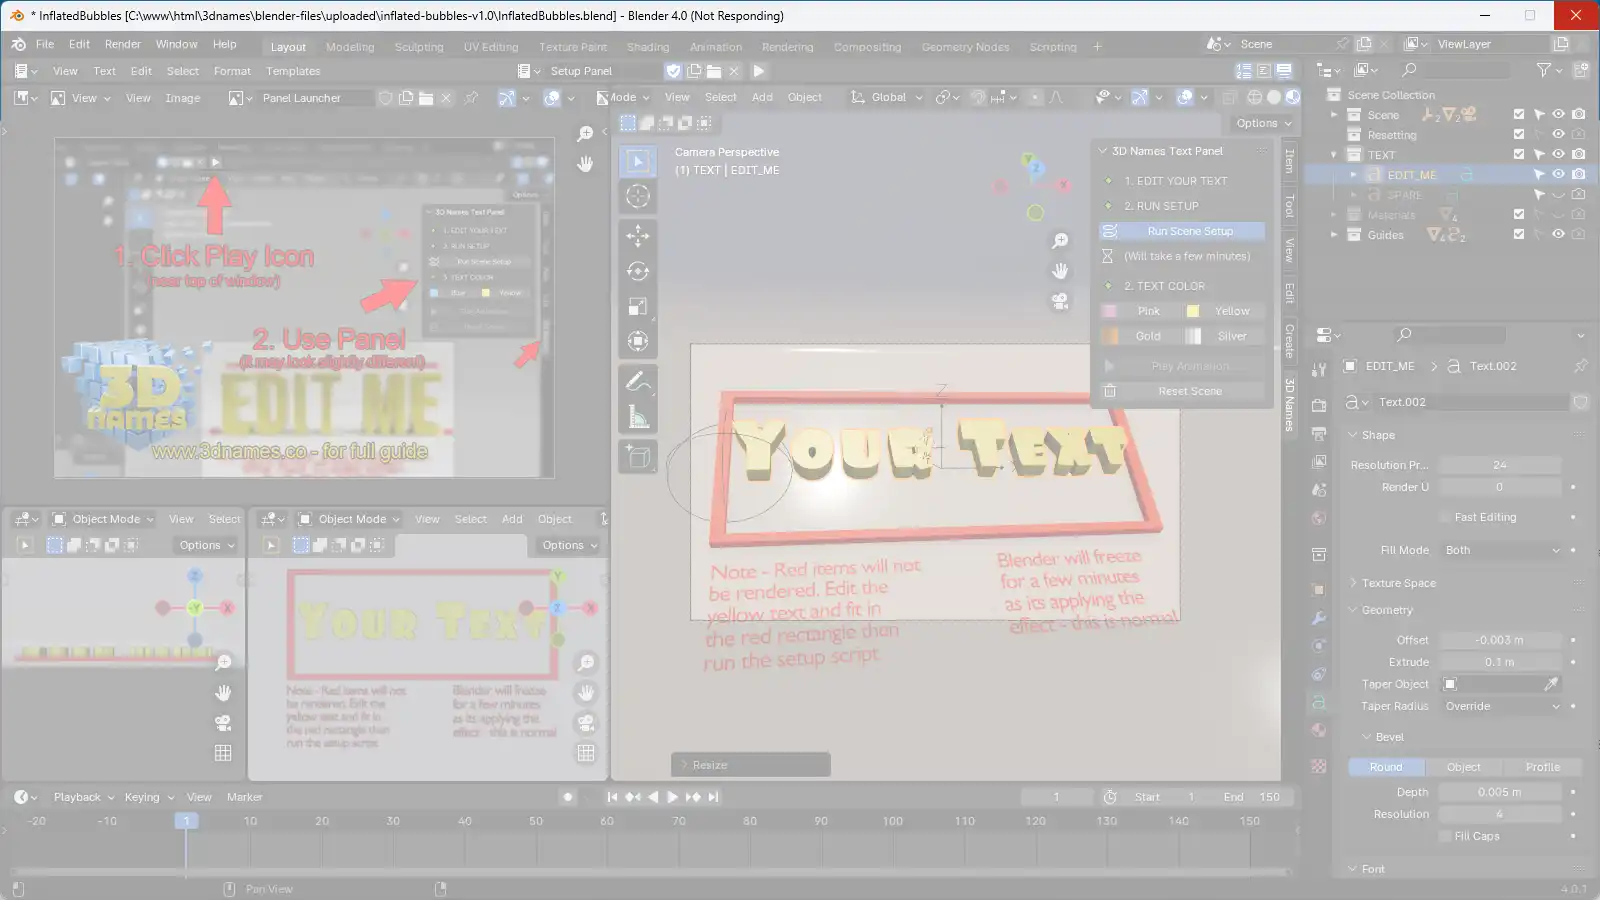
👆 If blender freezes up, don't worry, this is normal, just wait a few minutes and it will soon be done.
6. Play Animation
Mark as completedOnce finished the Red Rectangle will be removed and your text will be deflated on the ground! Press the "Play Animation" button in the 3D Names Panel to see the inflation effect in action.
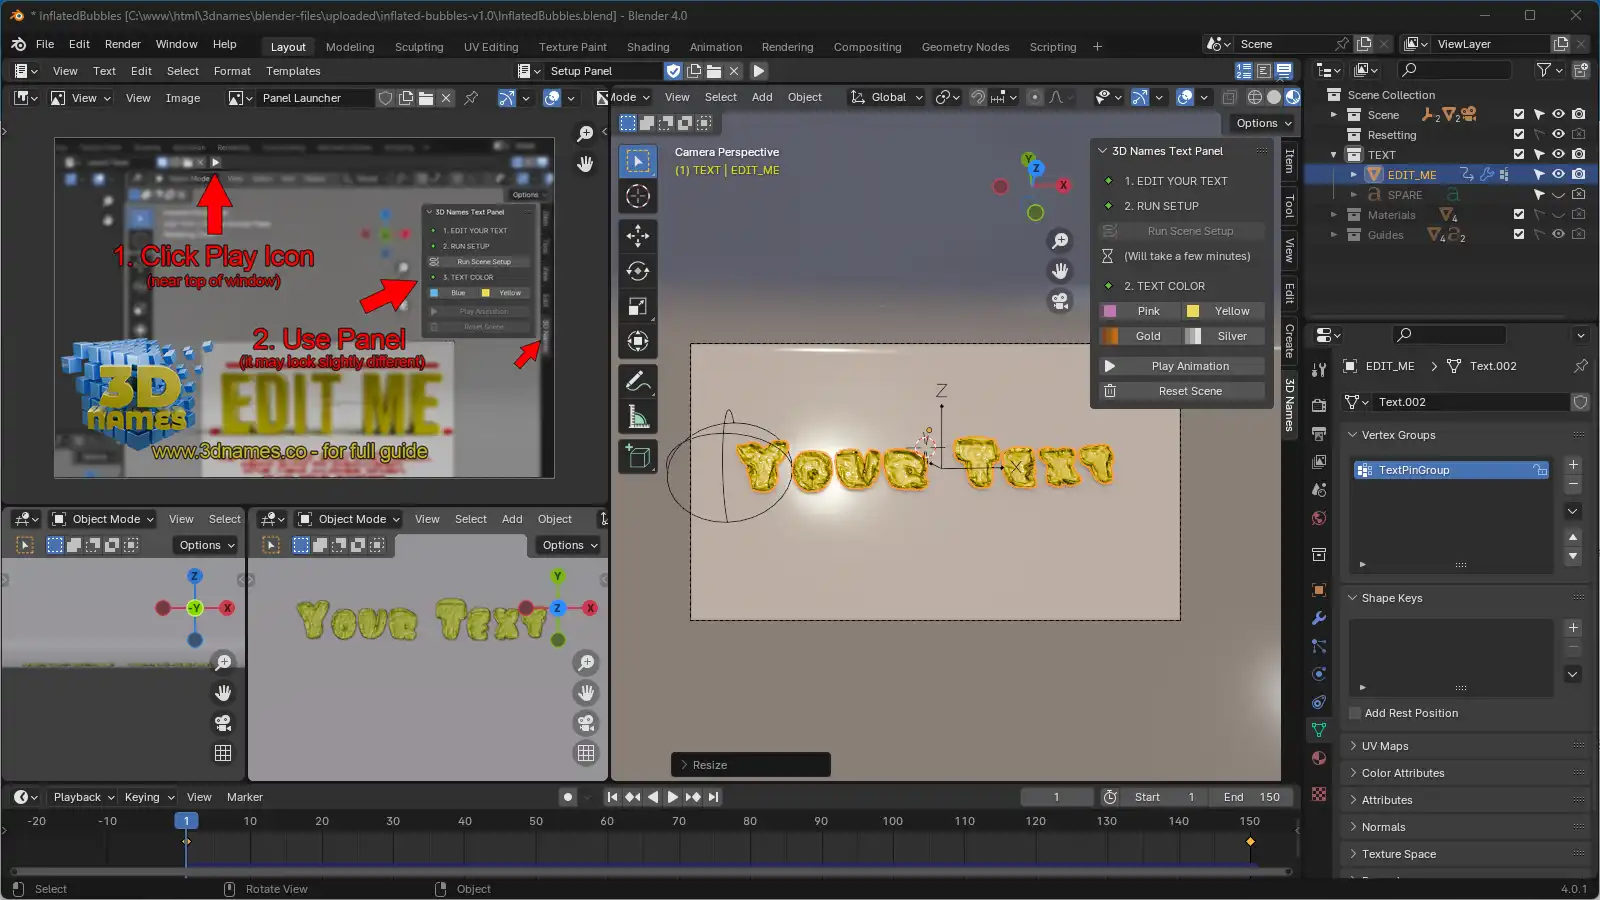
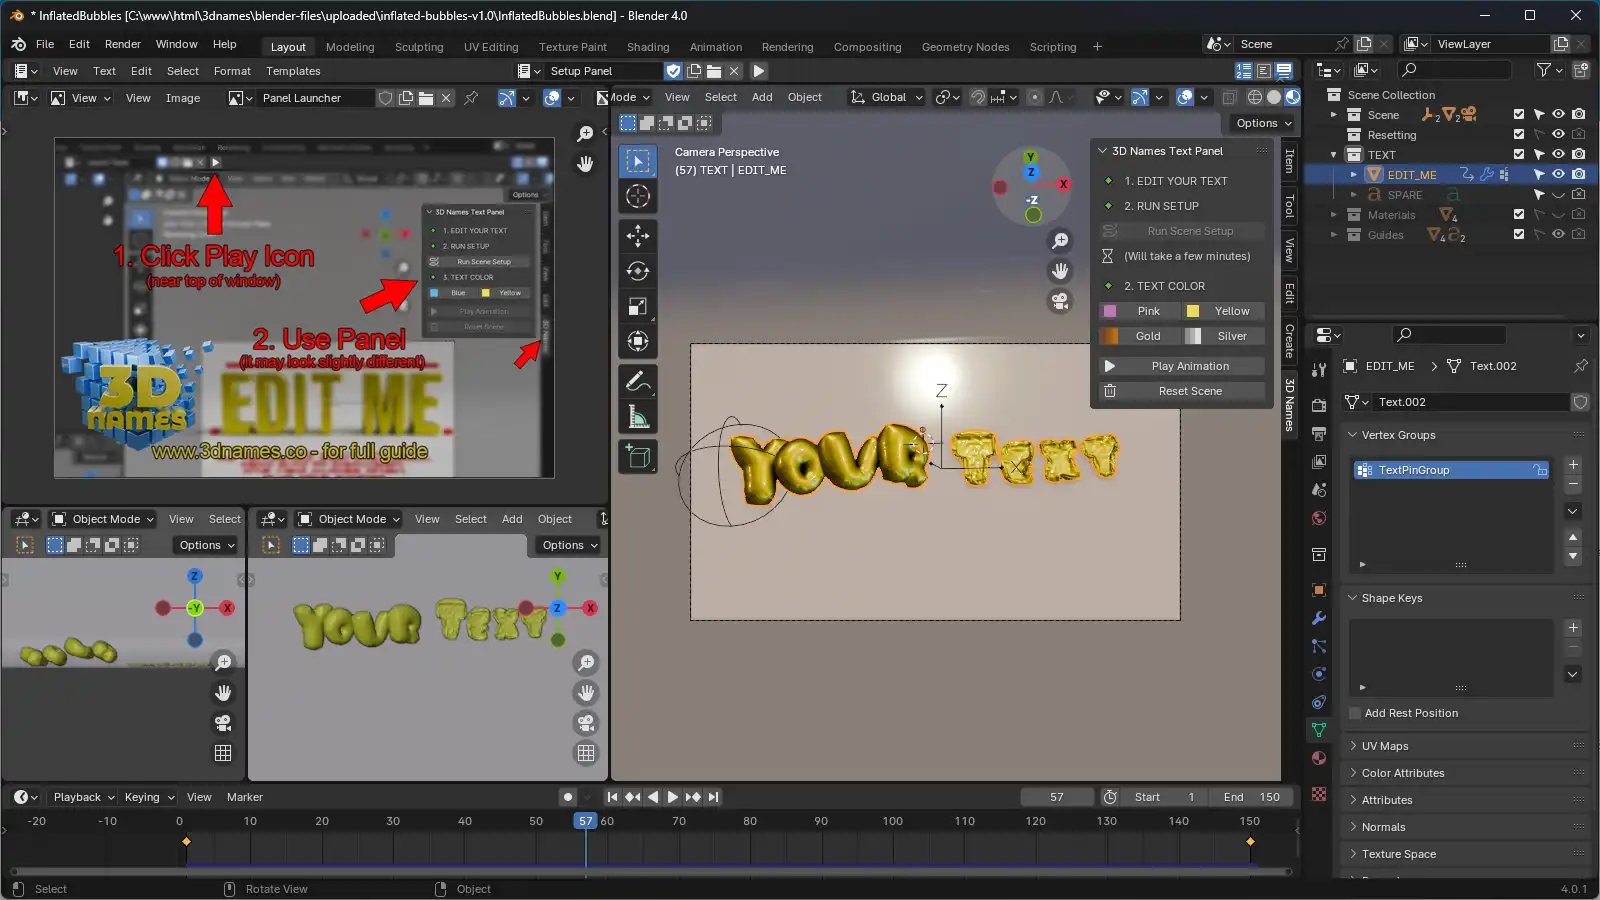
7. Rendering
Mark as completedYou can now render your scene by pressing the "F12" key on your keyboard. If you want to render the animation, press "Ctrl + F12" (or "CMD + F12" on Mac) to render the animation. Files will be saved to the "renders" folder in the same directory as the .blend file.
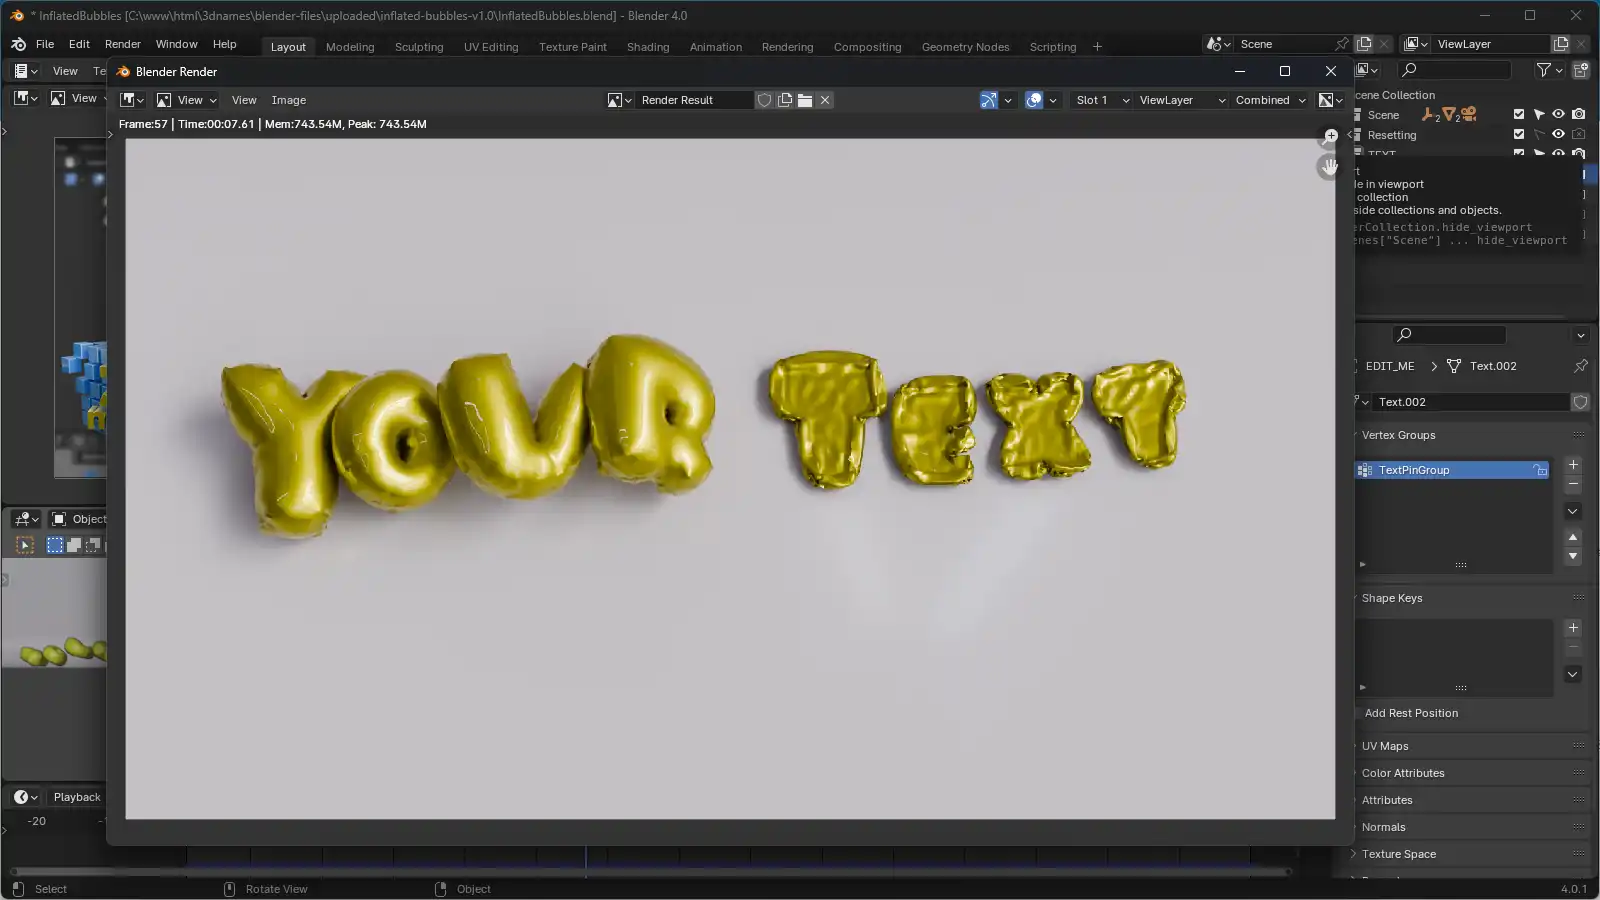
Here is "Your Text" rendered using the default Yellow Color.
8. Optional - Changing colors of the inflated text
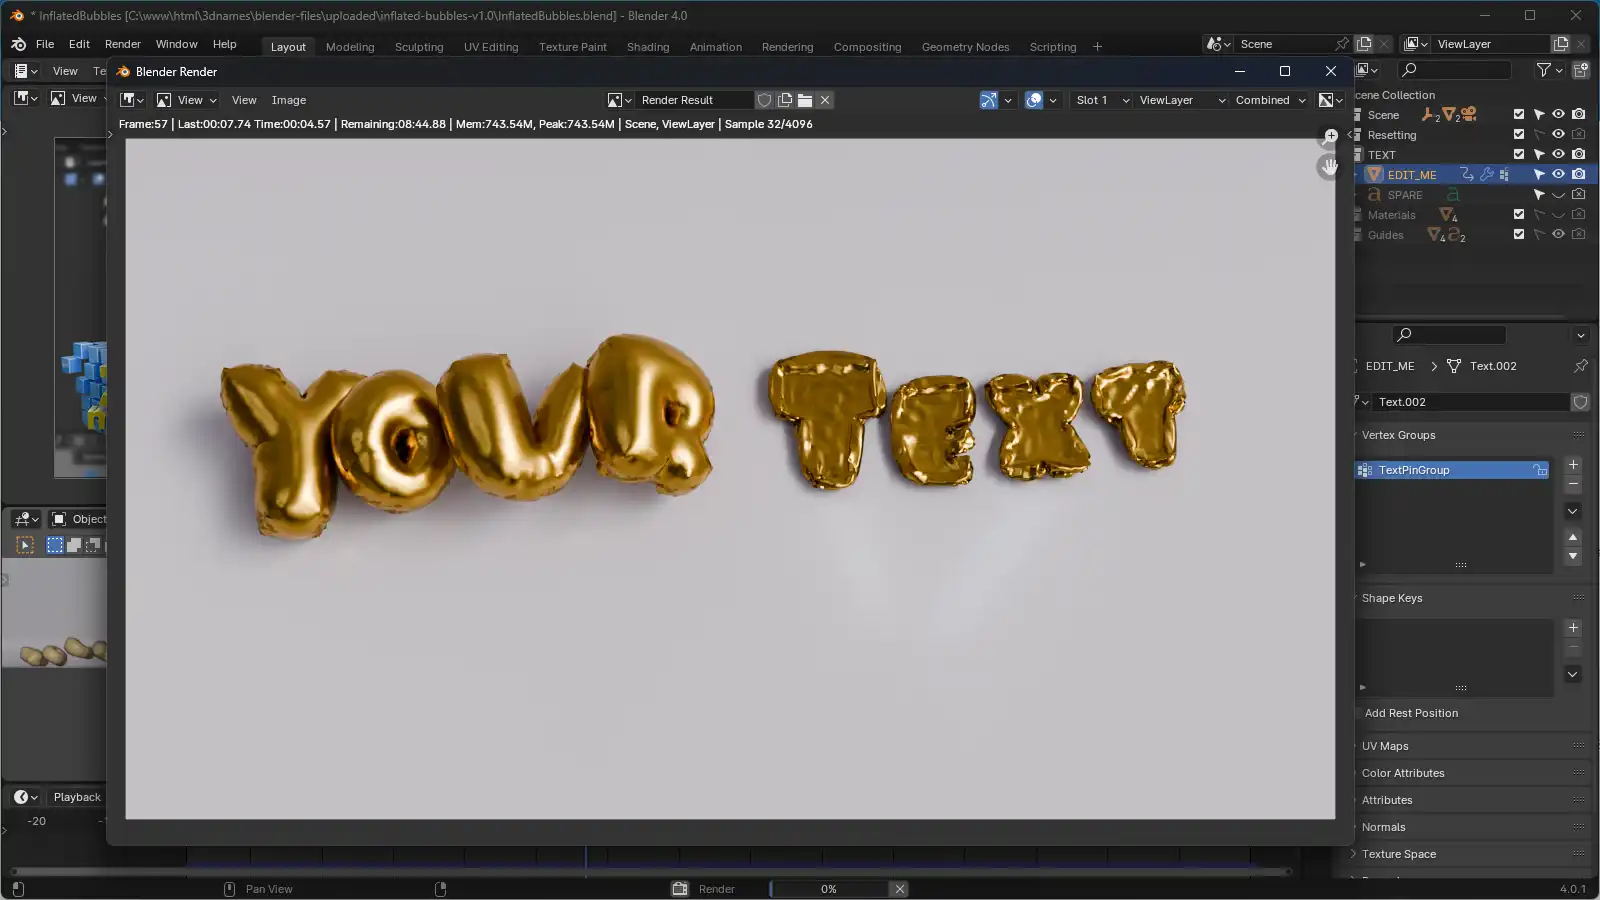
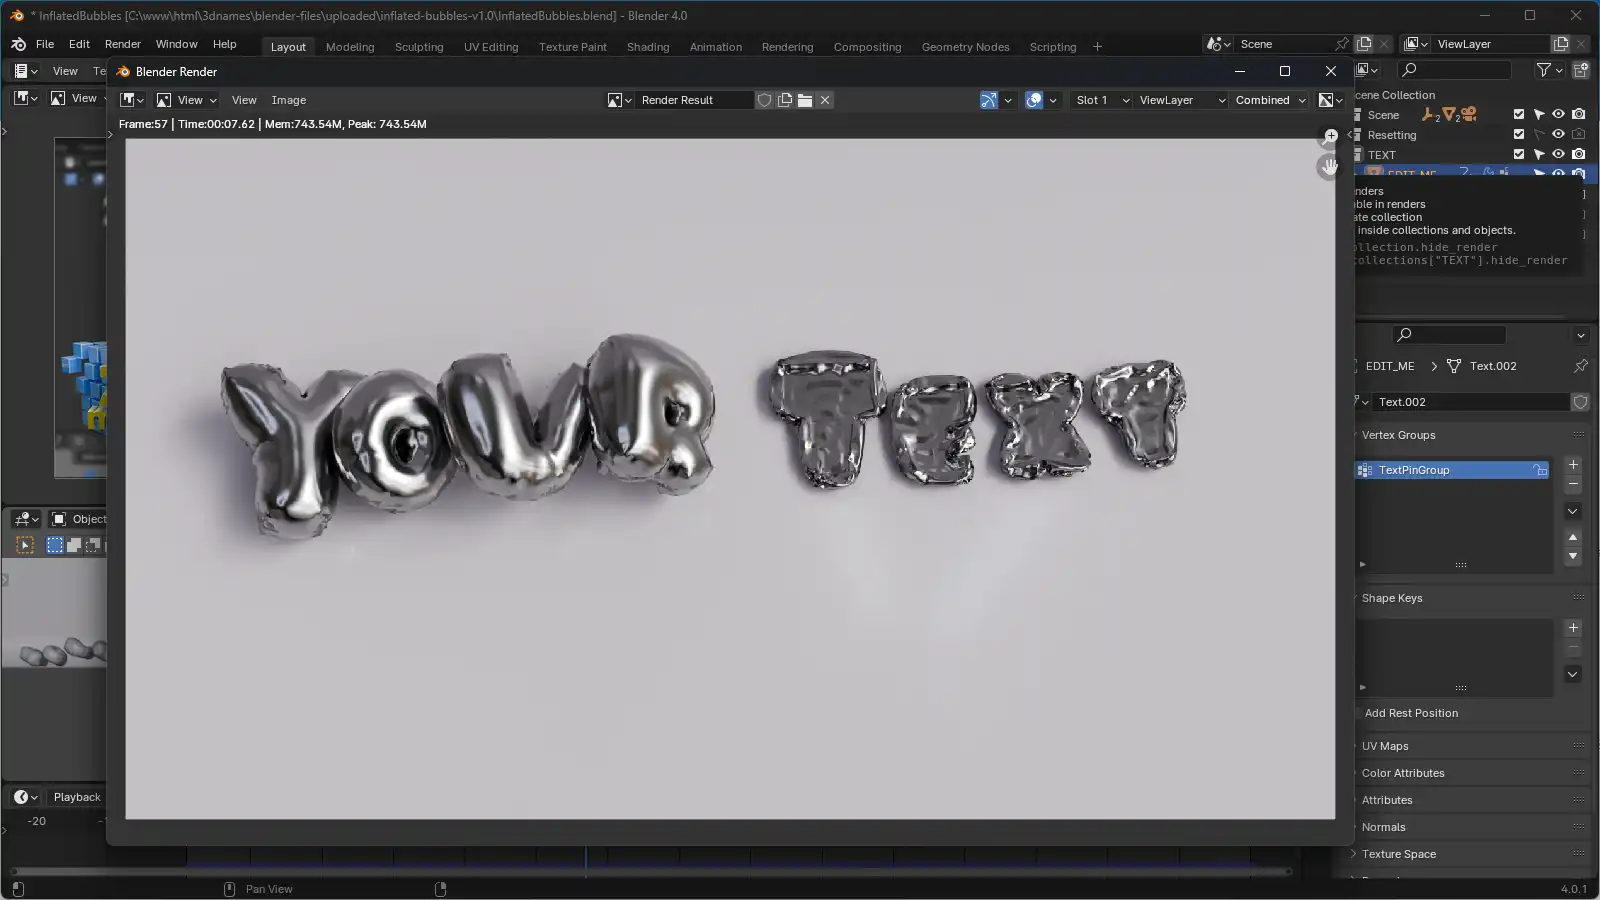
Mark as completedIf you wish to change the look, you can do this easily using our 4 pre-made textures, choose from Pink, Yellow, Gold and Silver.
