Magic A.I Blender File V1.0
Magic Blender to A.I file - this amazing Blender file contains a pre-configured setup that will let you send your 3D scene directly to our Real 3D A.I tool
This gives you amazing control of A.I generated images like never before... use any of the 14 pre-made template scenes and then using the power of A.I turn them into anything you can think of!
Create anything you can possibly imagine and have complete control over the text, content, & position of objects in your scene!
Need help? Chat to us on our Discord Channel
Join our DiscordYou will need Blender Installed...
Please make sure you have Blender v4.0.1 installed on your computer, you can download it for free from https://www.blender.org/download/releases/4-0/ - this file was made using Blender v4.0.1
Interactive Guide - toggle the switch on each step to mark it as completed!
Steps quick overview
- 1. Open Blender File
- 2. Launch the Panel
- 3. Choose a Scene
- 4. Edit the Text
- 5. Resizing/Moving the Text
- 6. Send to A.I
- 7. Type your Prompt
- 8. Adding a more detailed Prompt
- 9. Advanced Settings - Control Weight
- 10. Advanced Settings - Seed
- 11. Moving Objects in the Scene
- 12. Try out different Prompts
- 13. Try out different Scenes
- 14. Change the camera angle
- 15. Import your own objects
- 16. Conclusion
1. Open Blender File
Mark as completedDownload the ZIP file, extract it somewhere and open up the MagicAIBlenderFileV1.0.blend file in Blender, we recommend using version Blender 4.0.1 or higher.
2. Launch the Panel
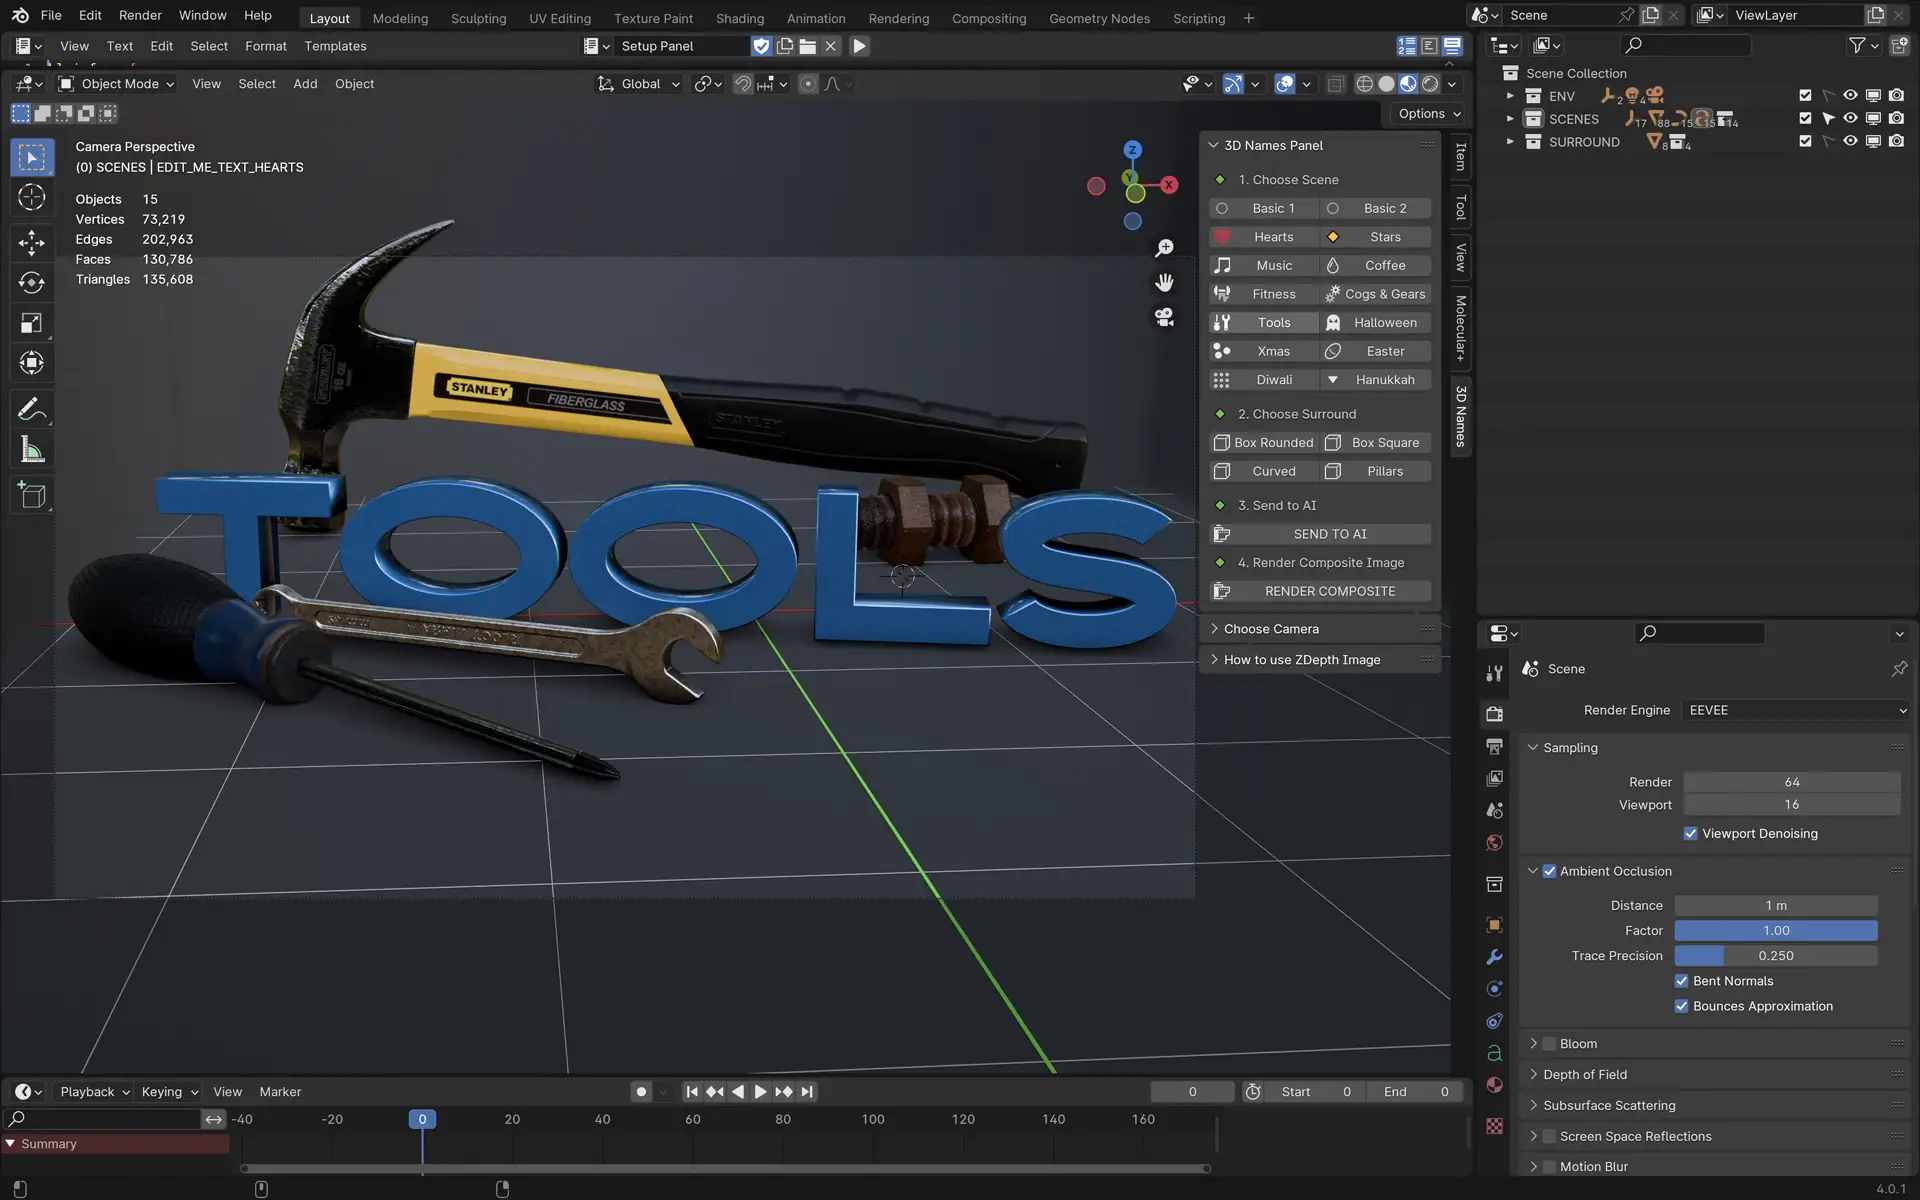
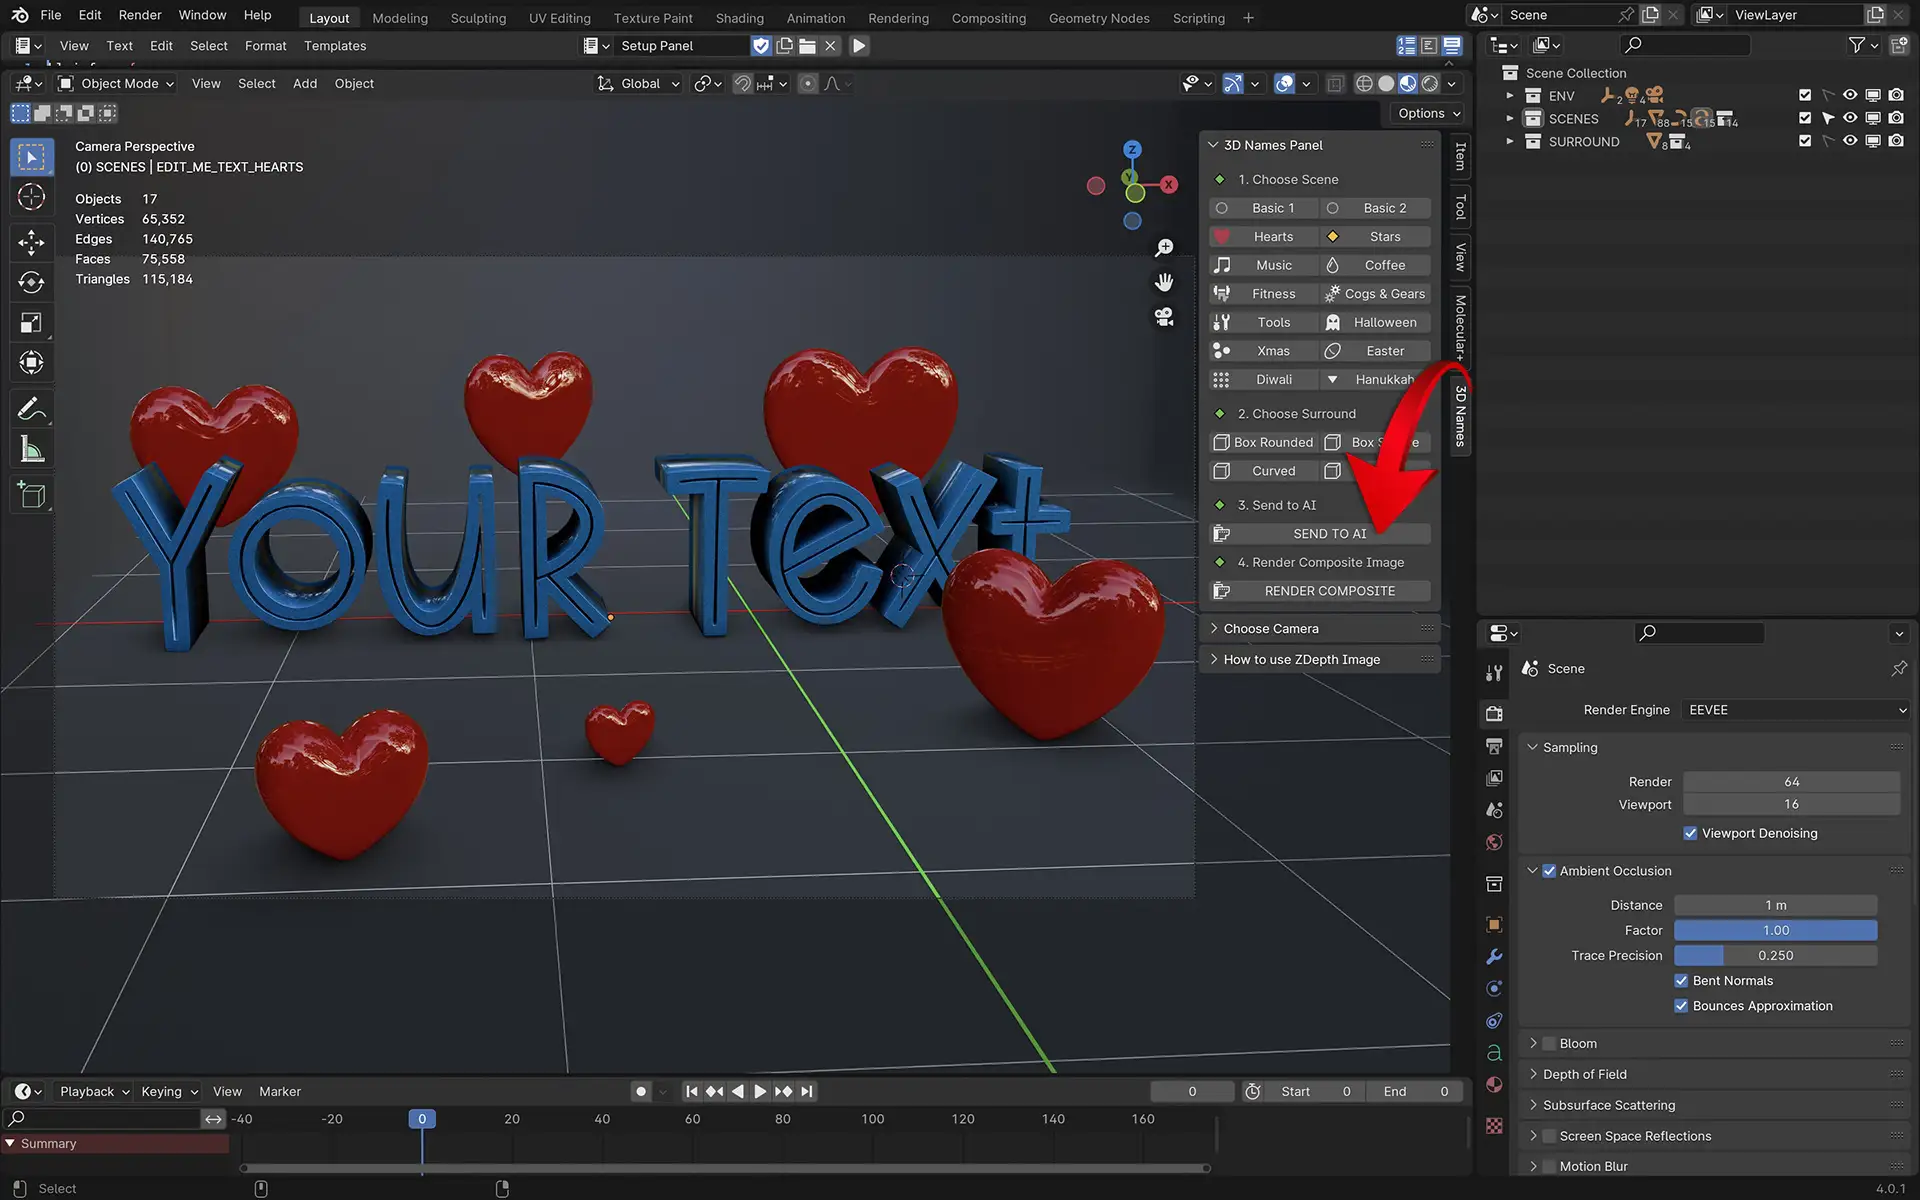
Mark as completedWhen you open the file - all you need to do is press the small play icon ▷ as per the first screenshot below - then in the 3D Viewport there will be a new Panel called "3D Names" - this contains all of the setup scripts to make this files effect work.
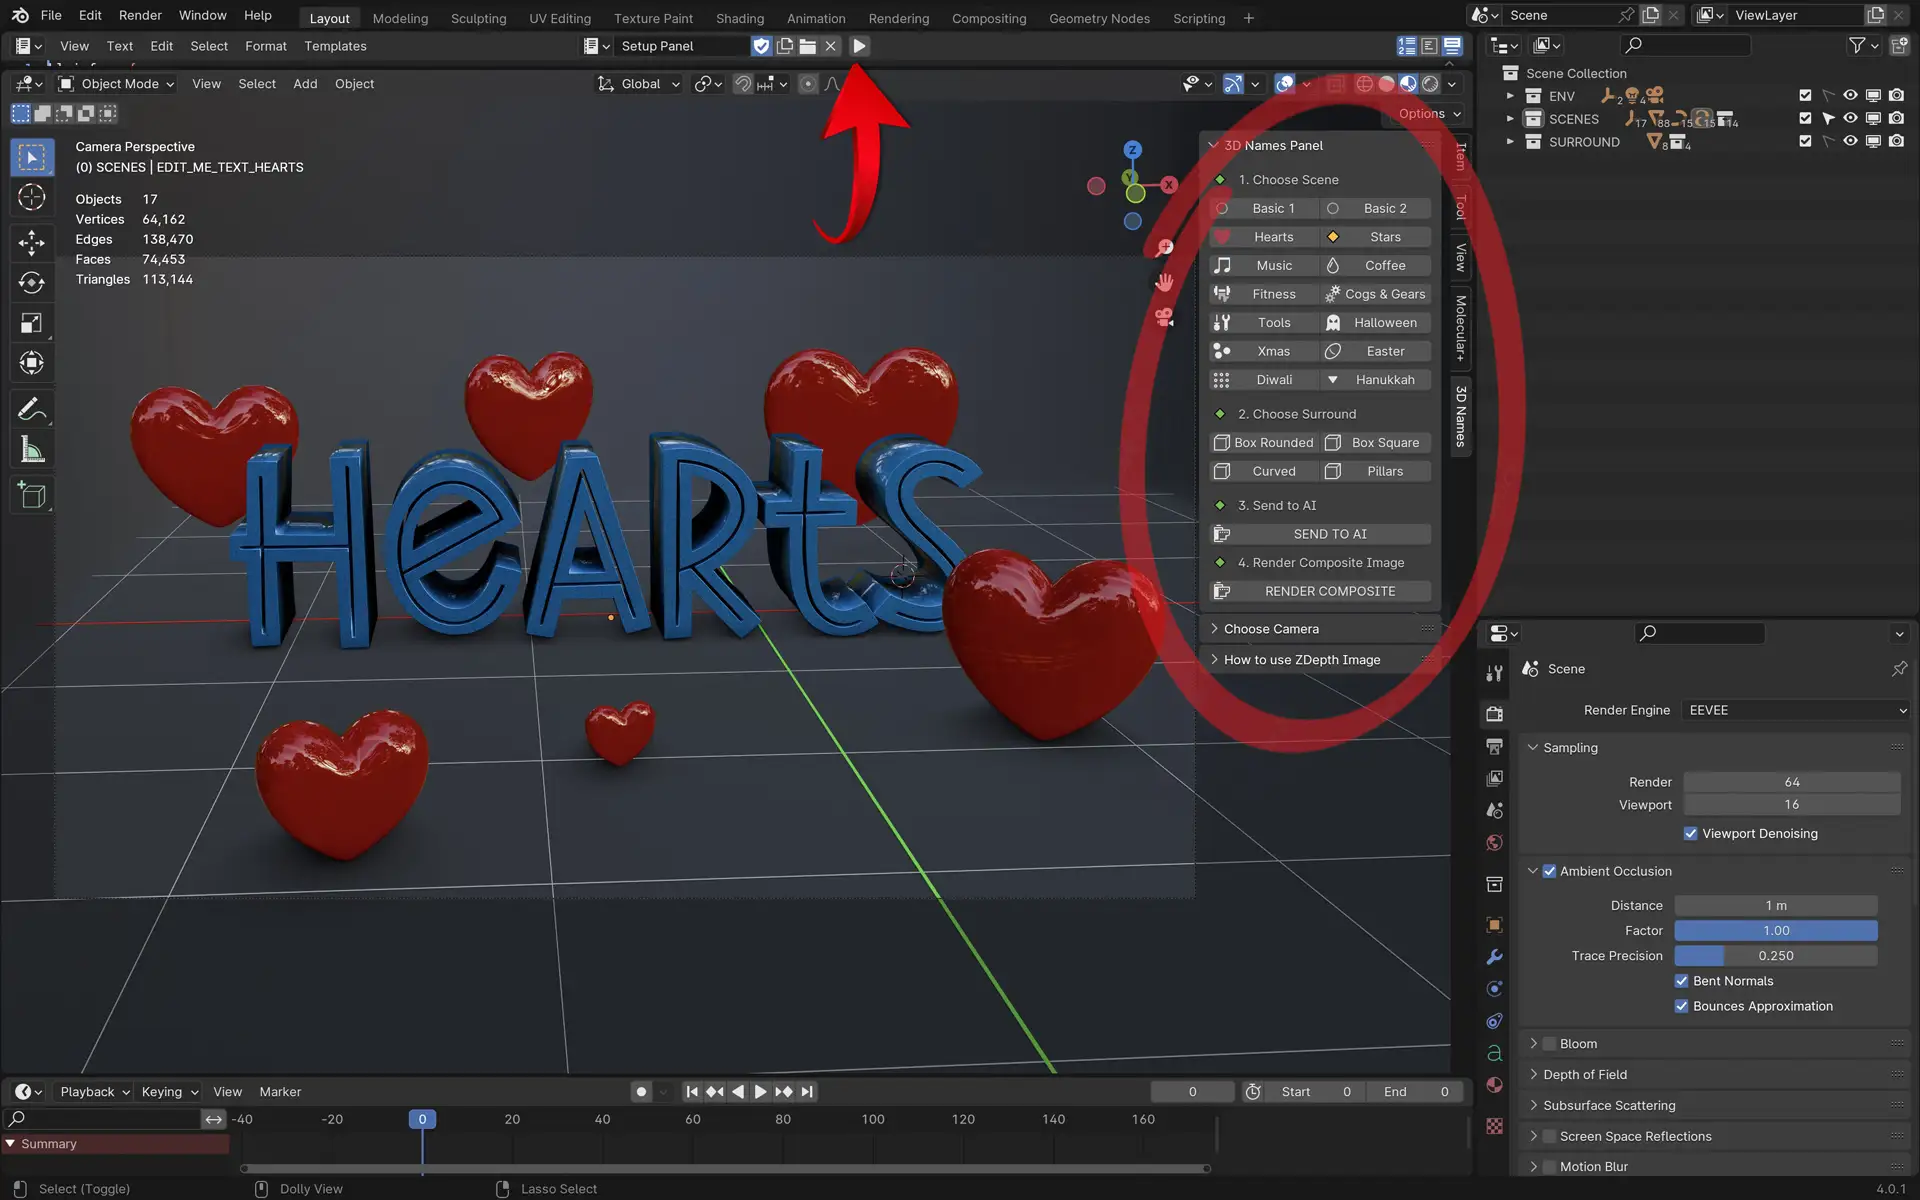
As you can see above this is the new Panel that does all the hard work for us!
3. Choose a Scene
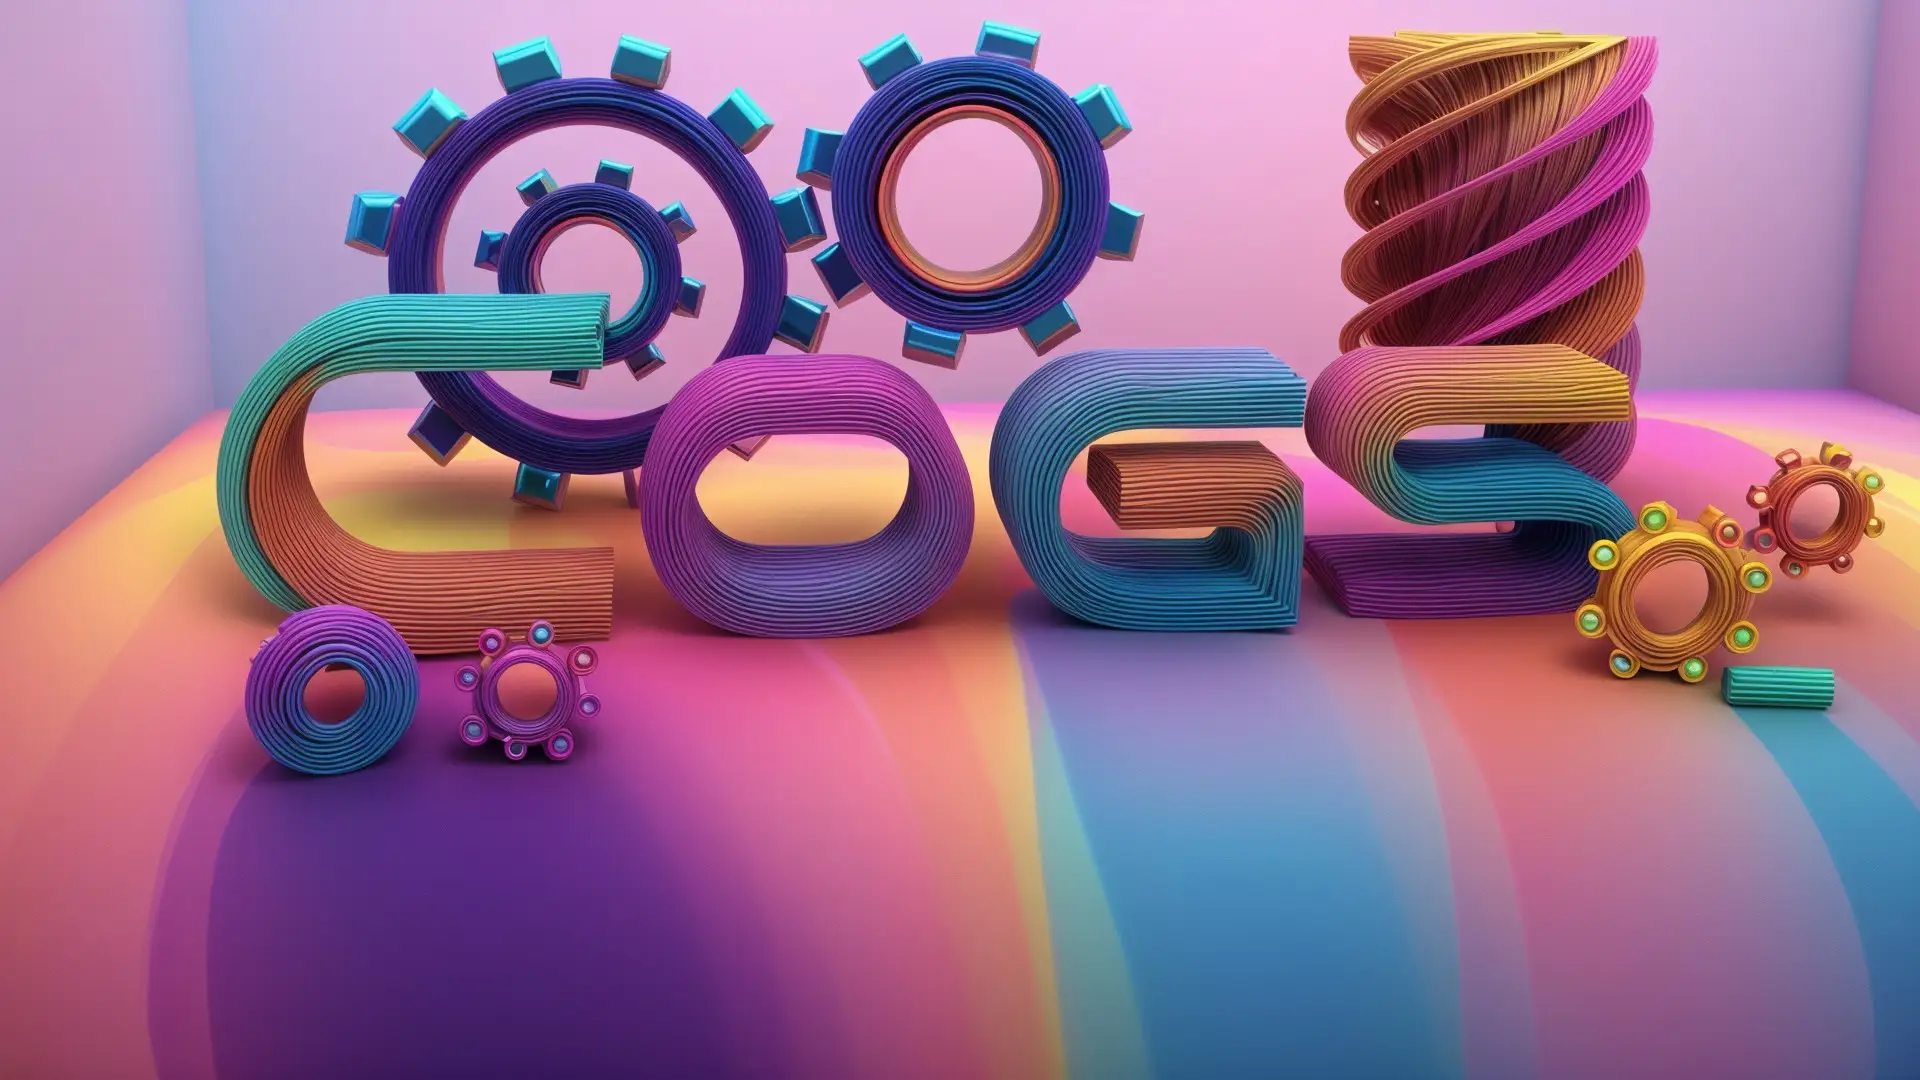
Mark as completedNow choose from any of the 14 preset scenes we have made for you. Choose from Basic 1 & 2, Hearts, Stars, Music, Fitness, Cogs & Gears, Tools Halloween, Xmas, Easter, Diwali, Hanukkah
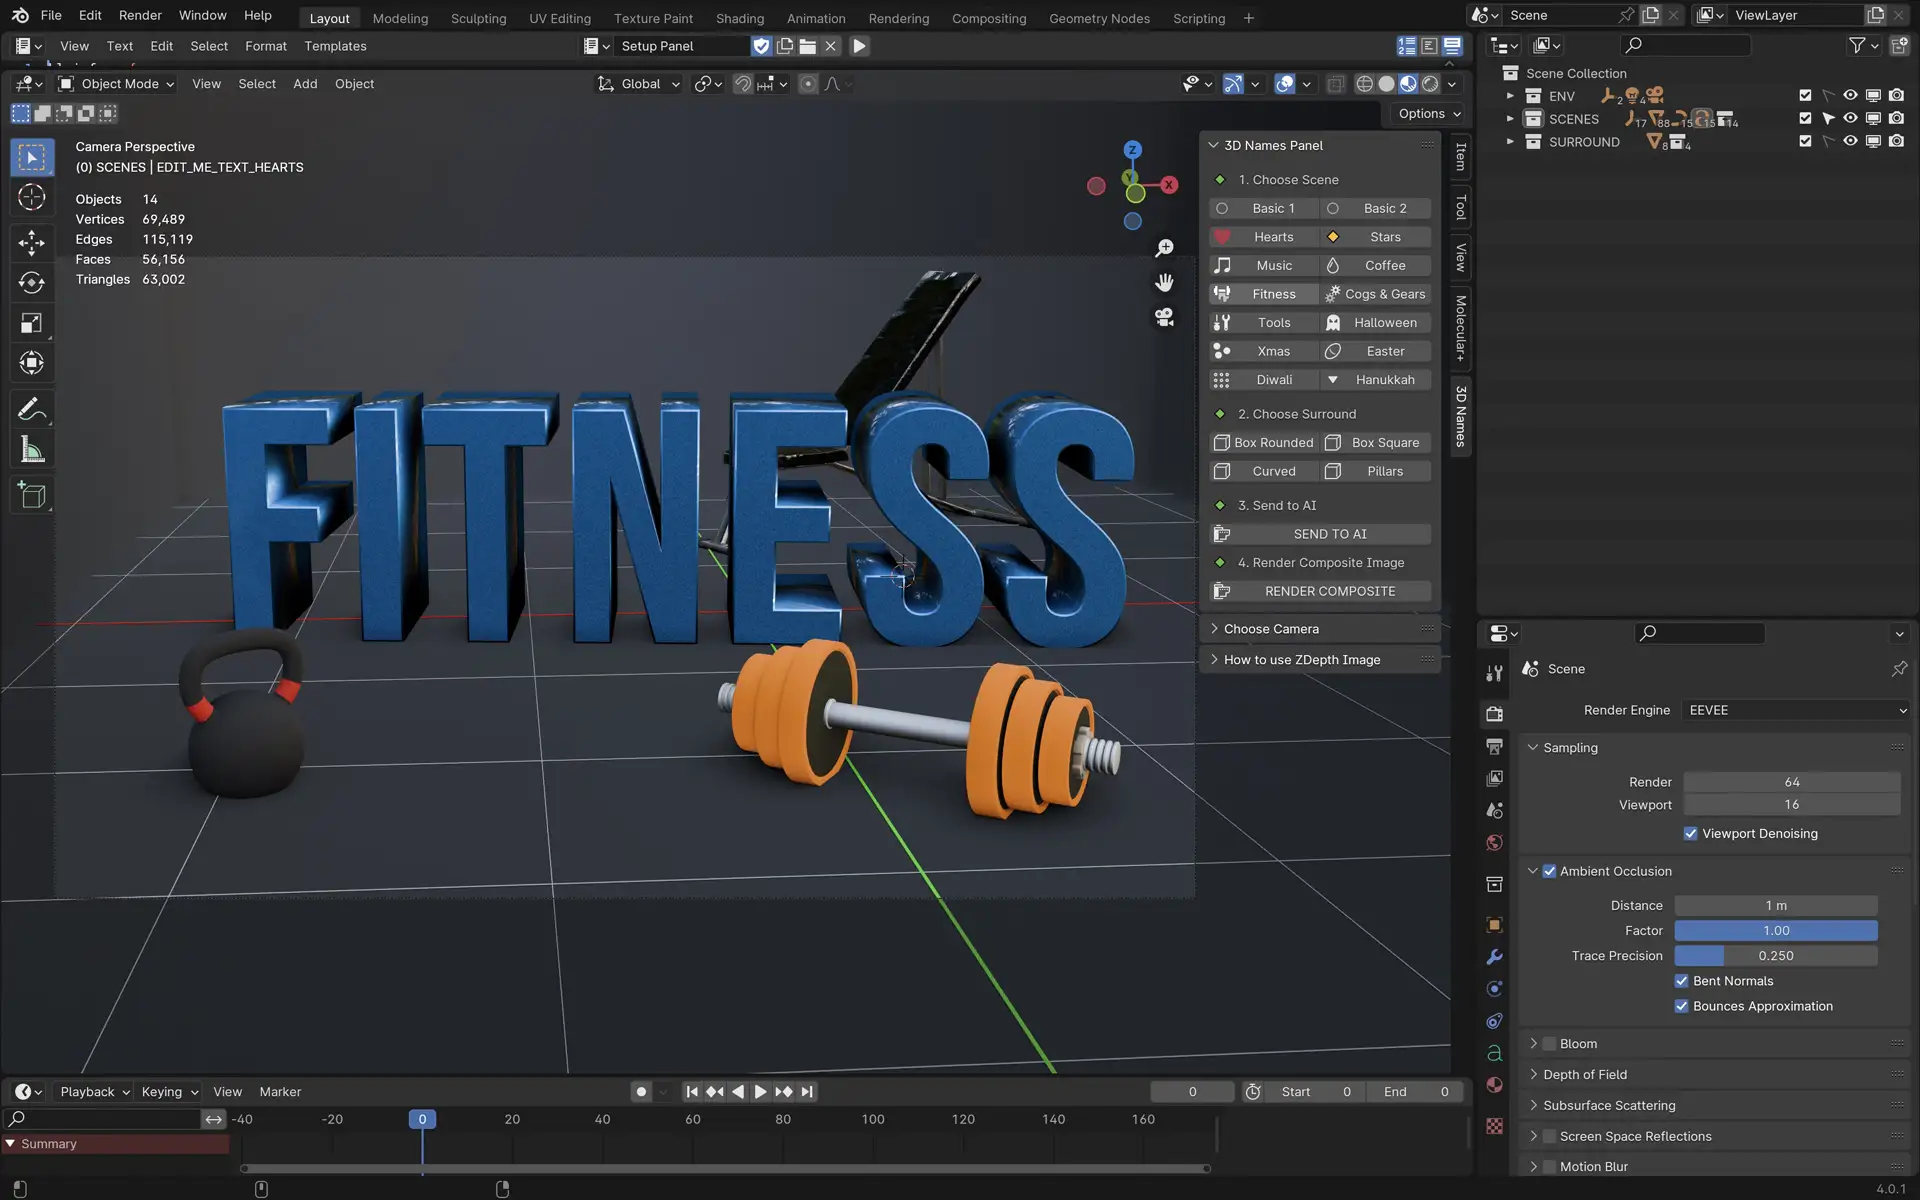
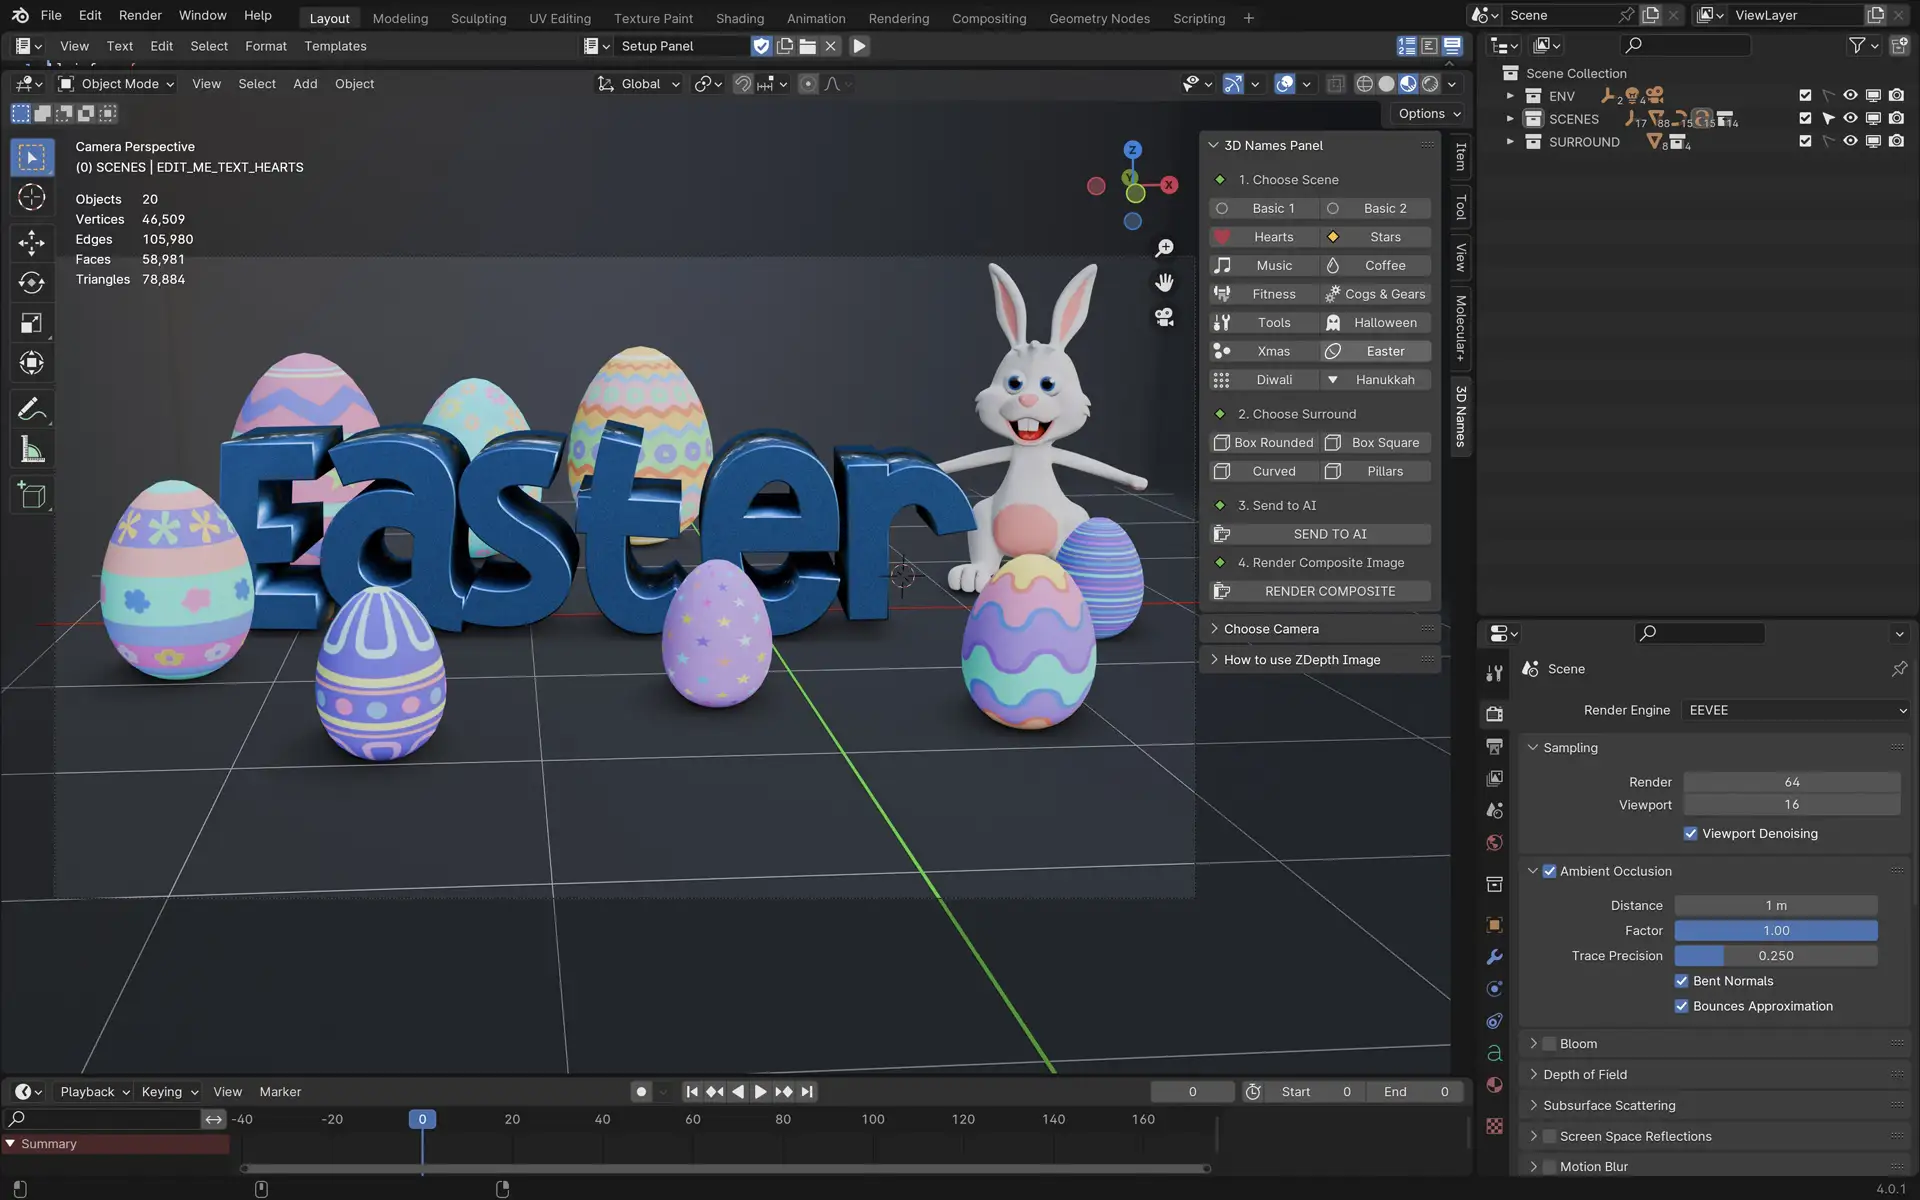
Choose from any of the 14 preset scenes
4. Edit the Text
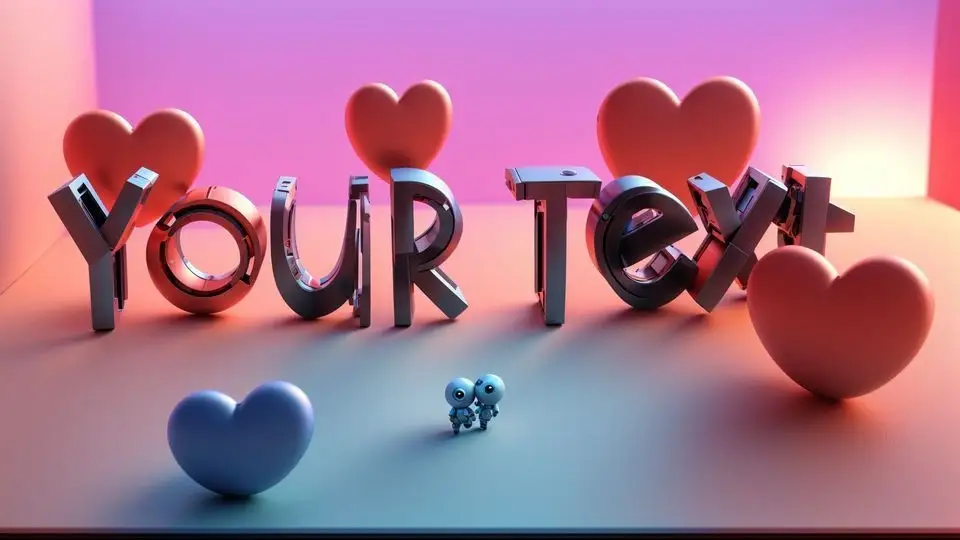
Mark as completedOk, for this example we are going to use the Hearts Scene, so select it, and then click on the text, it will outline in Orange, then press the "Tab" key to enter edit mode, and then type in your text, then press "Tab" again to exit edit mode.
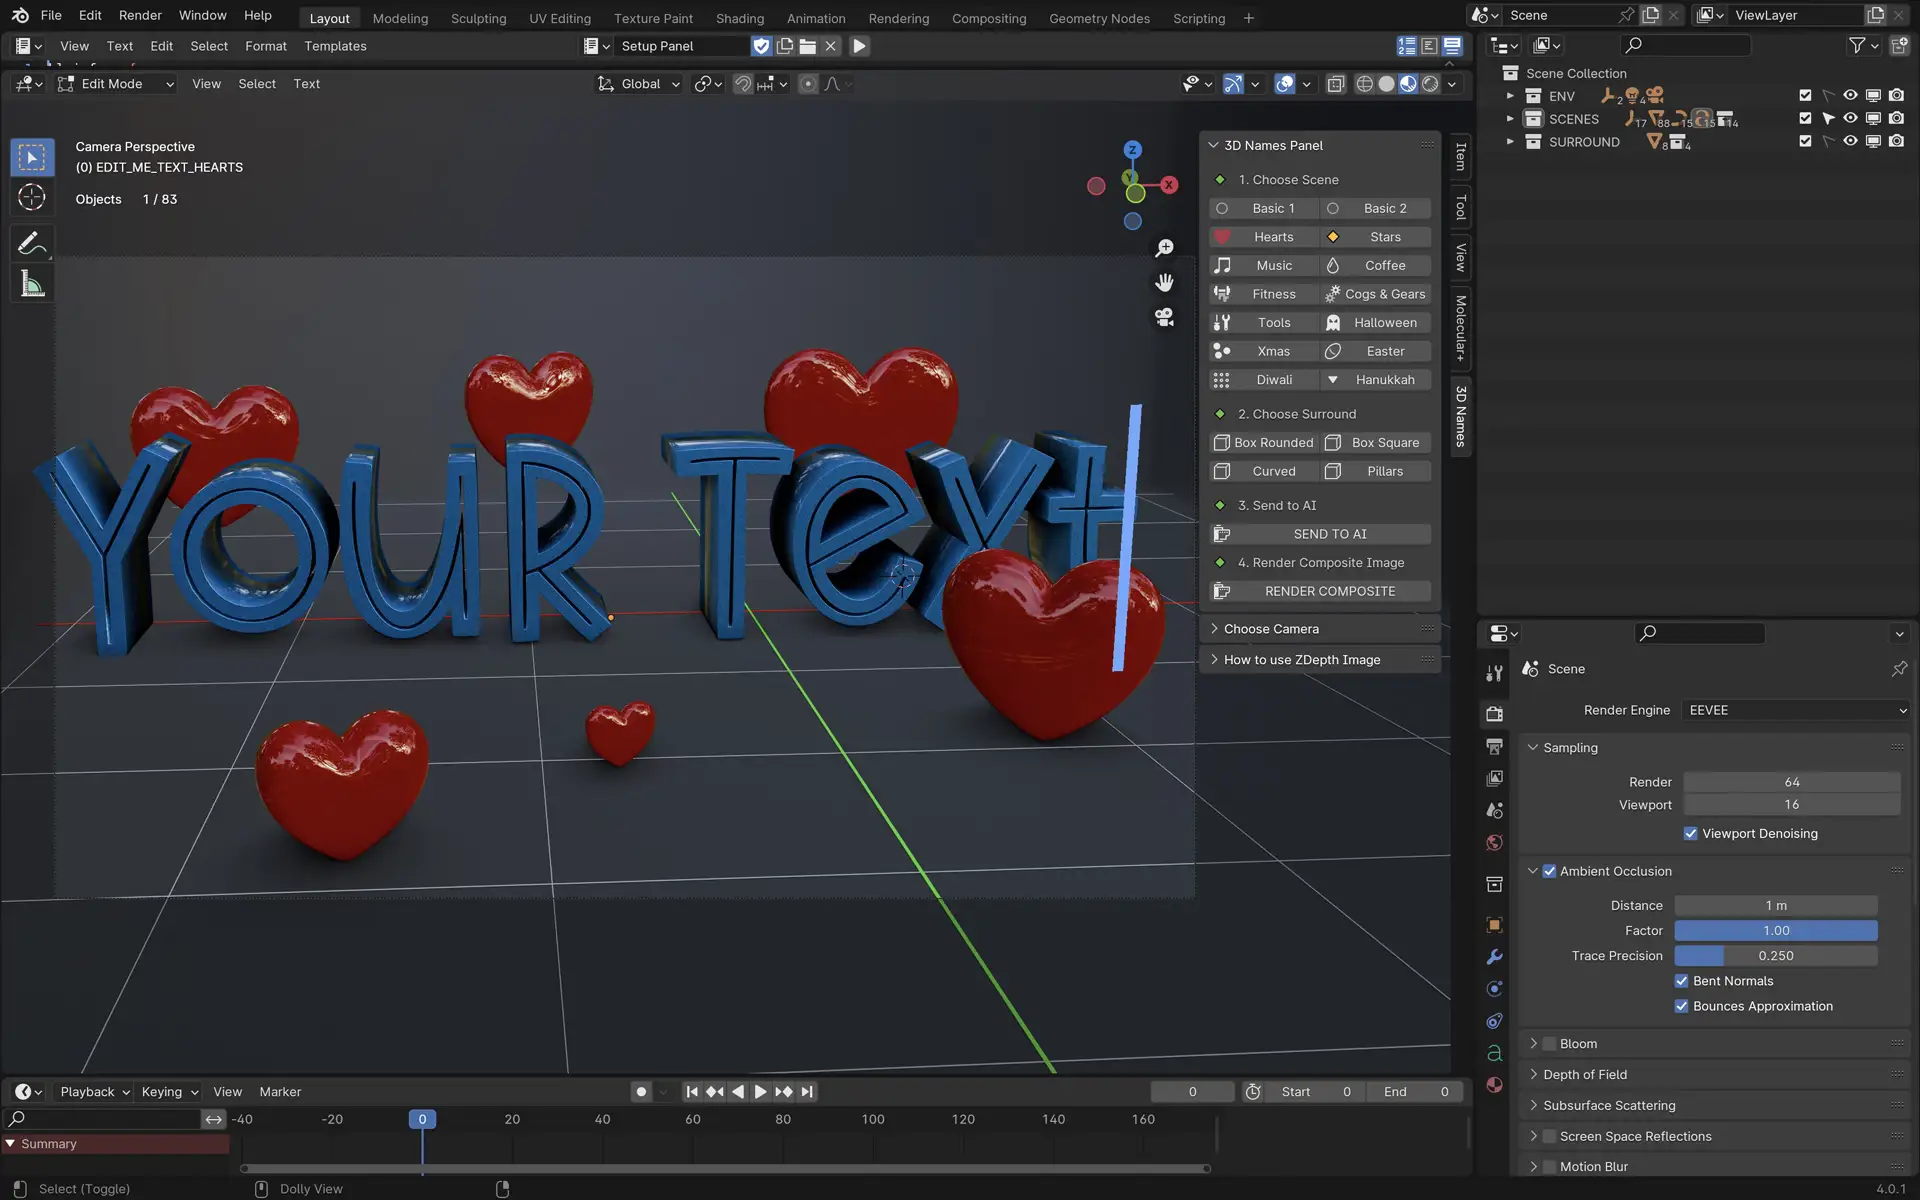
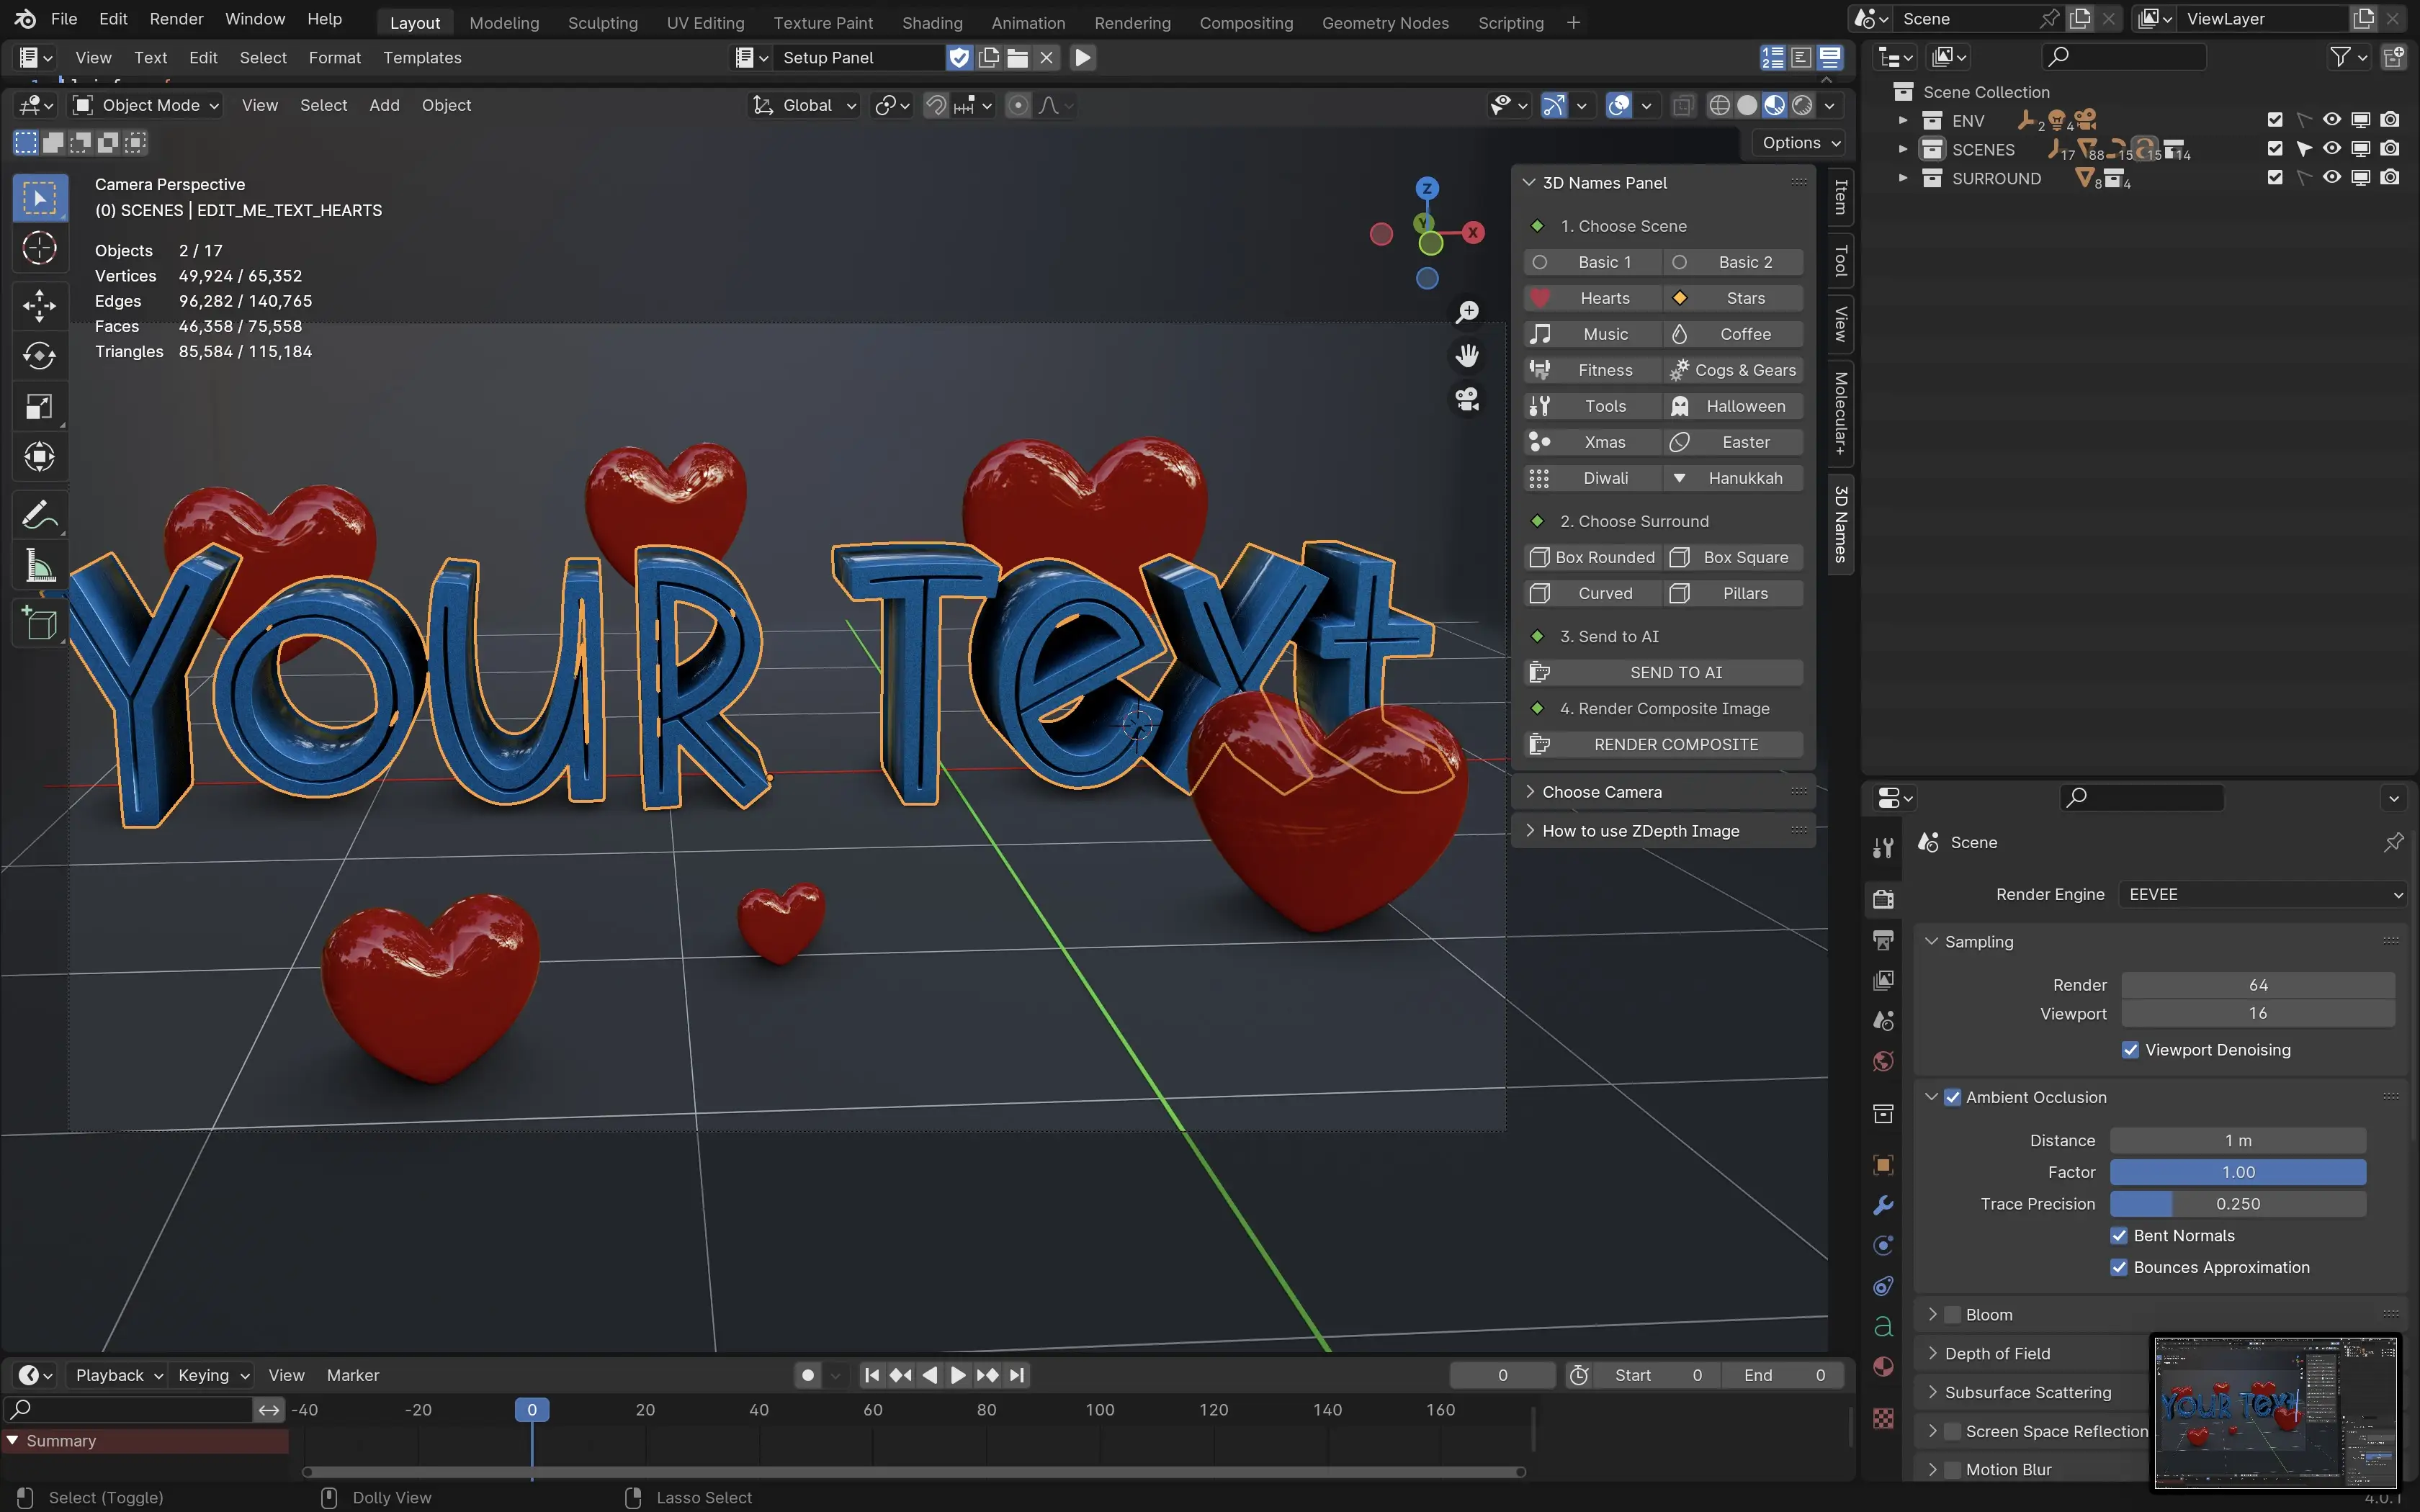
Yay - our text has been edited.
5. Resizing/Moving the Text
Mark as completedTo resize the text - select the text, then press the "S" key (for Scale) and move your mouse to resize the text and left mouse to confirm, or right mouse to cancel, to move the text press the "G" key and move your mouse to move the text.
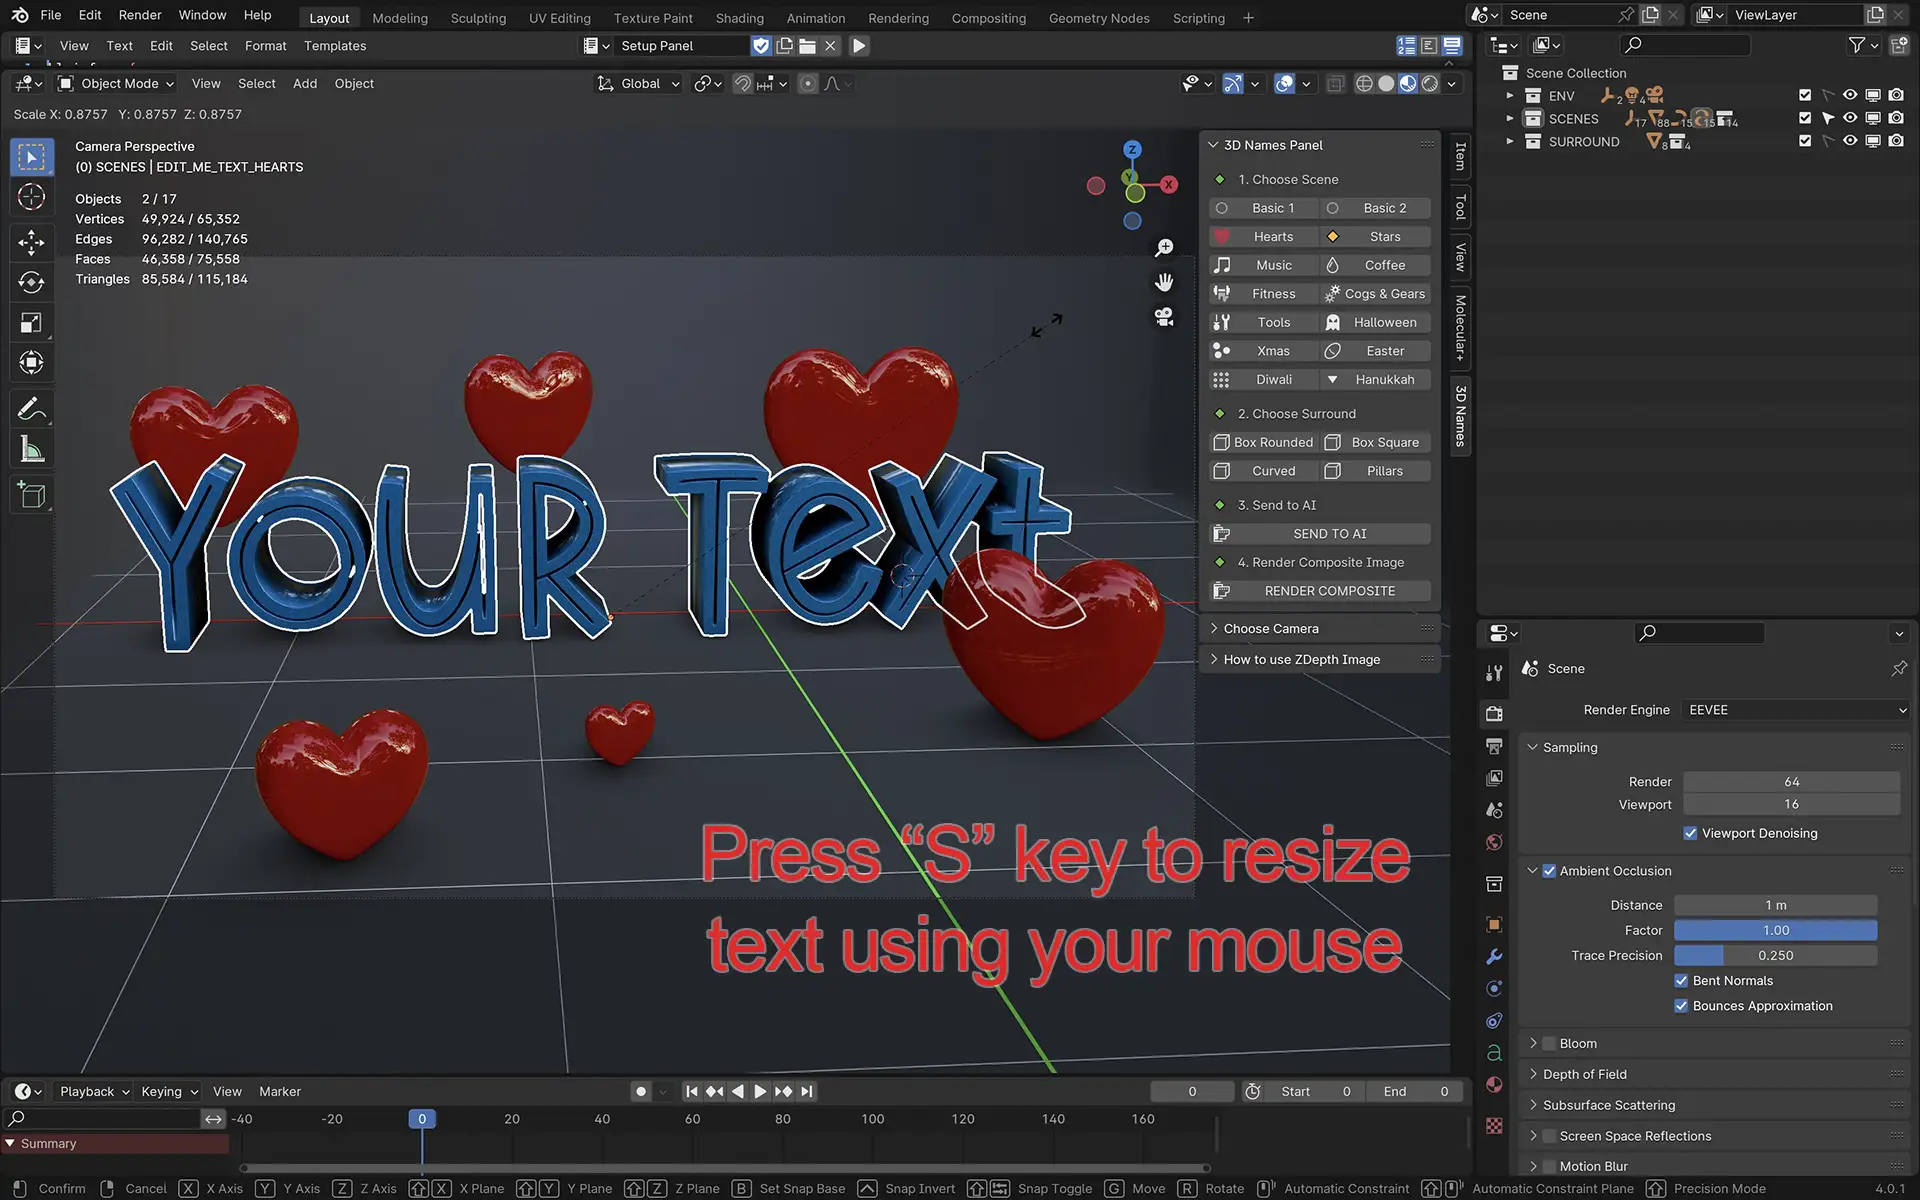
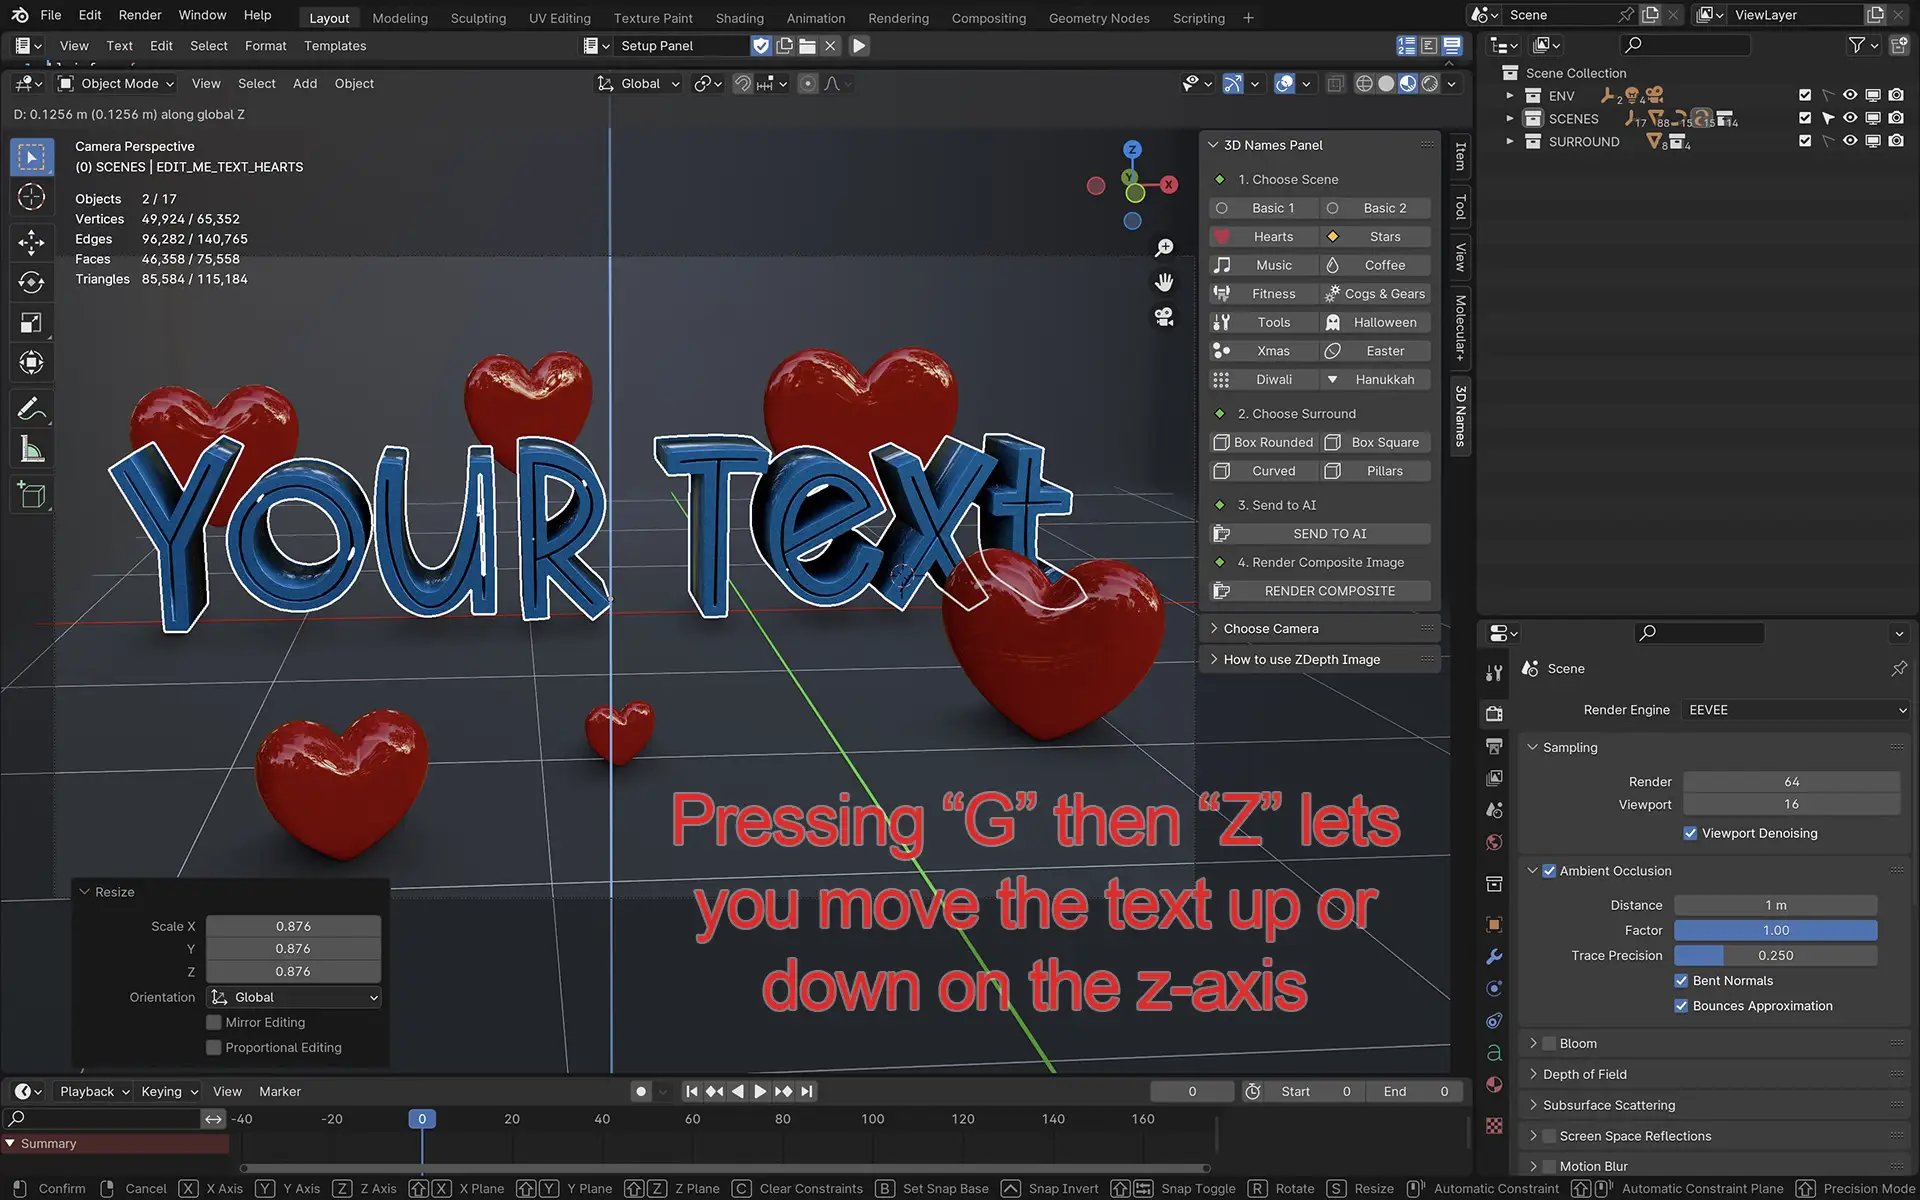
Hint - to move on a specific axis you can press "G" then "X" (left or right) or "Y" (forward or backwards) or "Z" (up or down) to move on that axis only.
6. Send to A.I
Mark as completedOkay - now you know how to edit the text and move/resize it, now lets send it to the A.I generator. Simply press the "Send to AI" and it may take a few seconds, but your image will be sent to a page on our website like in the 2nd screenshot below
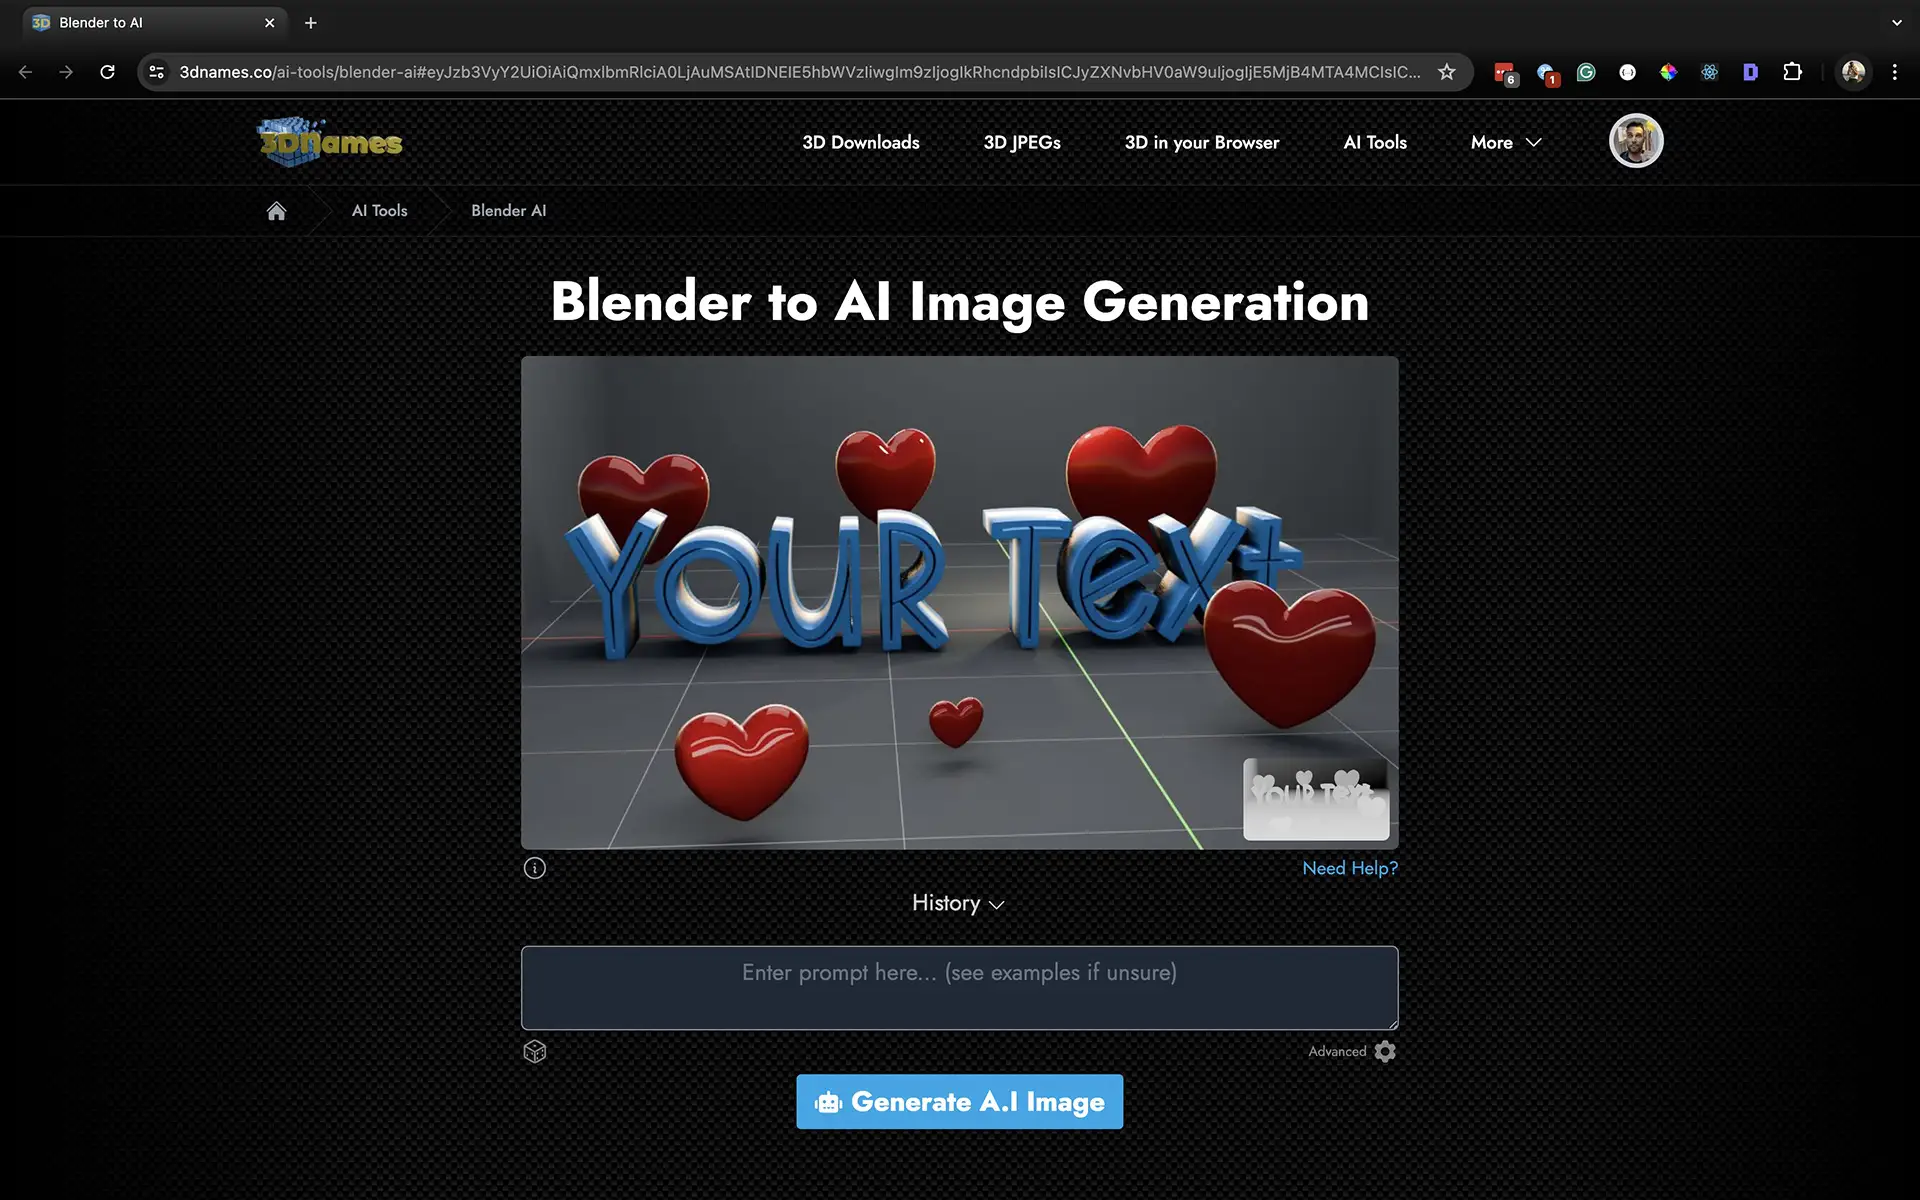
Your rendered image is now on our website and ready for the A.I to be Added.
7. Type your Prompt
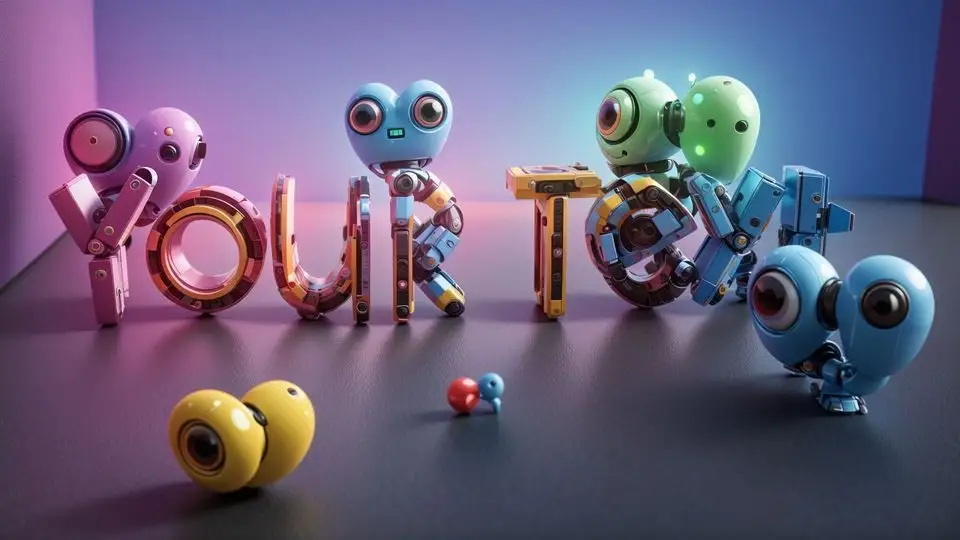
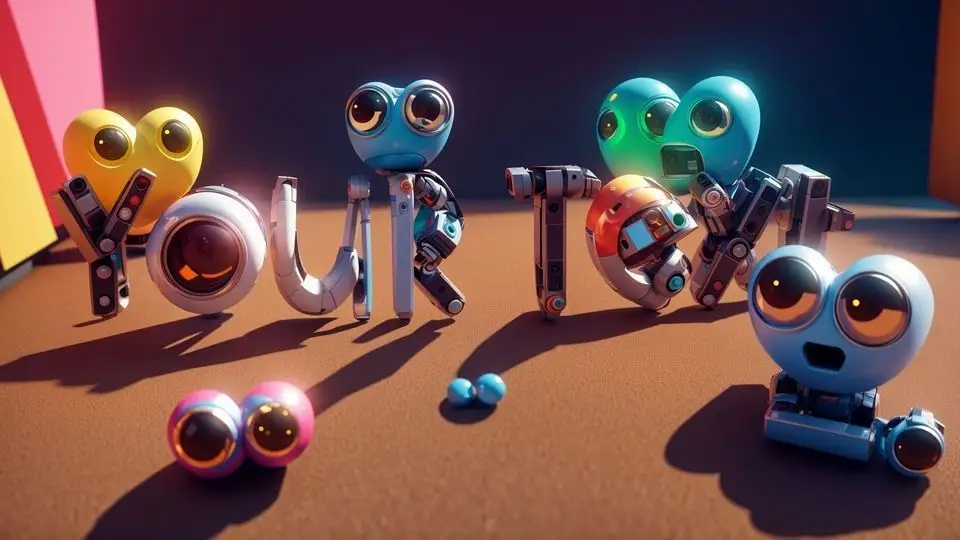
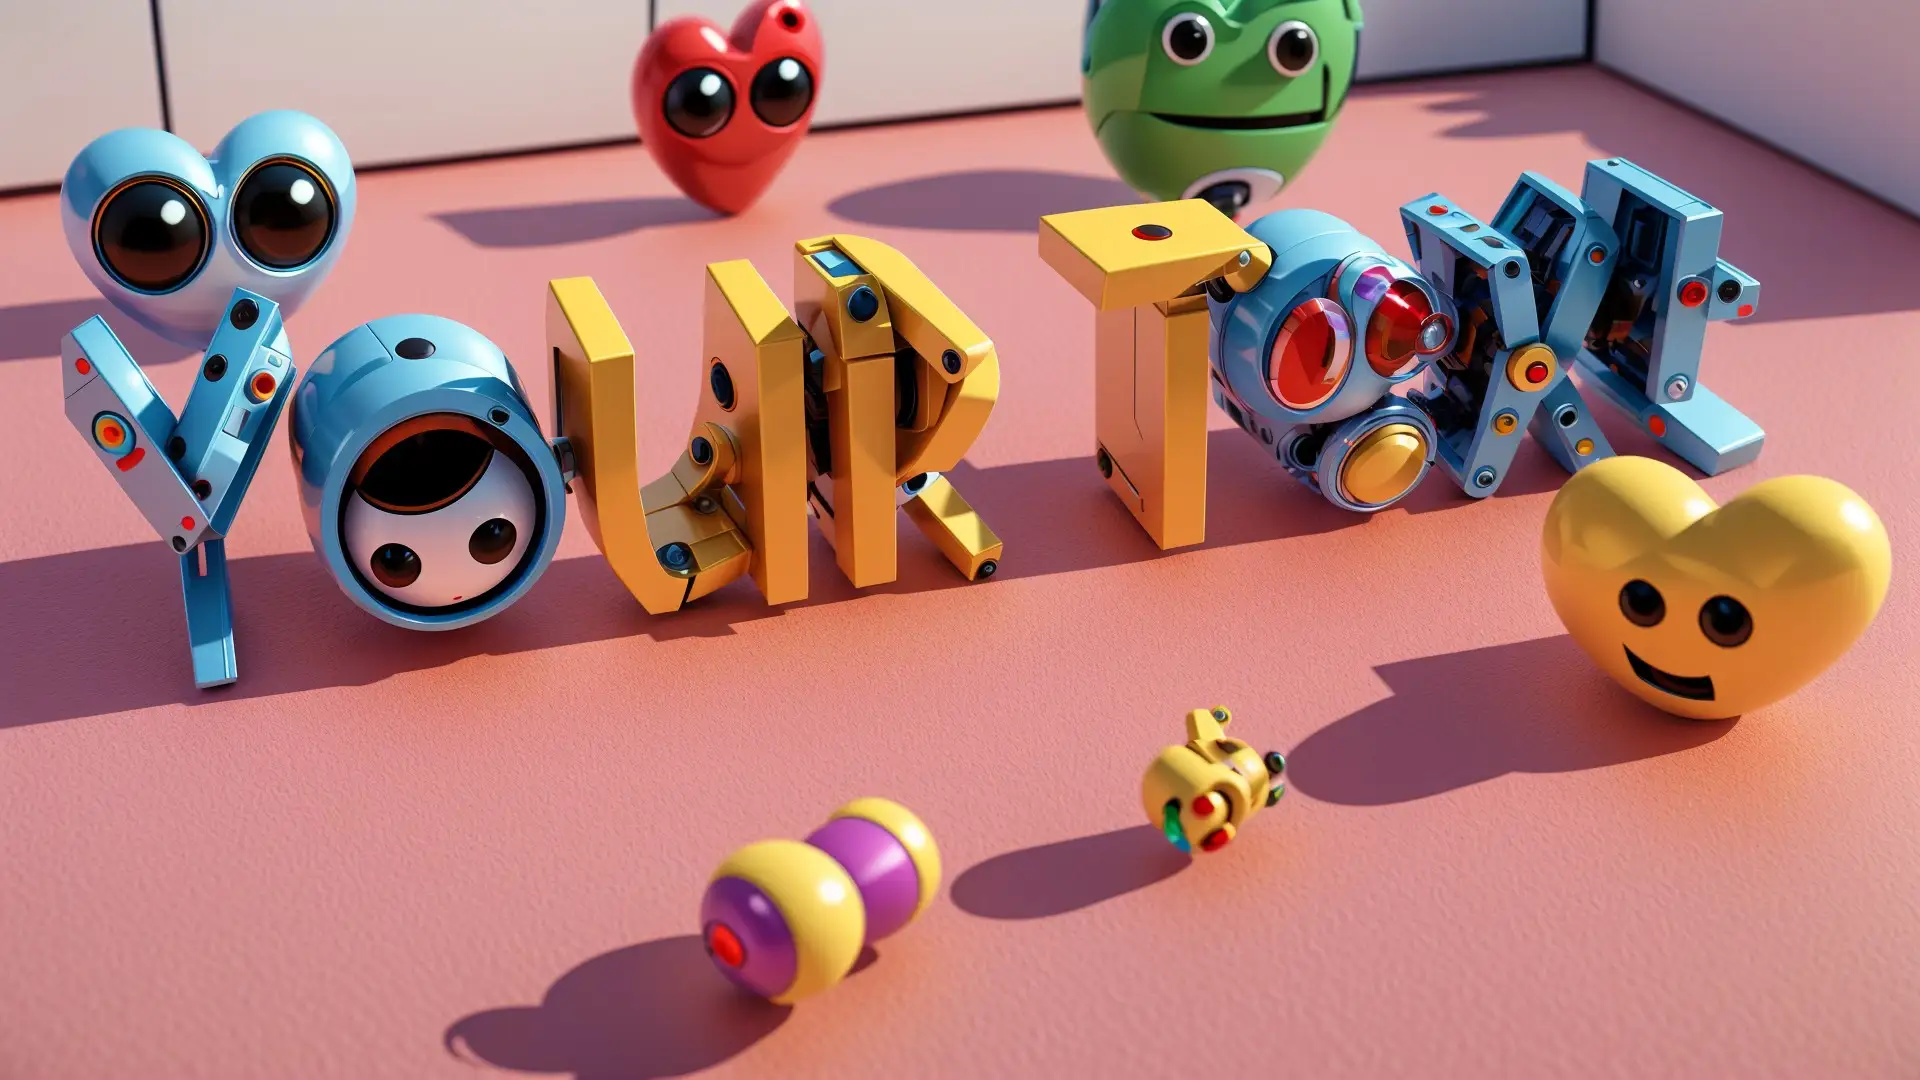
Mark as completedNow type in your prompt, this is the text that the A.I will use to generate the image, you can type anything you like, but the more descriptive the better, in this case we are going to be a bit lazy and simply type "Cute Robots"

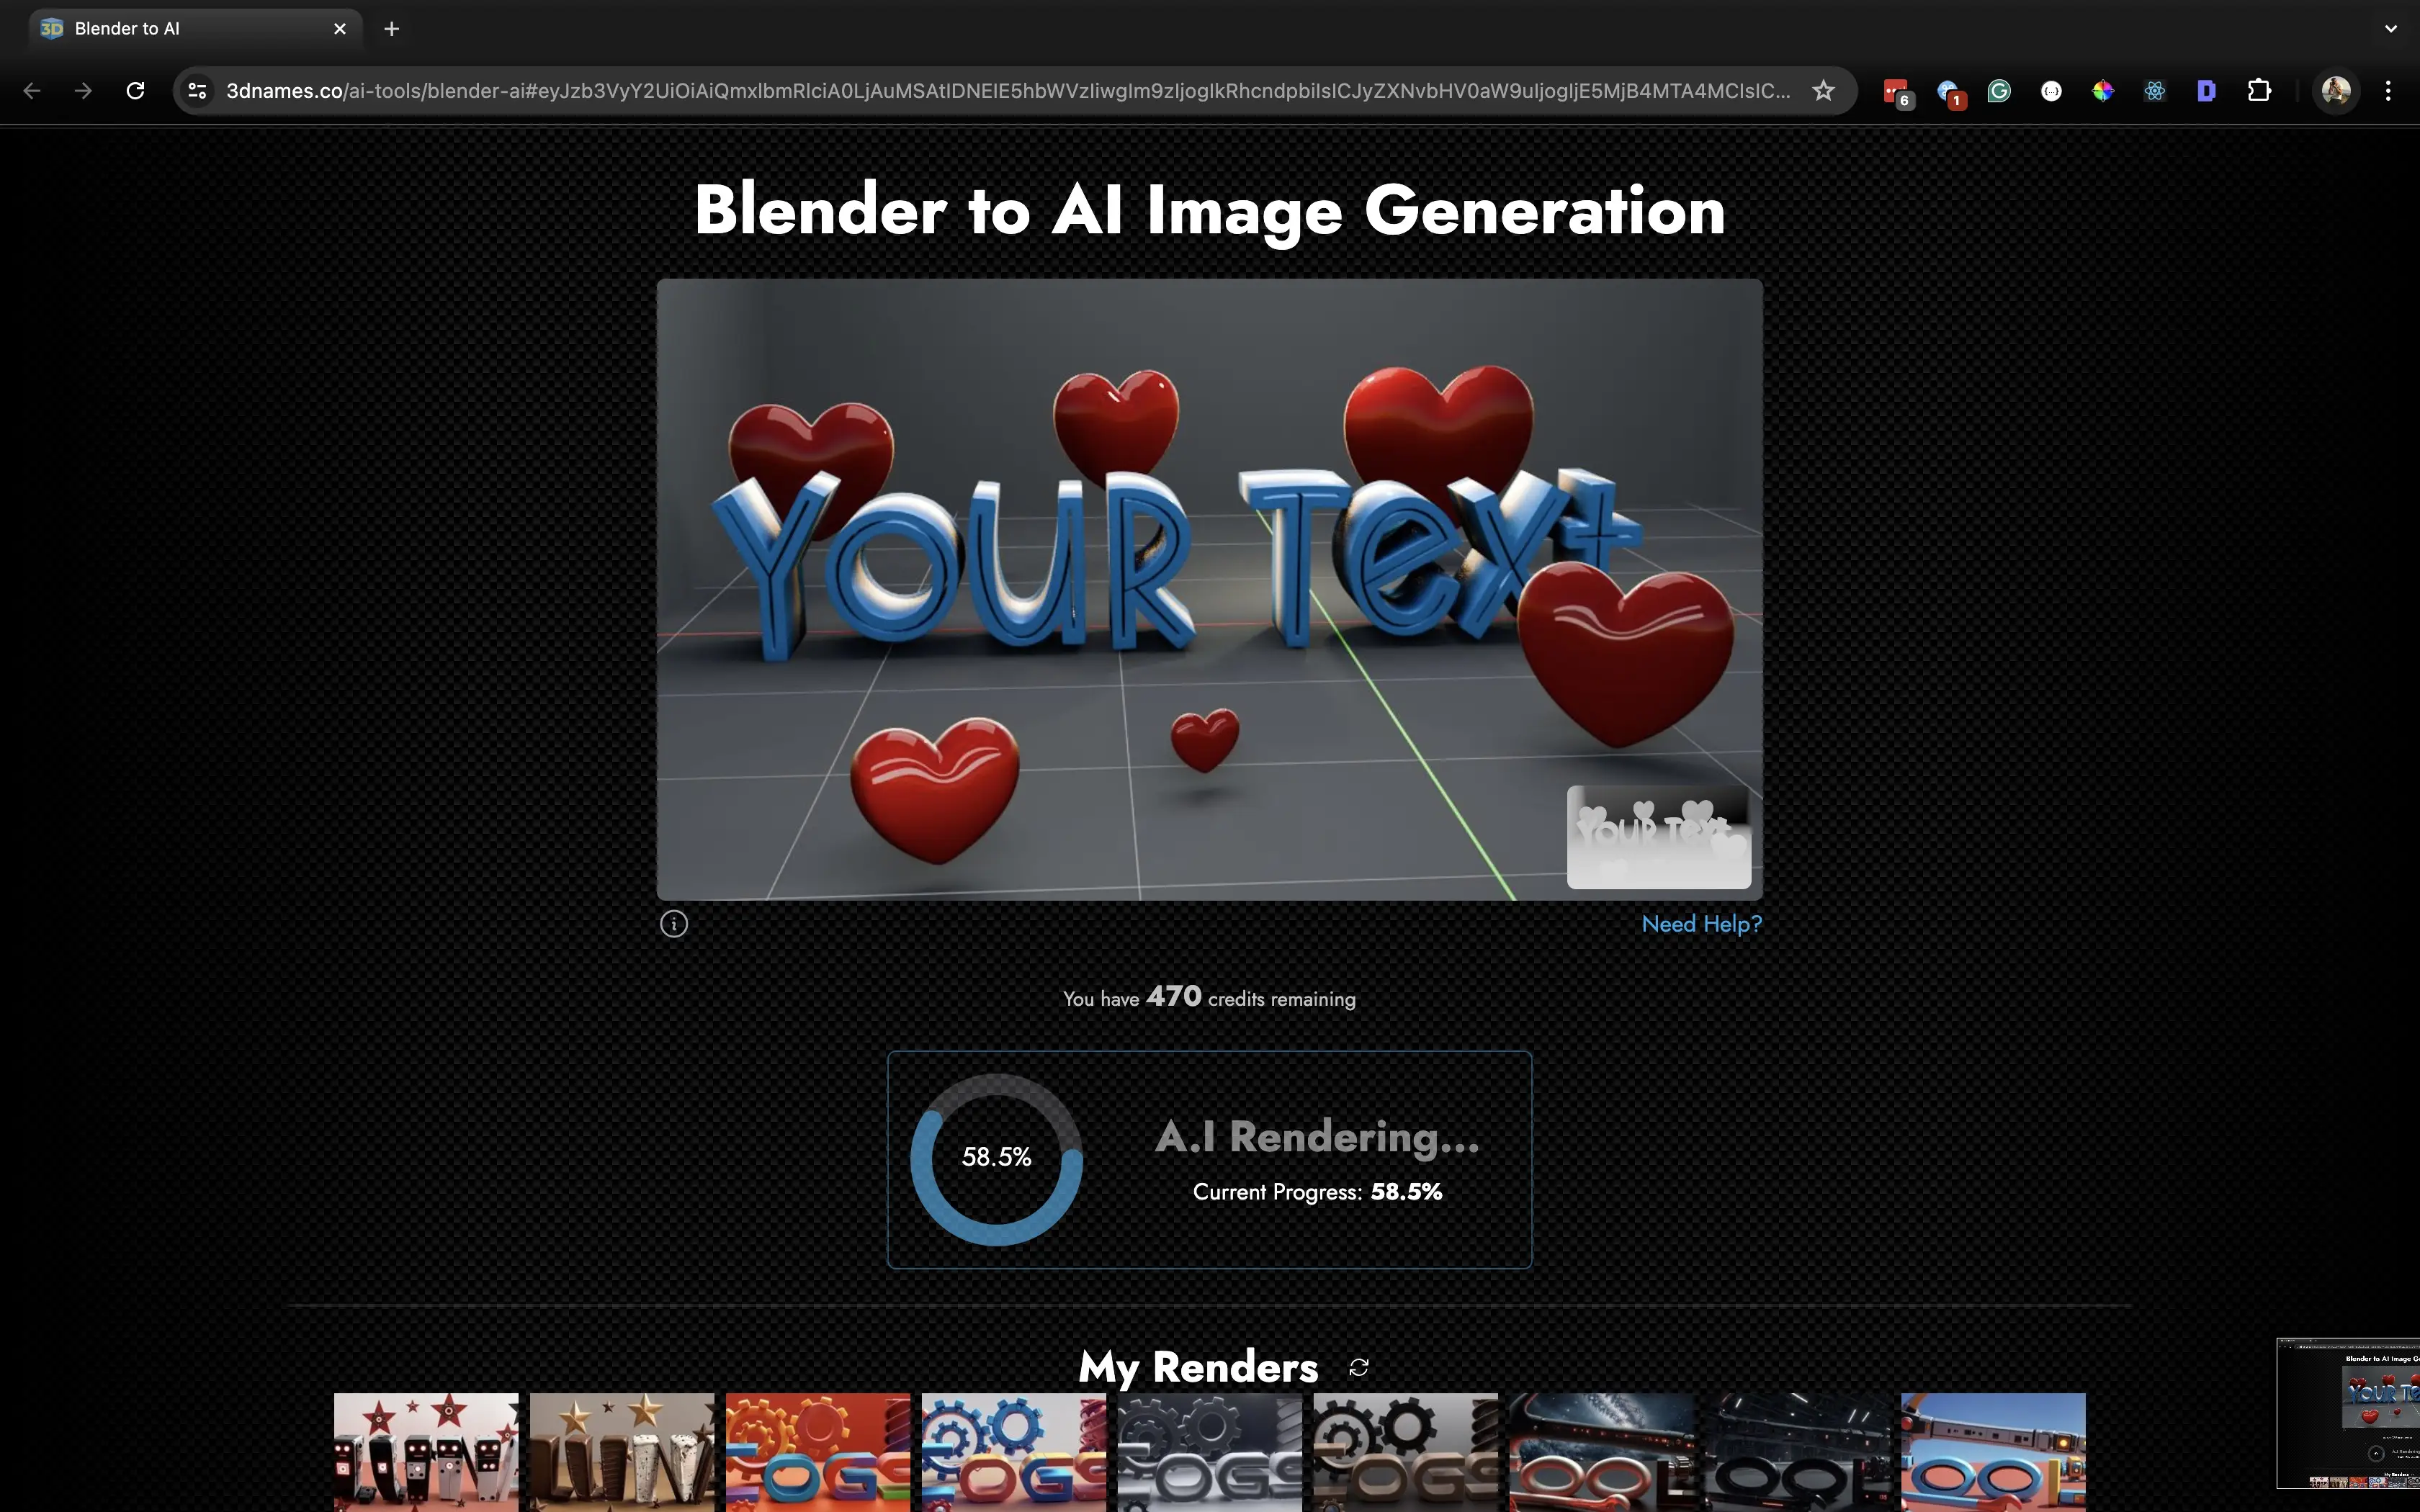
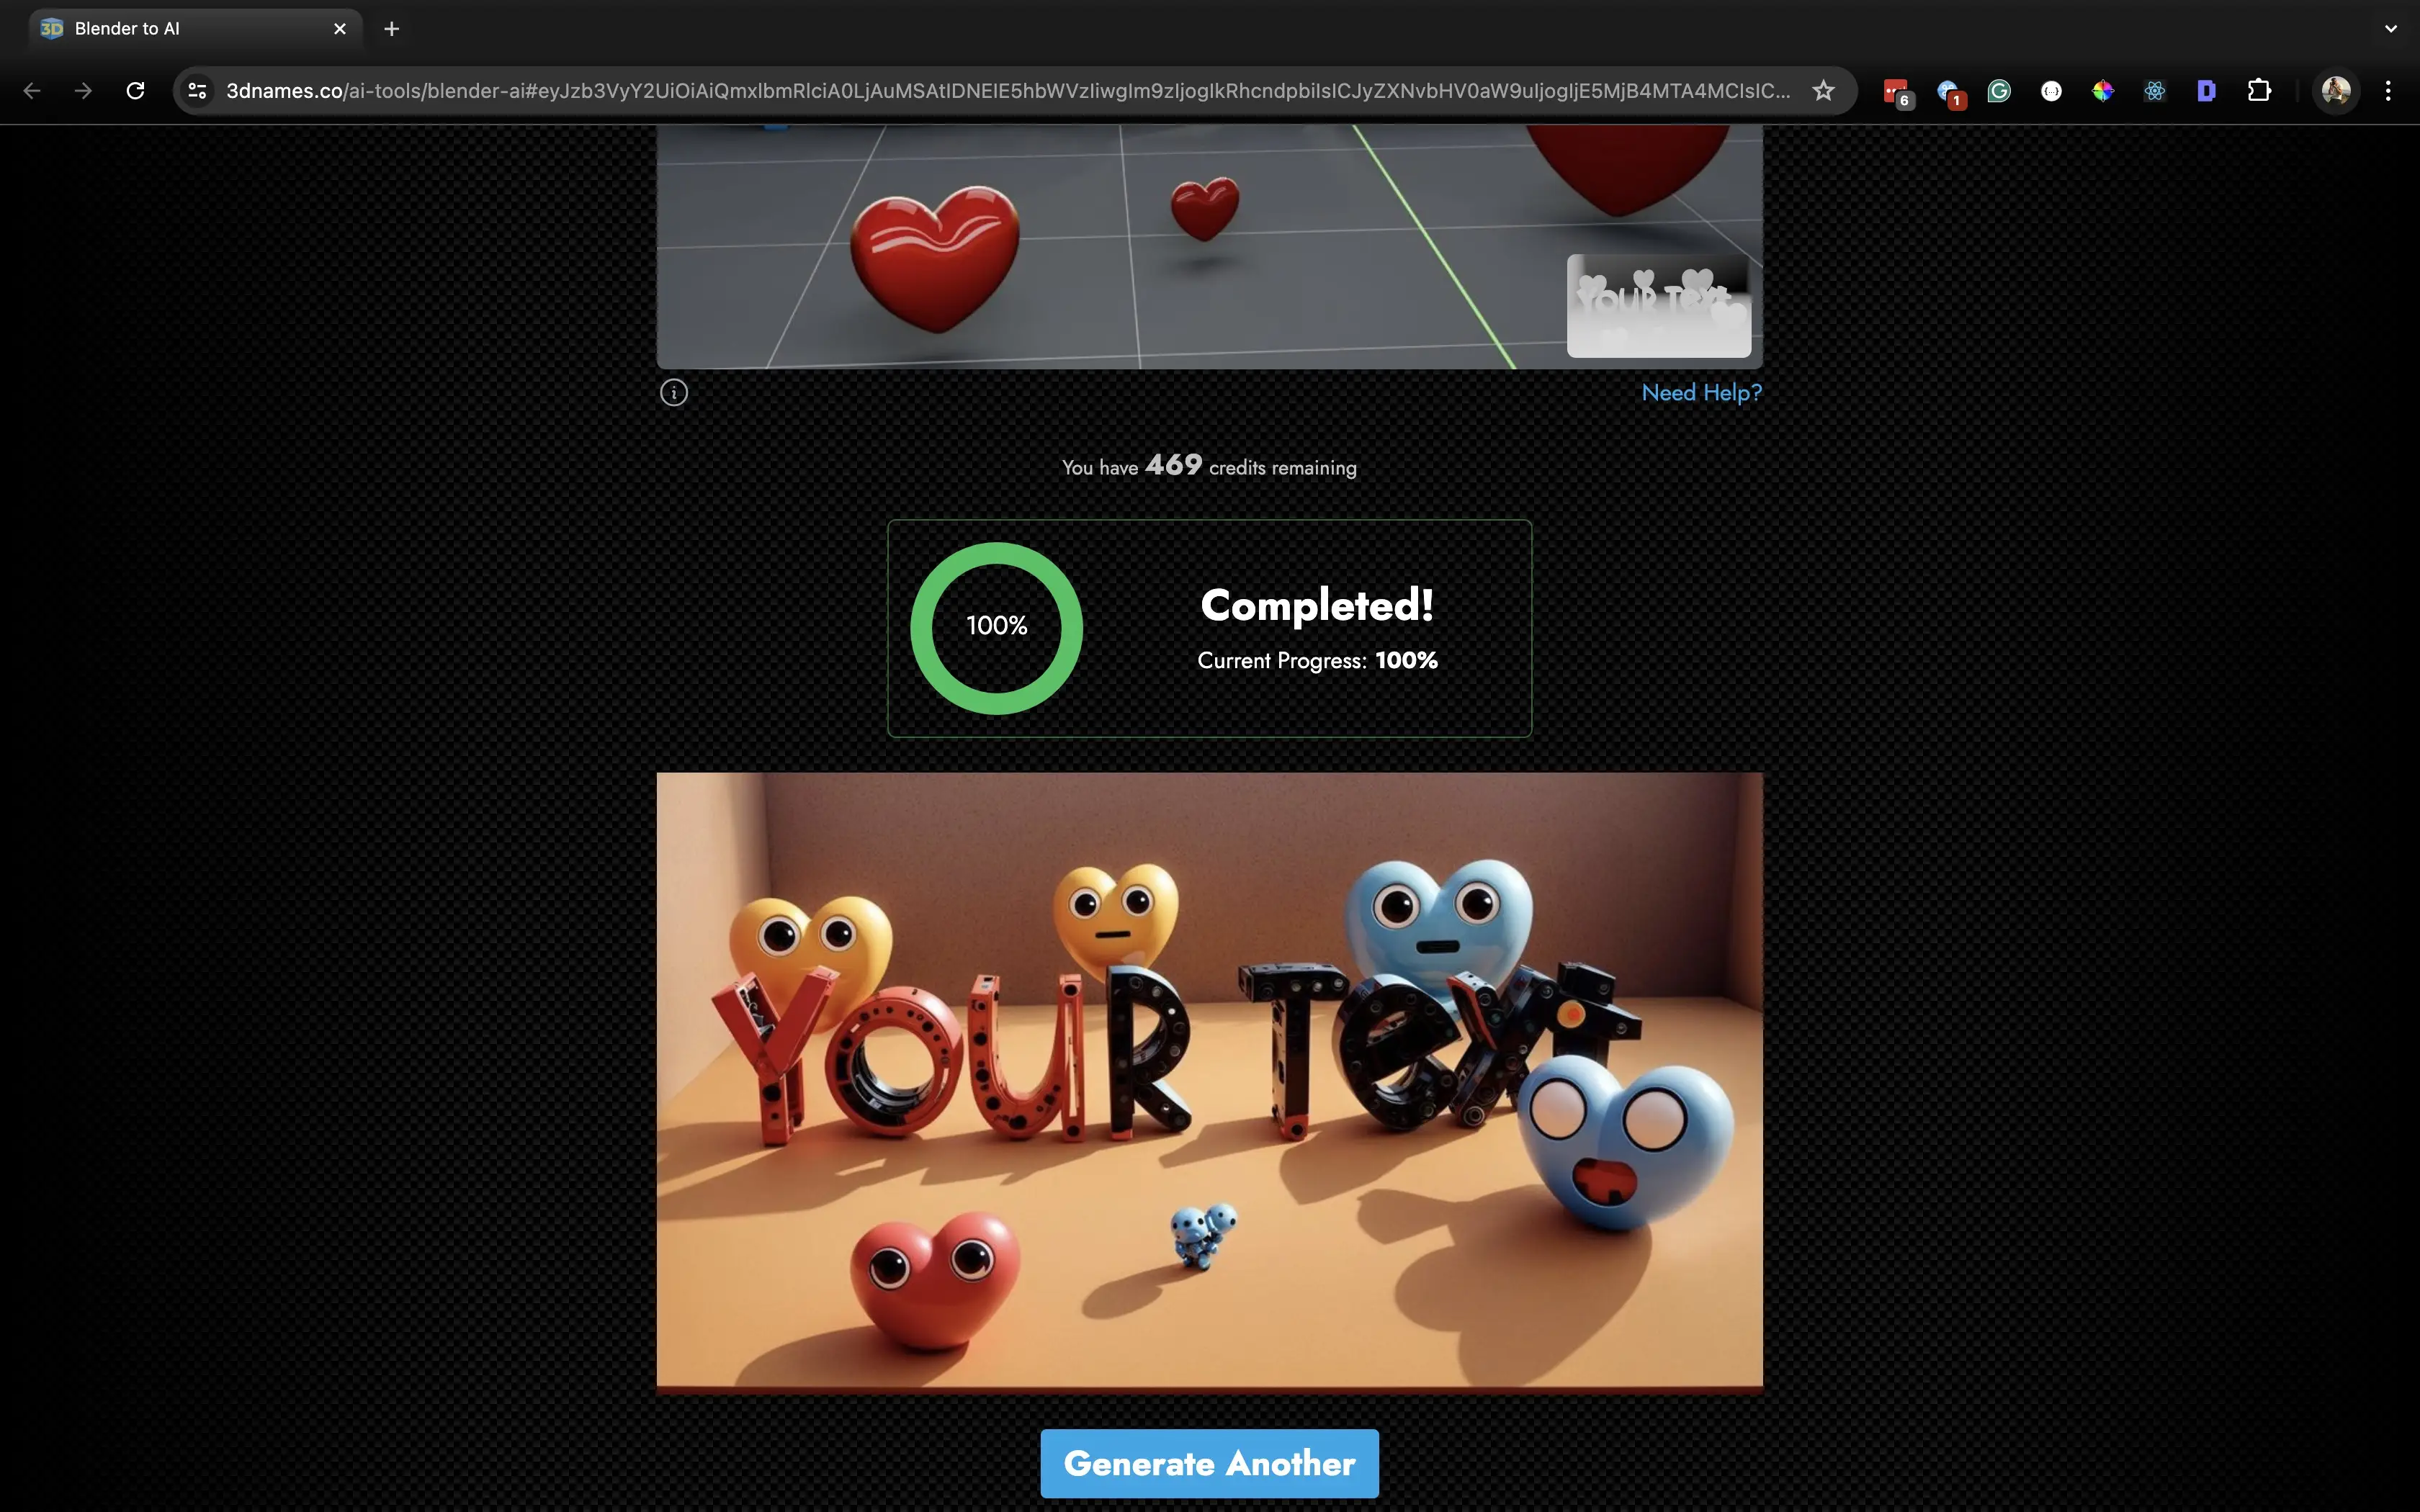
Our image looks good, but now lets improve it even more.
8. Adding a more detailed Prompt
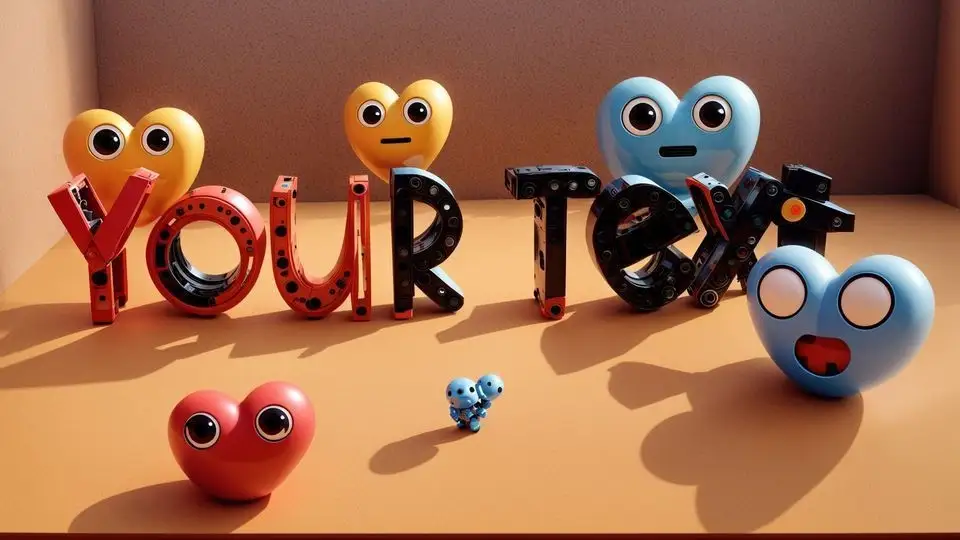
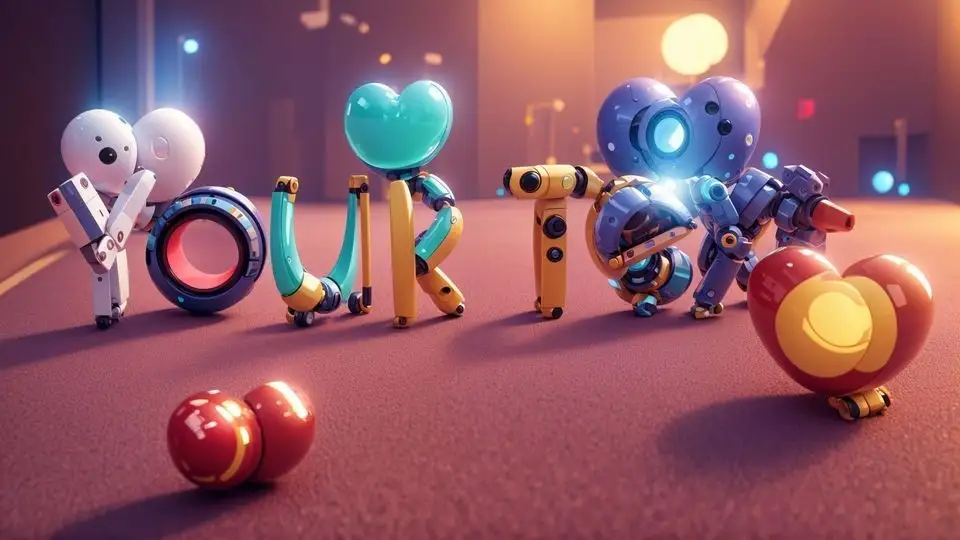
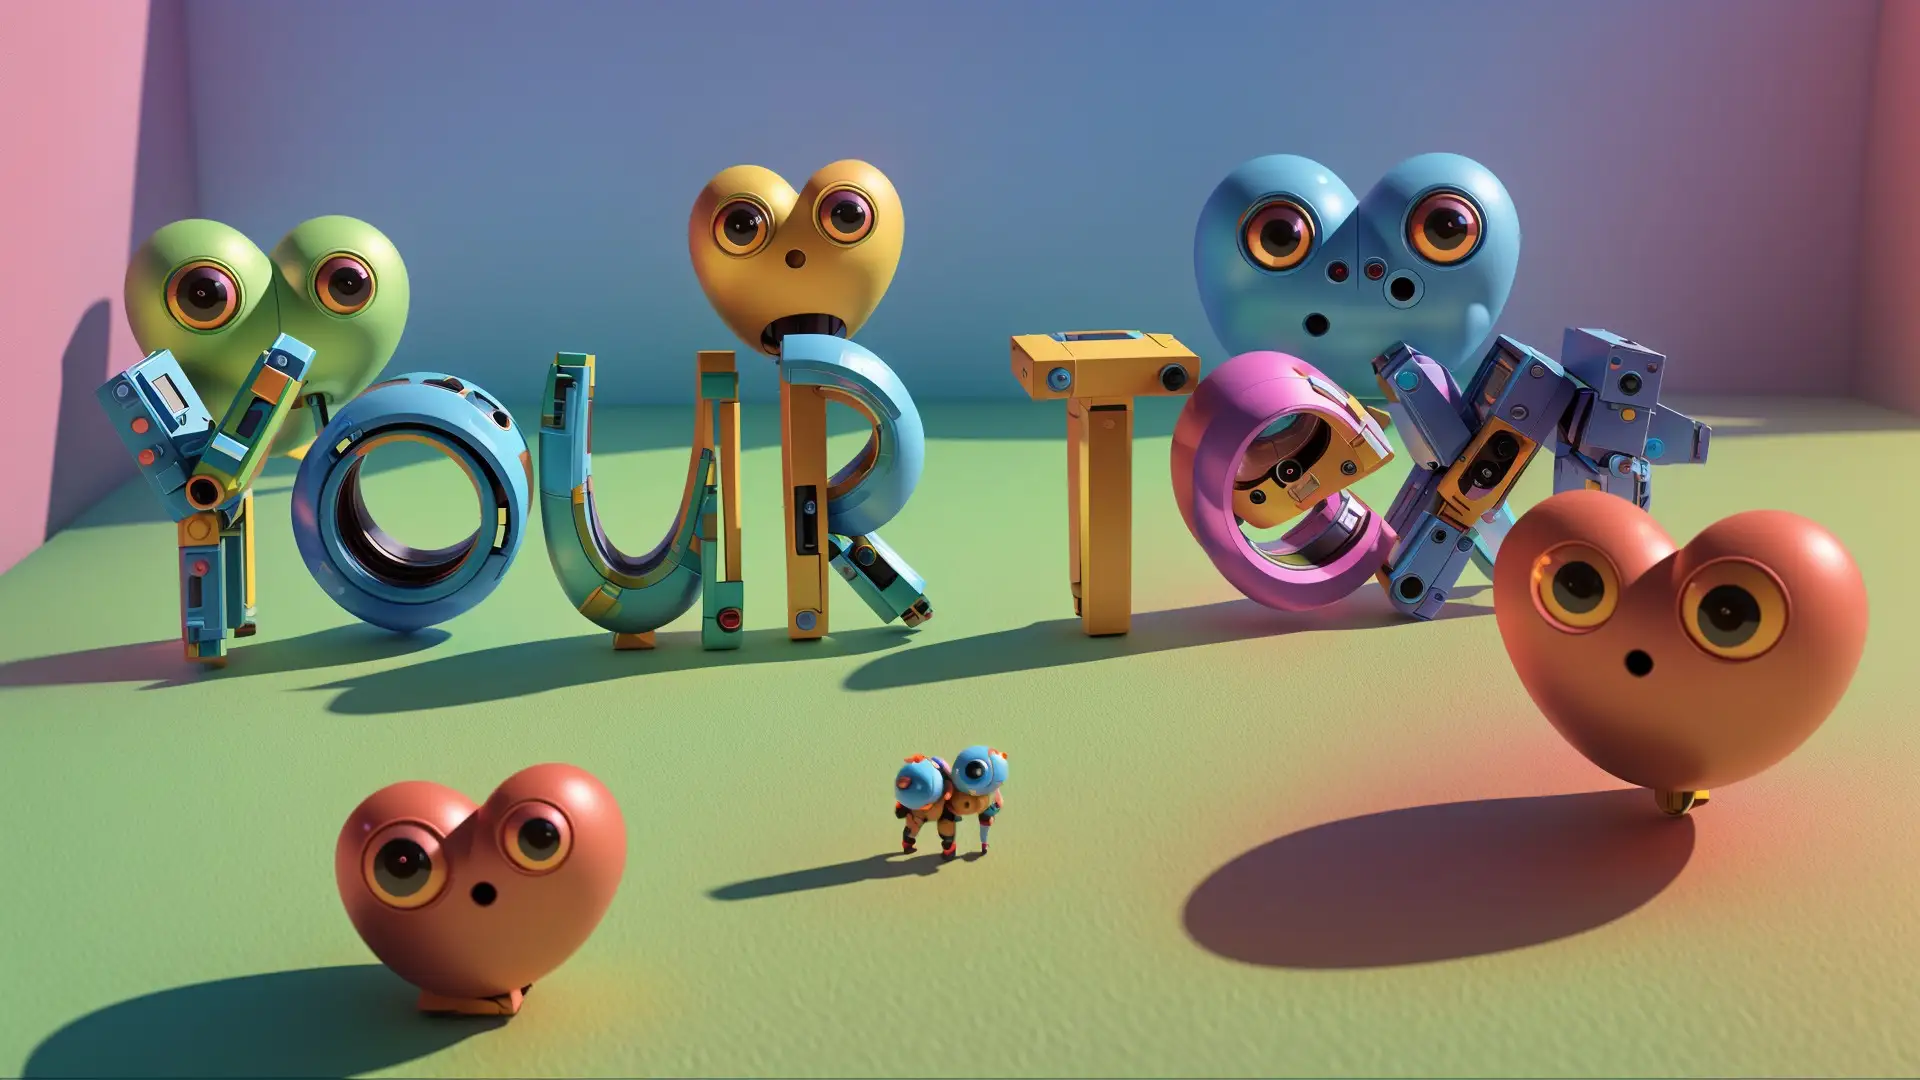
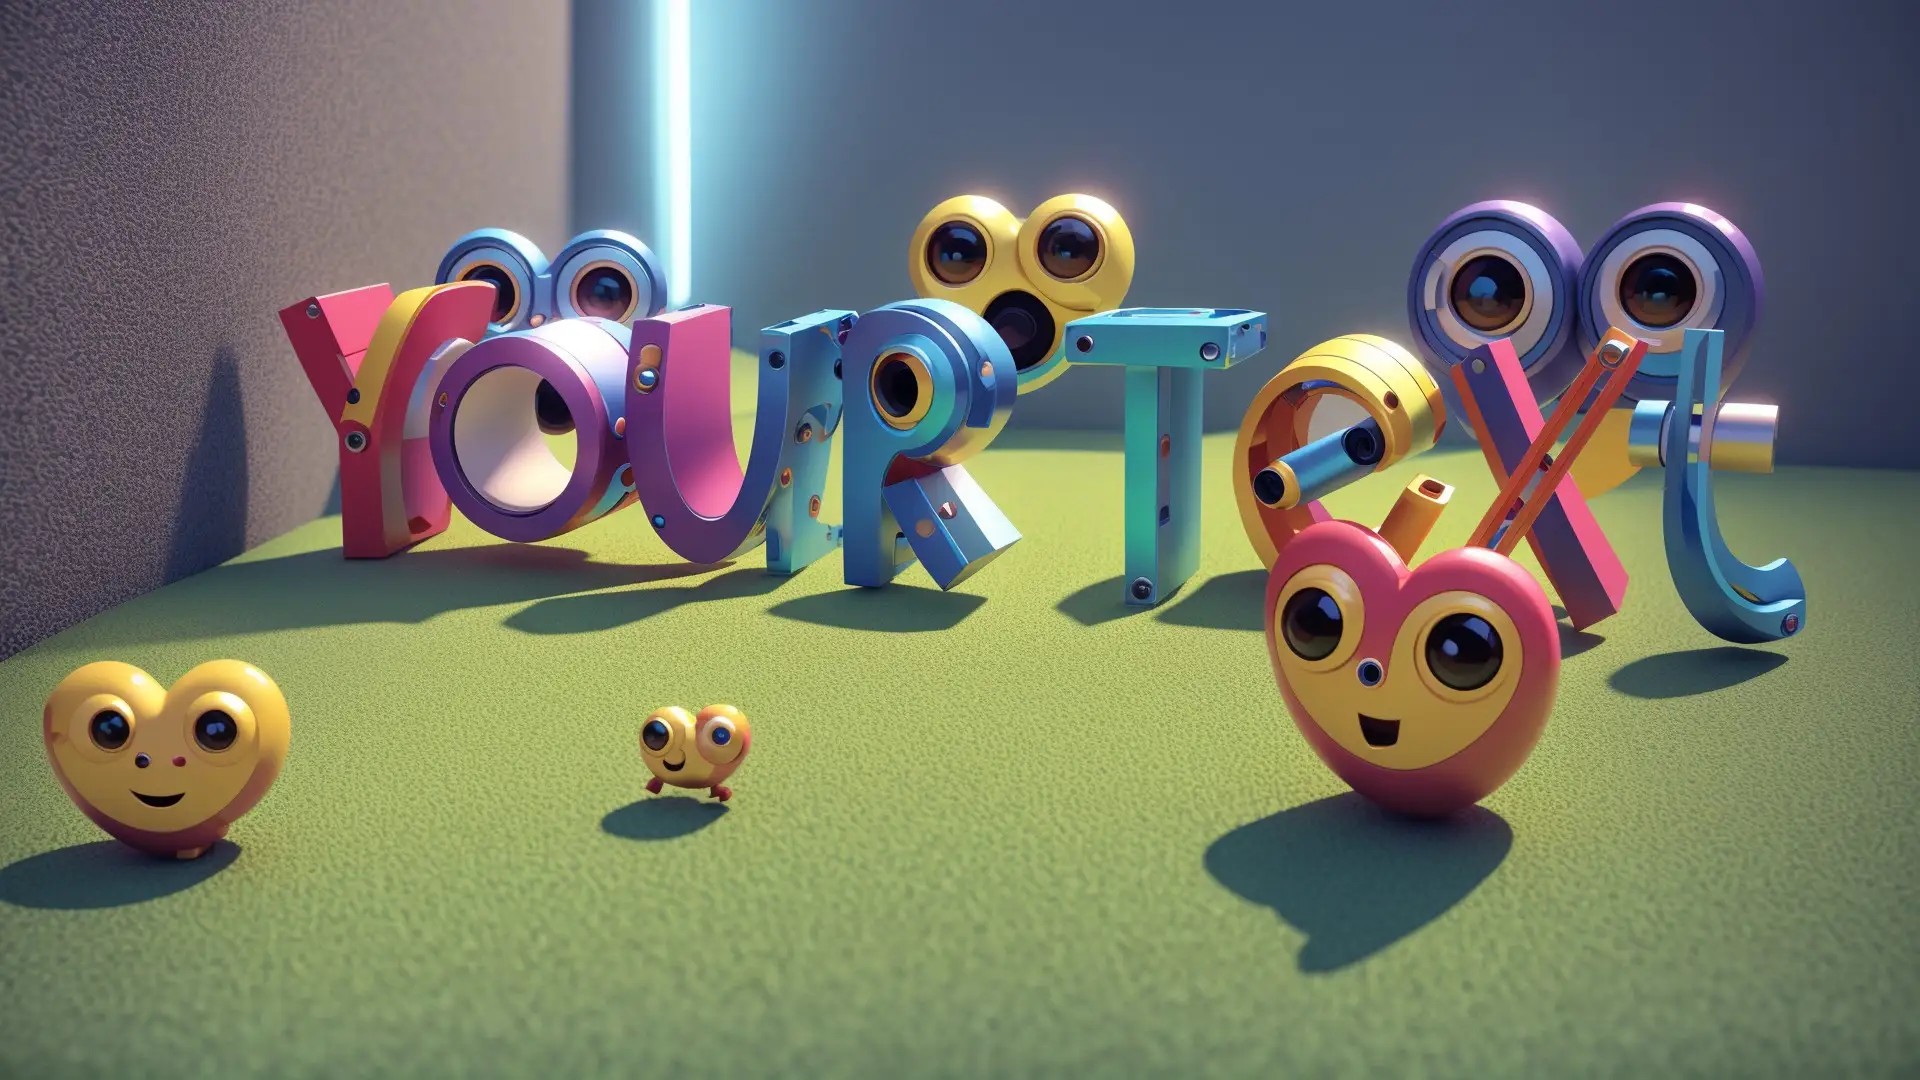
Mark as completedOk, now lets press the "Generate Another" button, and this time type "Cute Robots (3D, masterpiece, best quality, cute, colorful, depth of field, tilt-shift lens)" - this is instructing the A.I to try to attempt to add extra characteristics to our render
As you can see the A.I has managed to add some lighting effects that have changed the output to make it subjectively better.
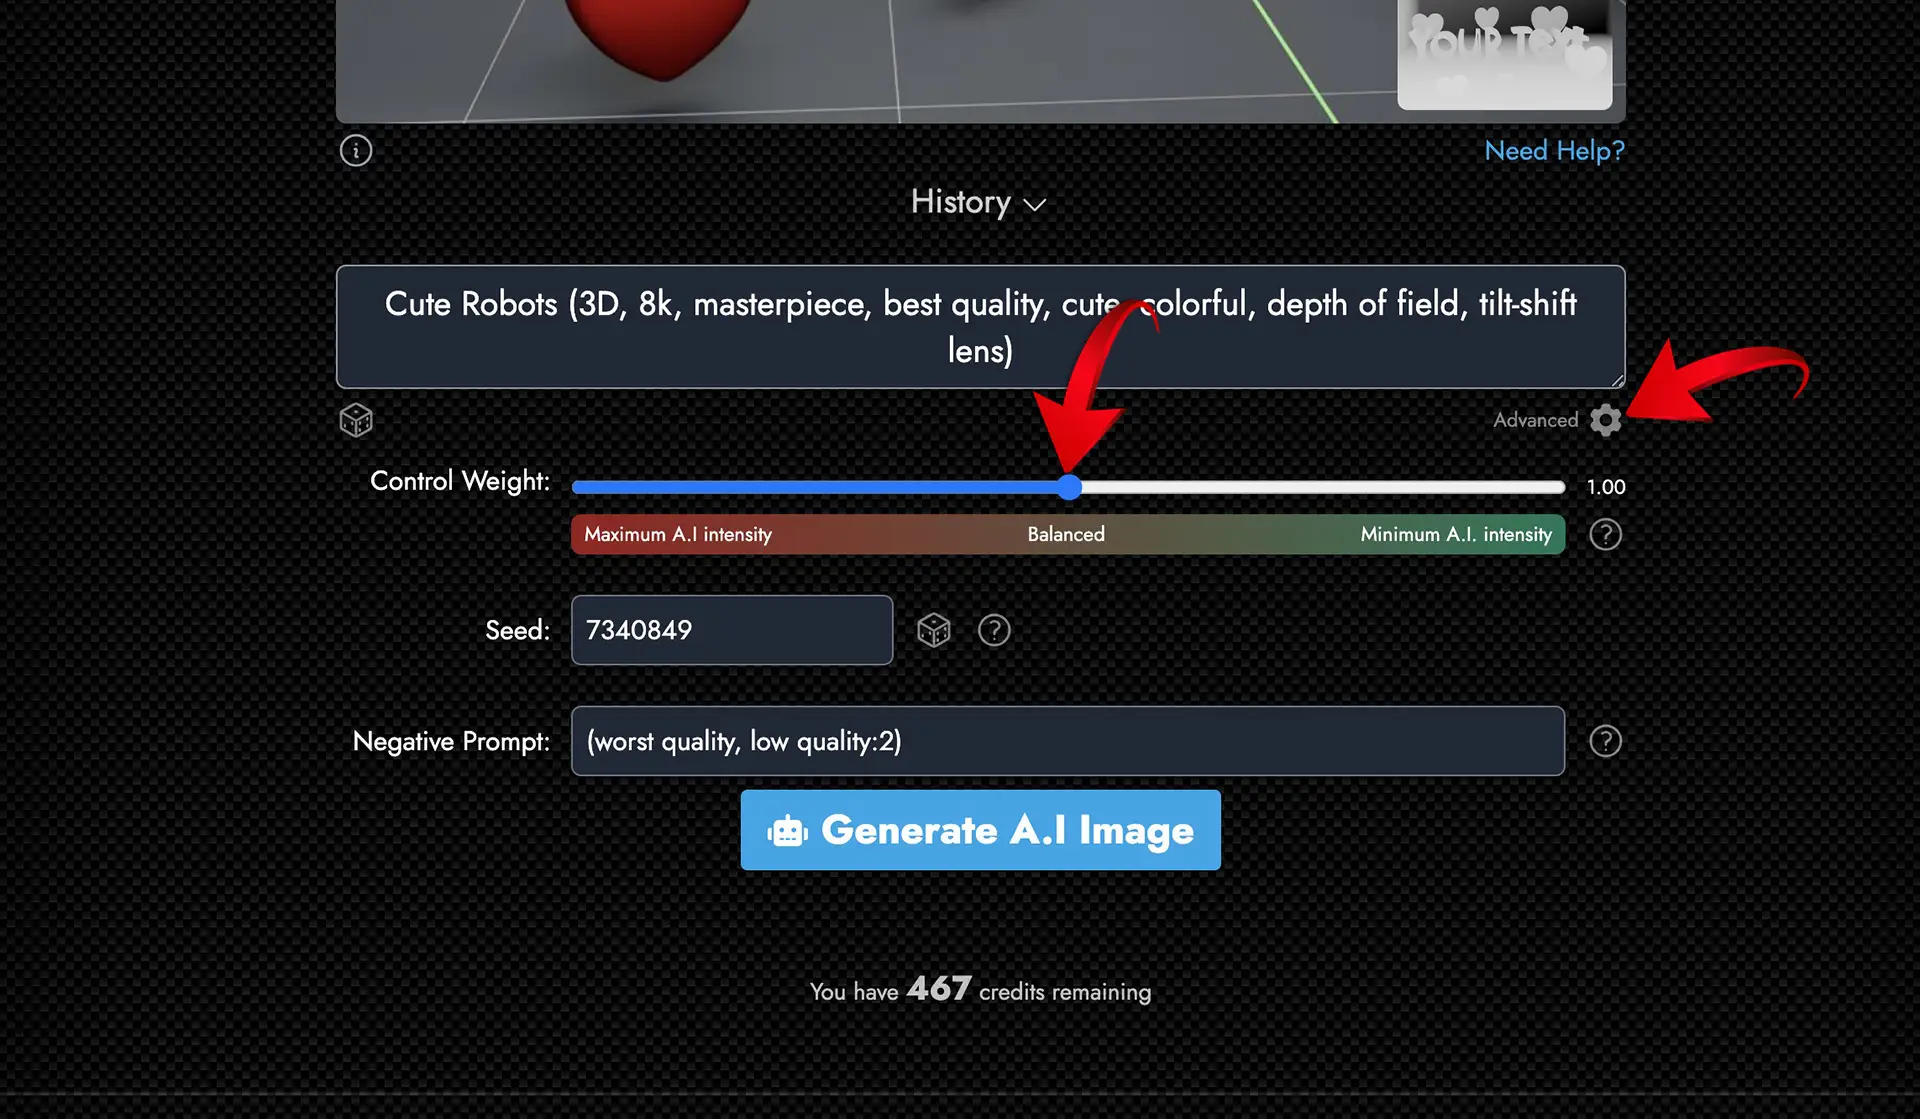
9. Advanced Settings - Control Weight
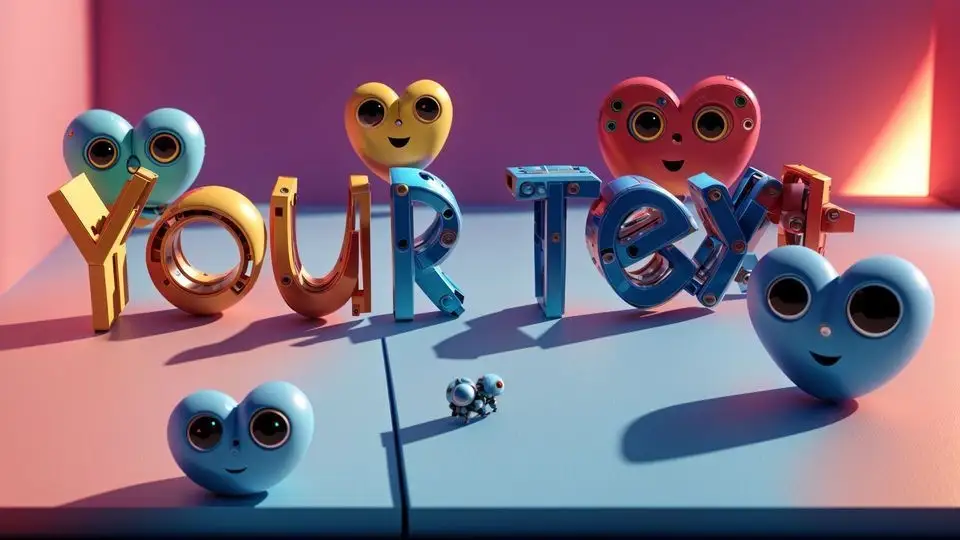
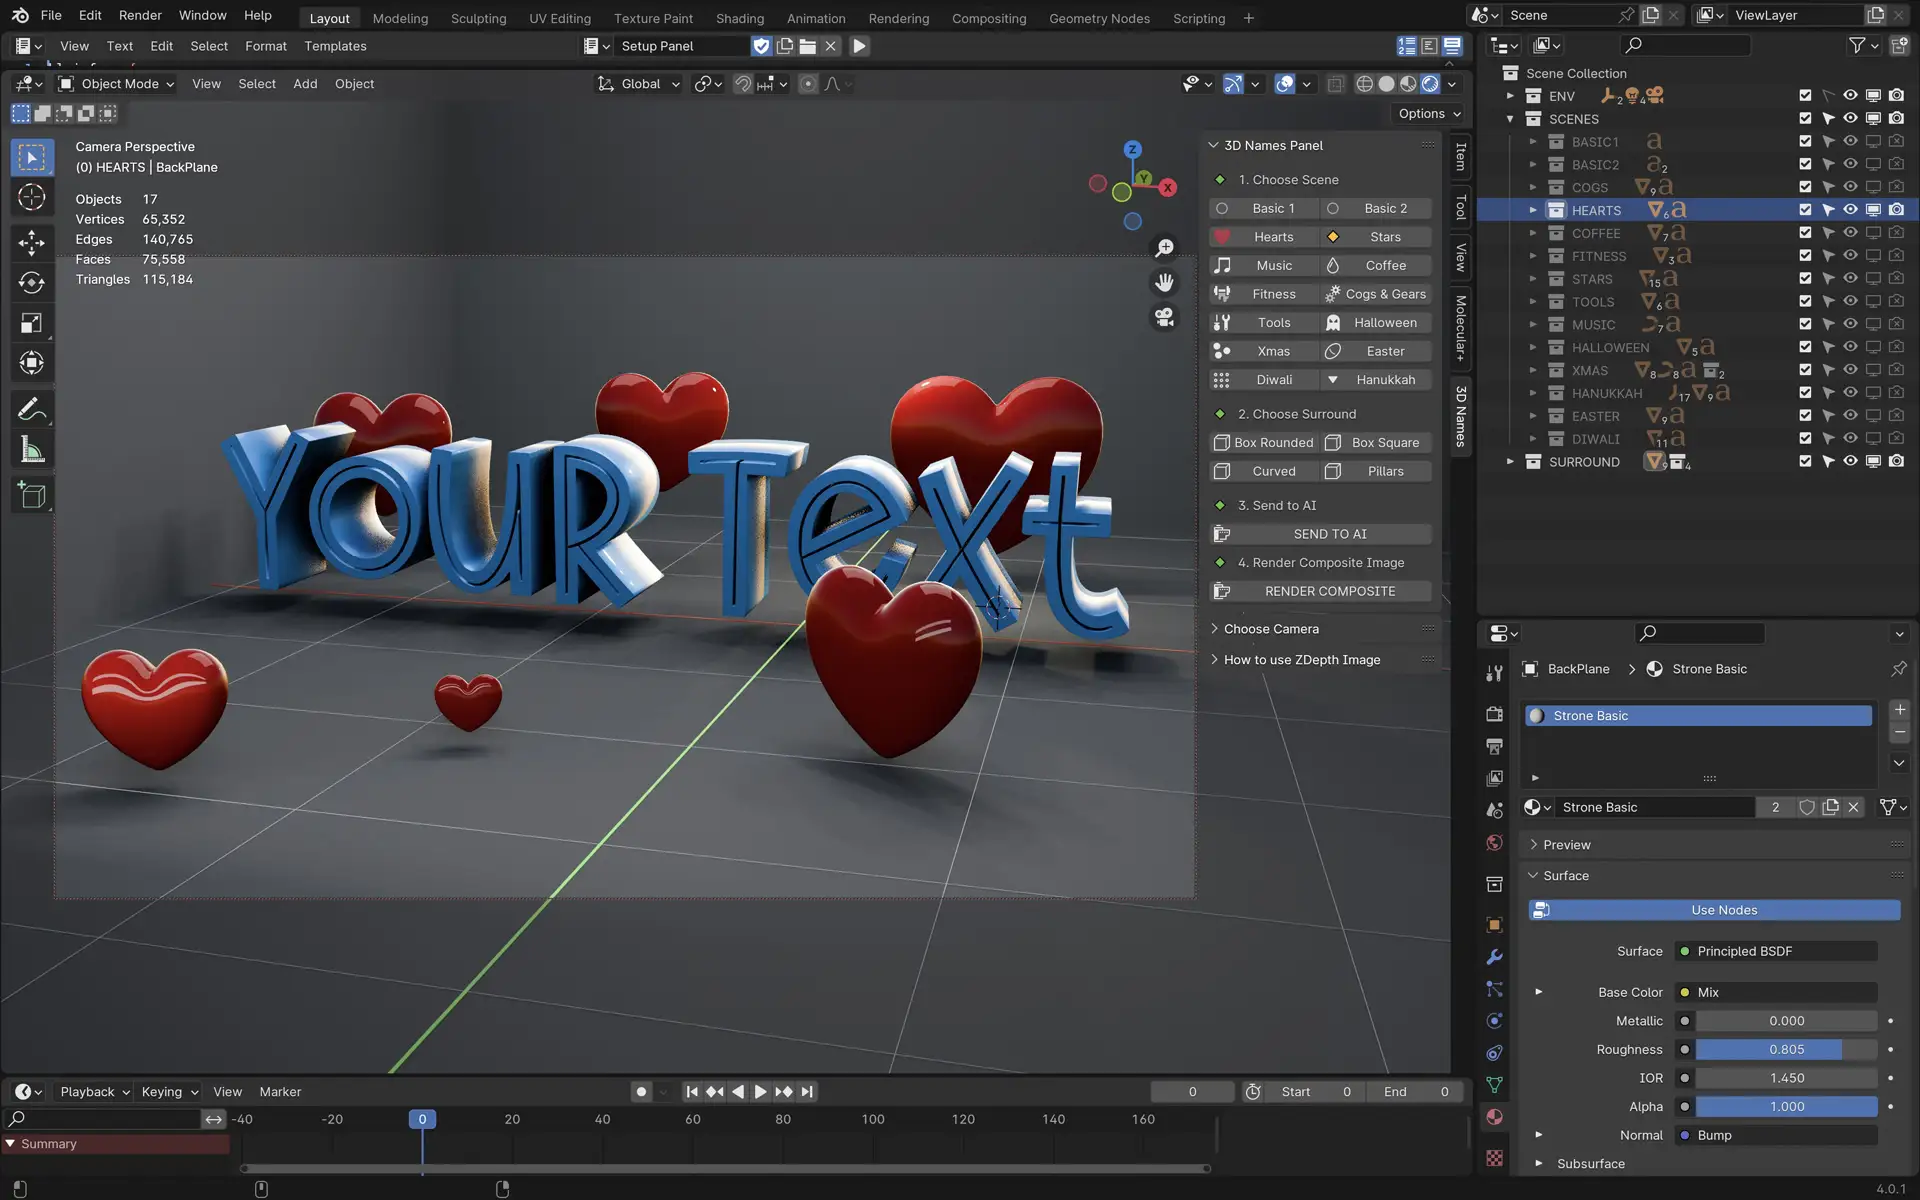
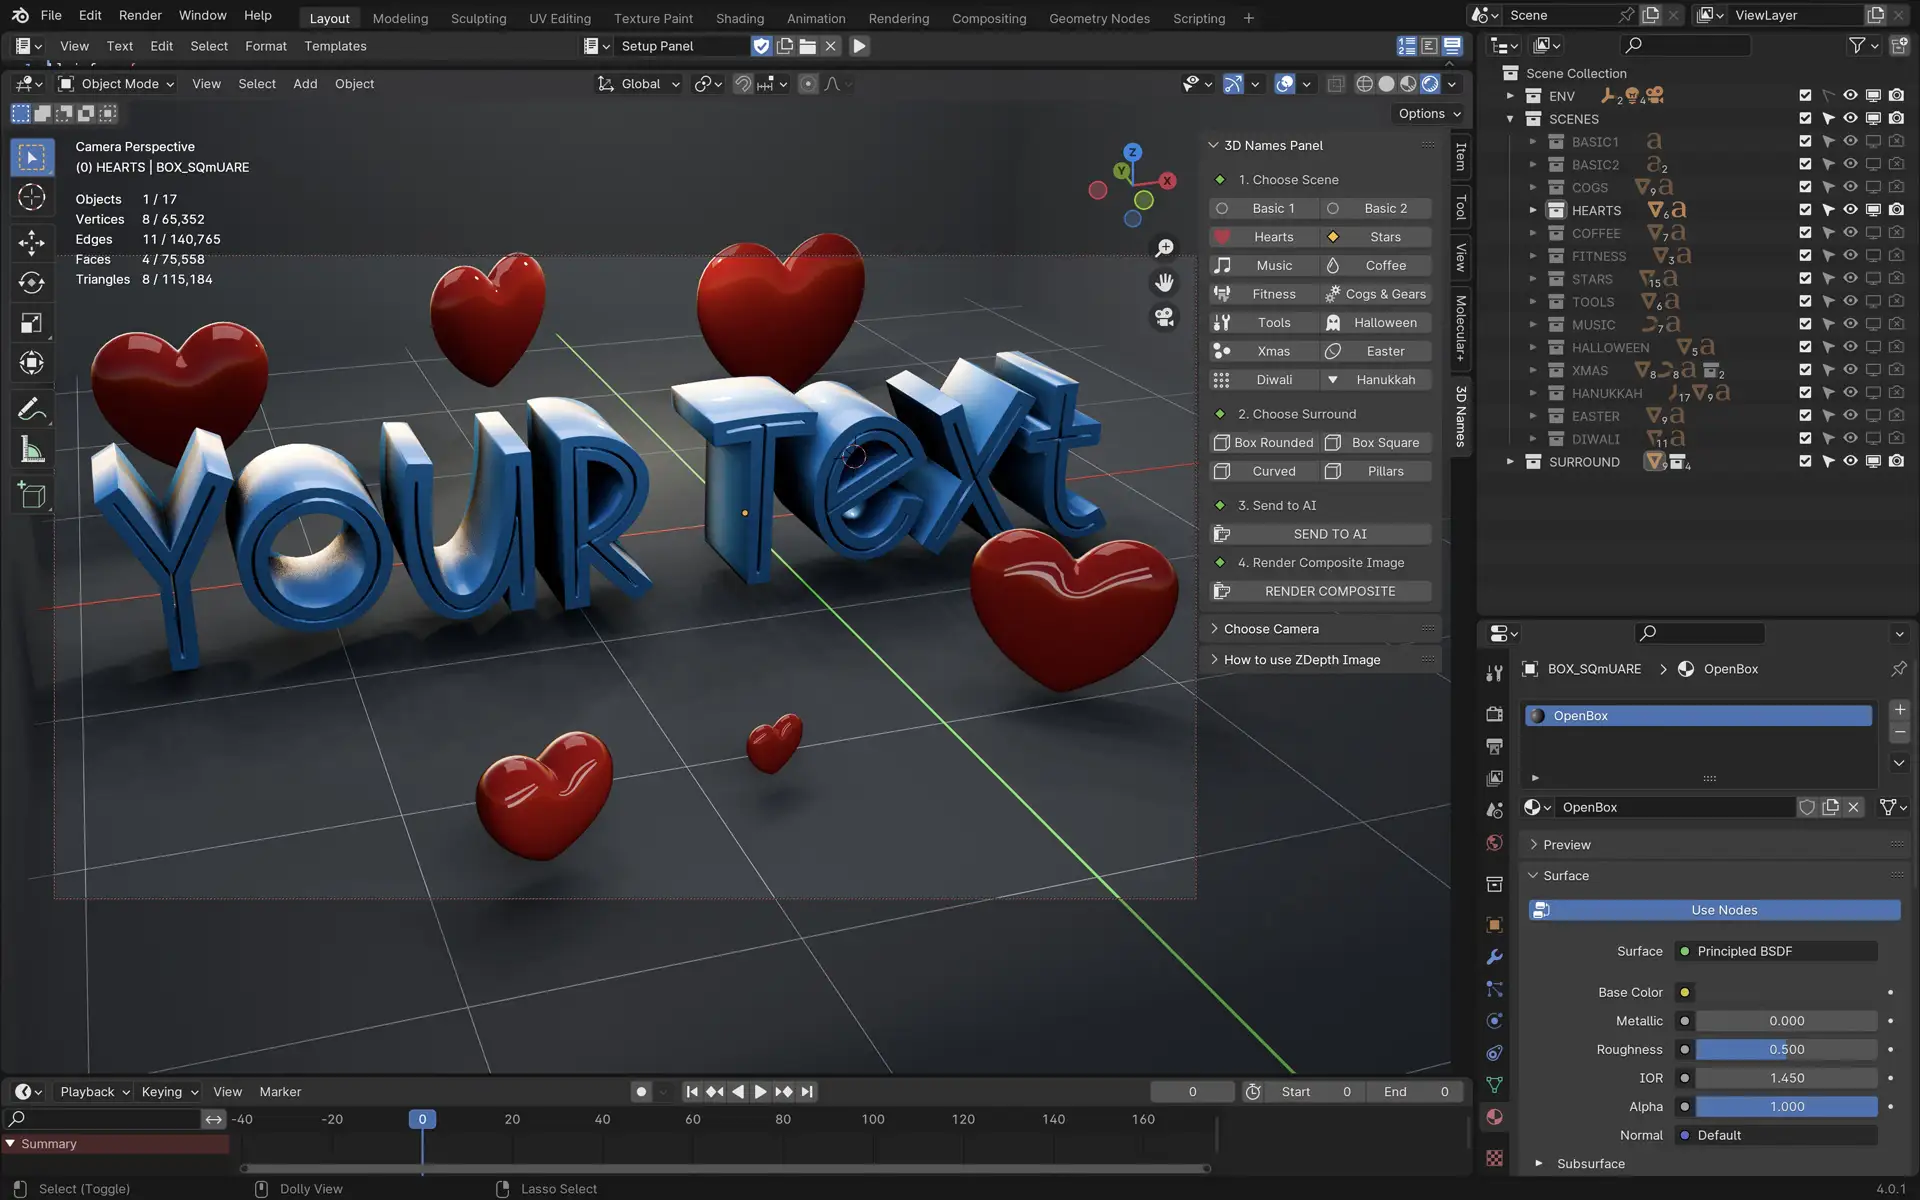
Mark as completedUnder the prompt input box, now press the "Advanced" ⚙️ Button, here you get access to more settings such as "Negative Prompt" to try and remove things you don't want, the "Seed" to change the randomness of the A.I starting value and the "Control Weight" - This basically instructs the A.I to either use a really intense/heavy setting and leave less detail from your scene intact (Lower value) or to keep more of your Scene in tact and use less of the A.I generated image (Higher value) - so lets now render 2 images, one using a value of 0.5, and the other using a value of 1.5:
As you can see the first render has more detail, but the text becomes a bit harder to read, and the second image has more readable text, but less detail overall. Playing with the control weight allows you to get the right balance for your image. Be warned however, using a value of 0.0 means your image will be 100% A.I generated and may not look anything like your original scene.
10. Advanced Settings - Seed
Mark as completedOnce you are happy with your prompt and control weight, if you want to now render more variations to find the result your are looking for, simply press the "Generate Another" button and press the dice icon next to the seed (or type in a number) to change the seed value, this will give you a different result each time.

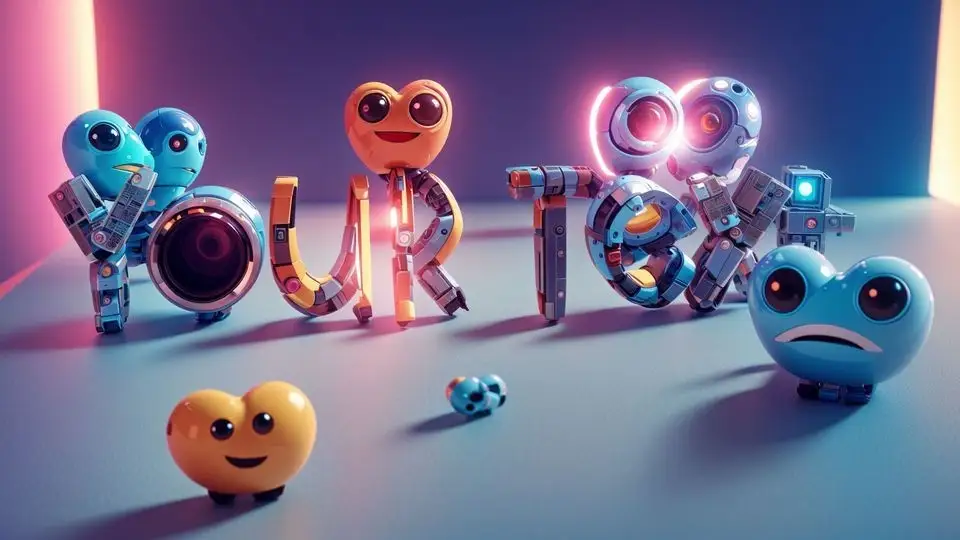
Changing the seed gives us a different result each time, so you can keep pressing the "Generate Another" button and change the seed to get a result you are happy with.
11. Moving Objects in the Scene
Mark as completedTo move an object in the scene, simply select the object, then press the "G" key and move your mouse to move the object, you can move it on a specific axis by pressing "G" then "X" (left or right) or "Y" (forward or backwards) or "Z" (up or down) to move on that axis only.
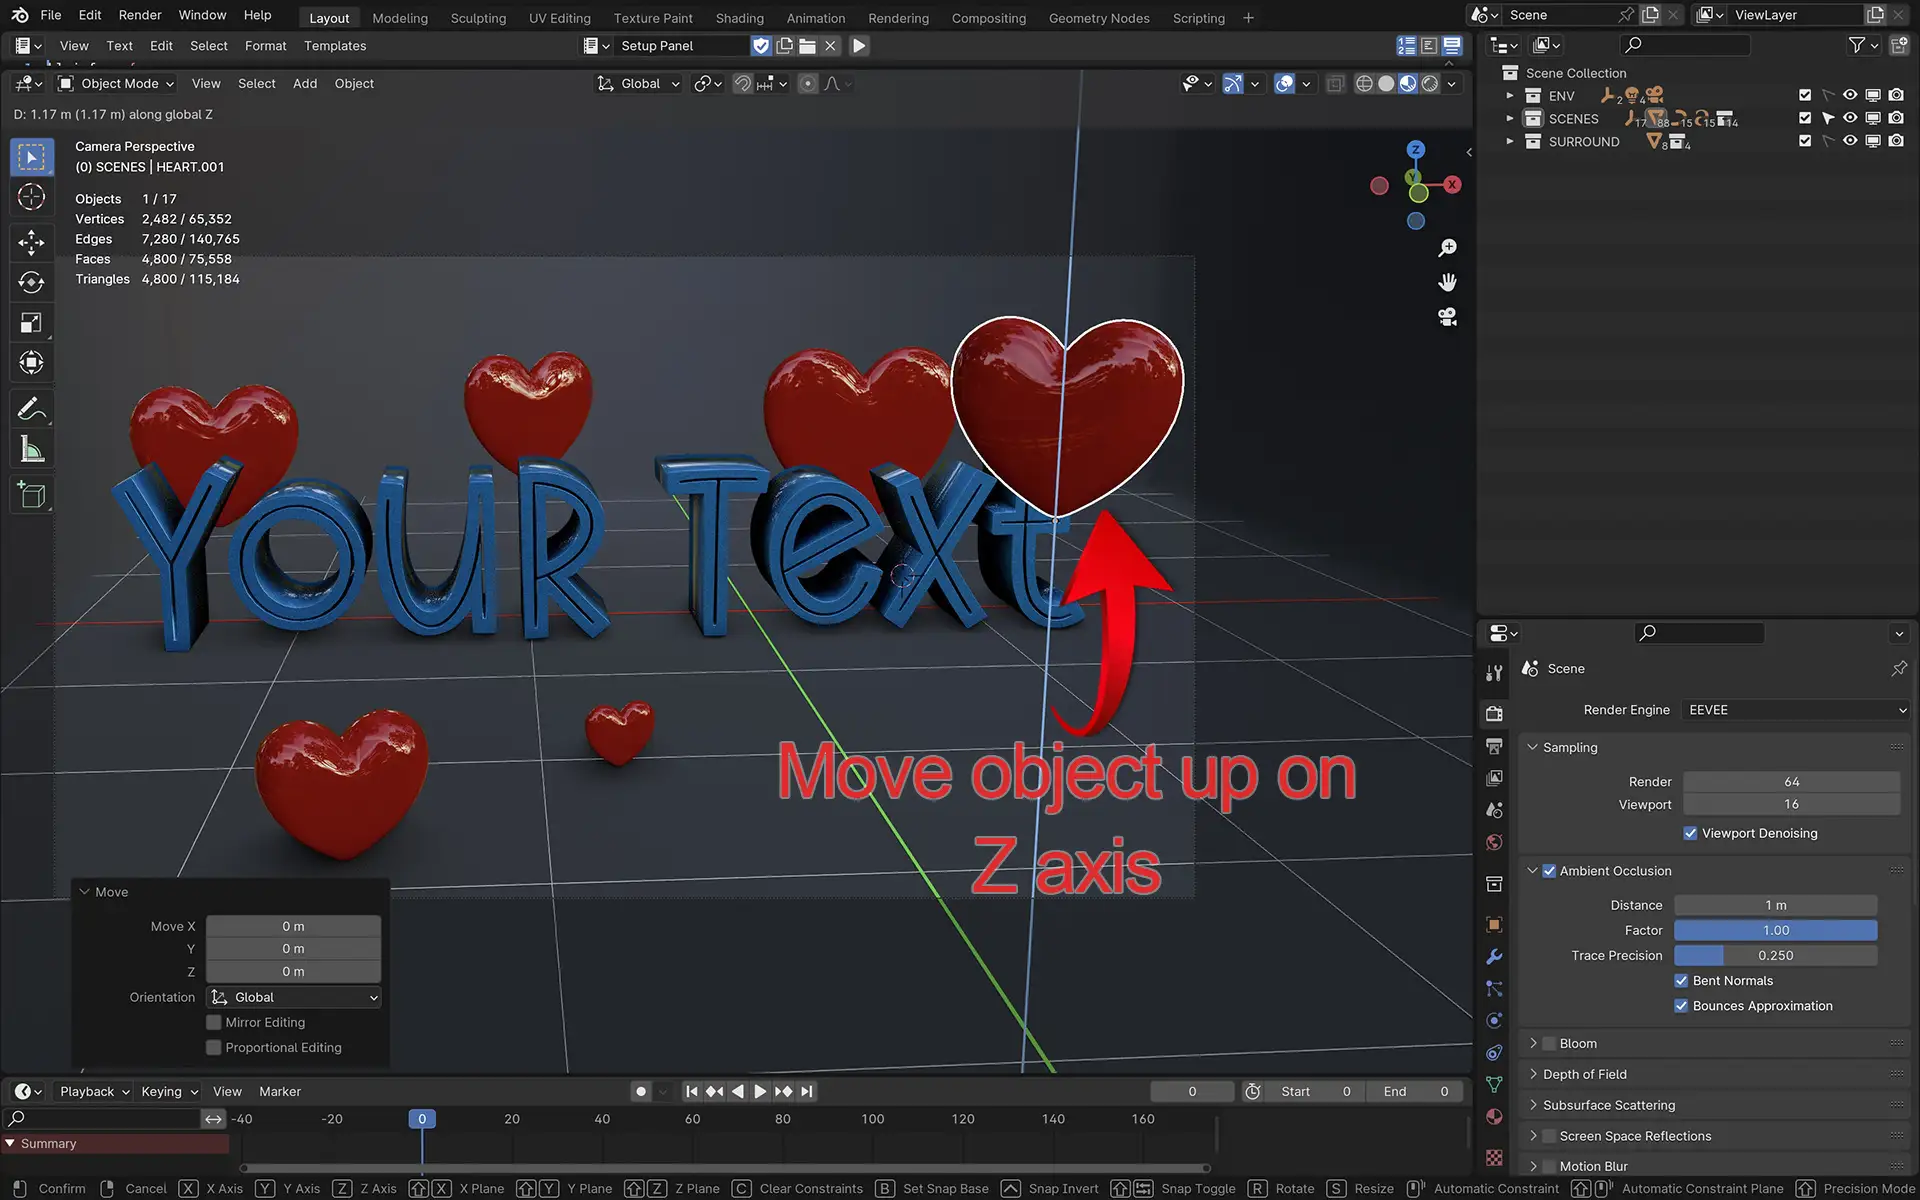
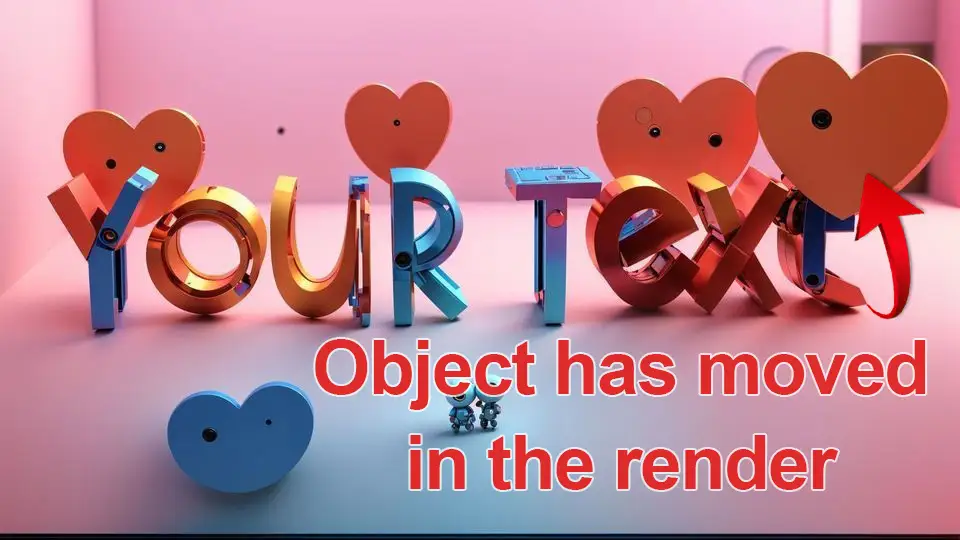
By moving the objects you now have full control over the scene and placement of any objects
12. Try out different Prompts
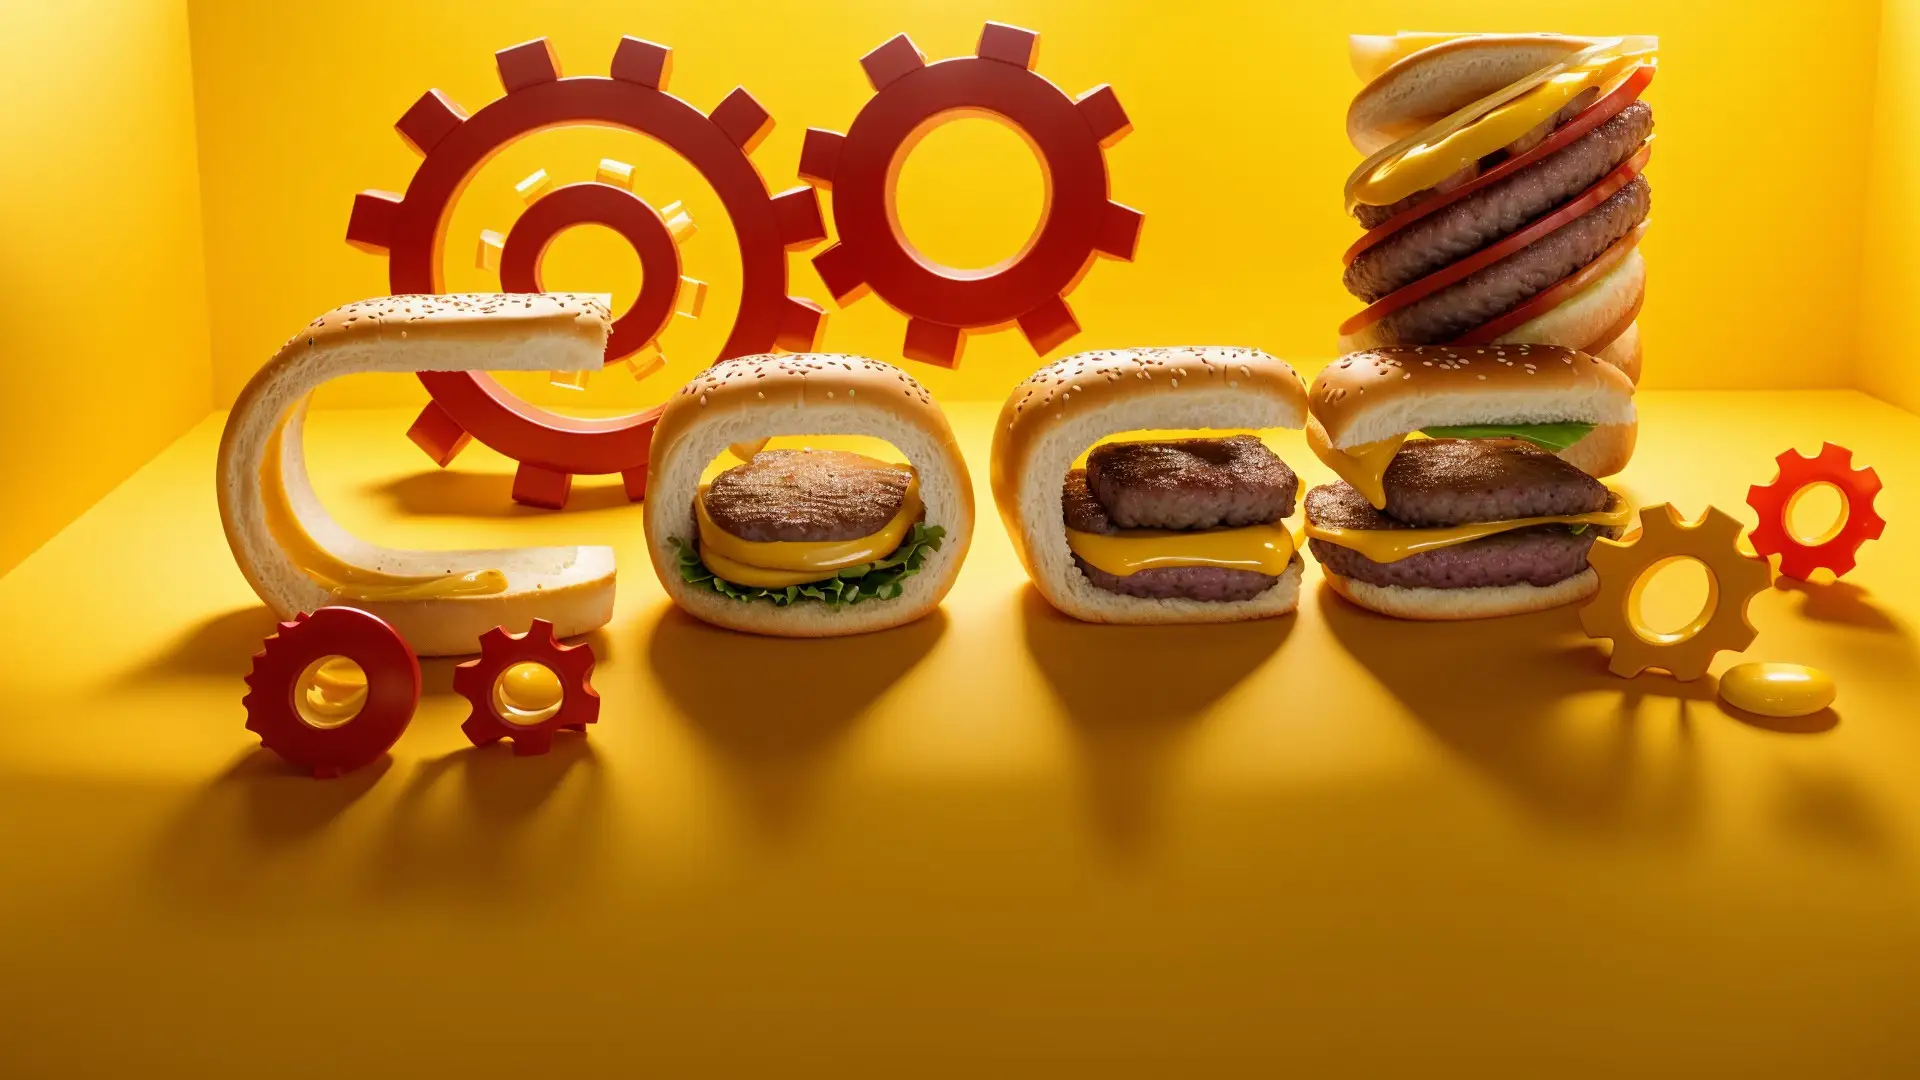
Mark as completedRight - lets now try adding 3 new prompts to see what we can do, lets try "Brocoli", "Ice Cubes and Lemons", "Water Splash", "Expensive Diamonds"
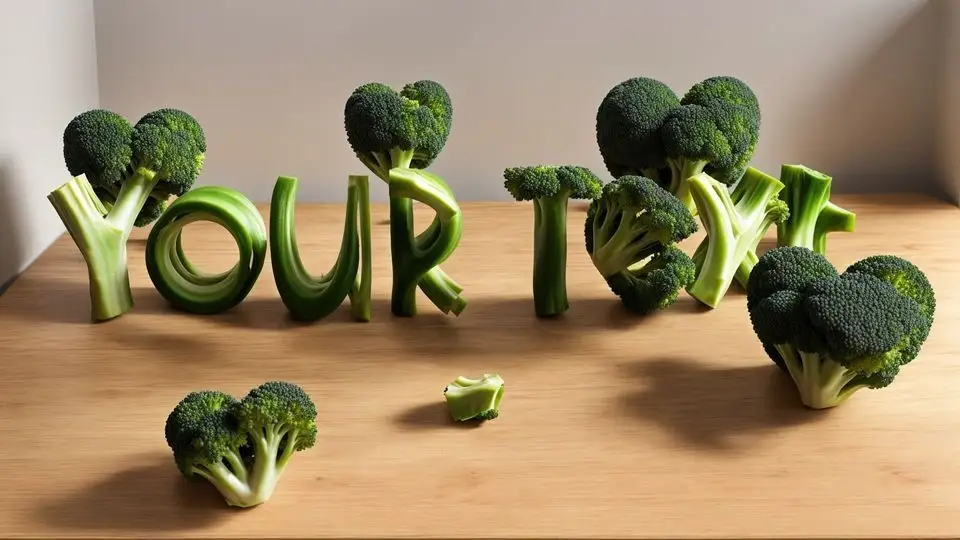


Try out different prompts and see what the A.I can come up with
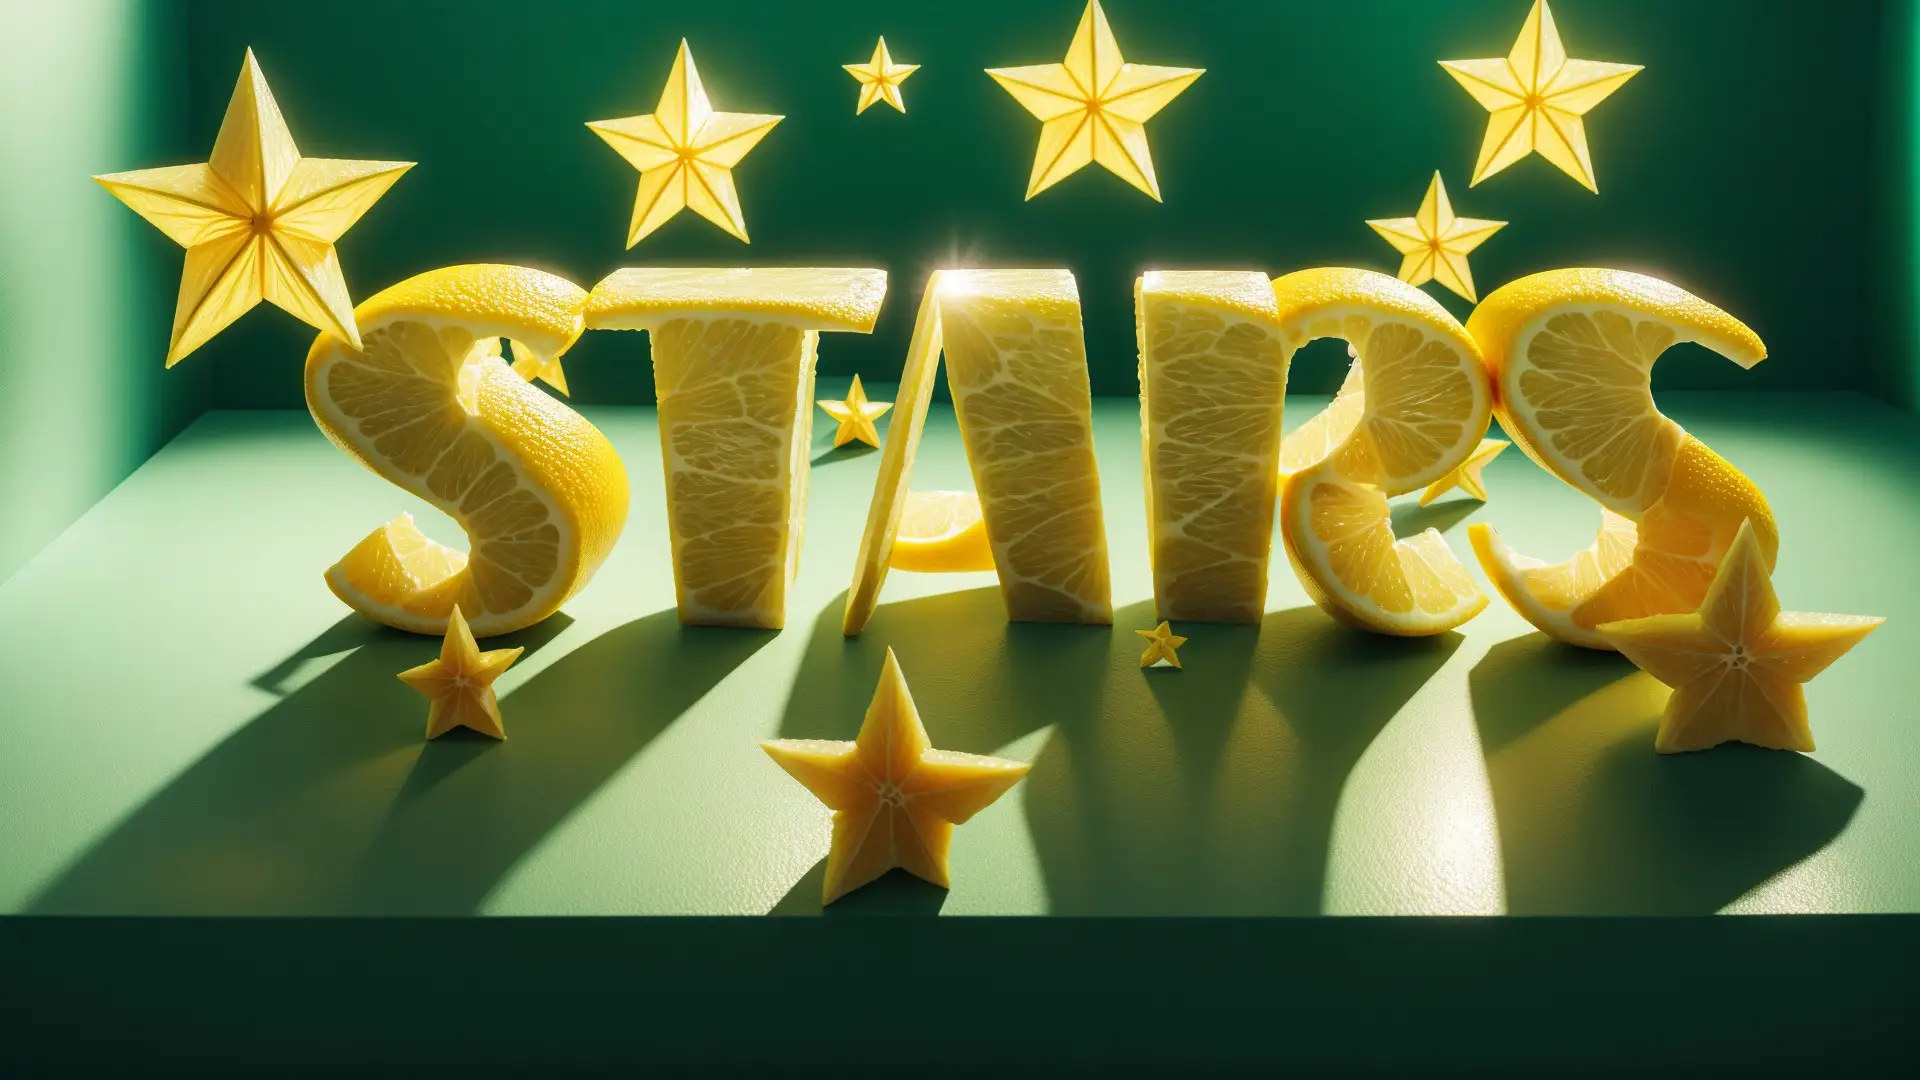
13. Try out different Scenes
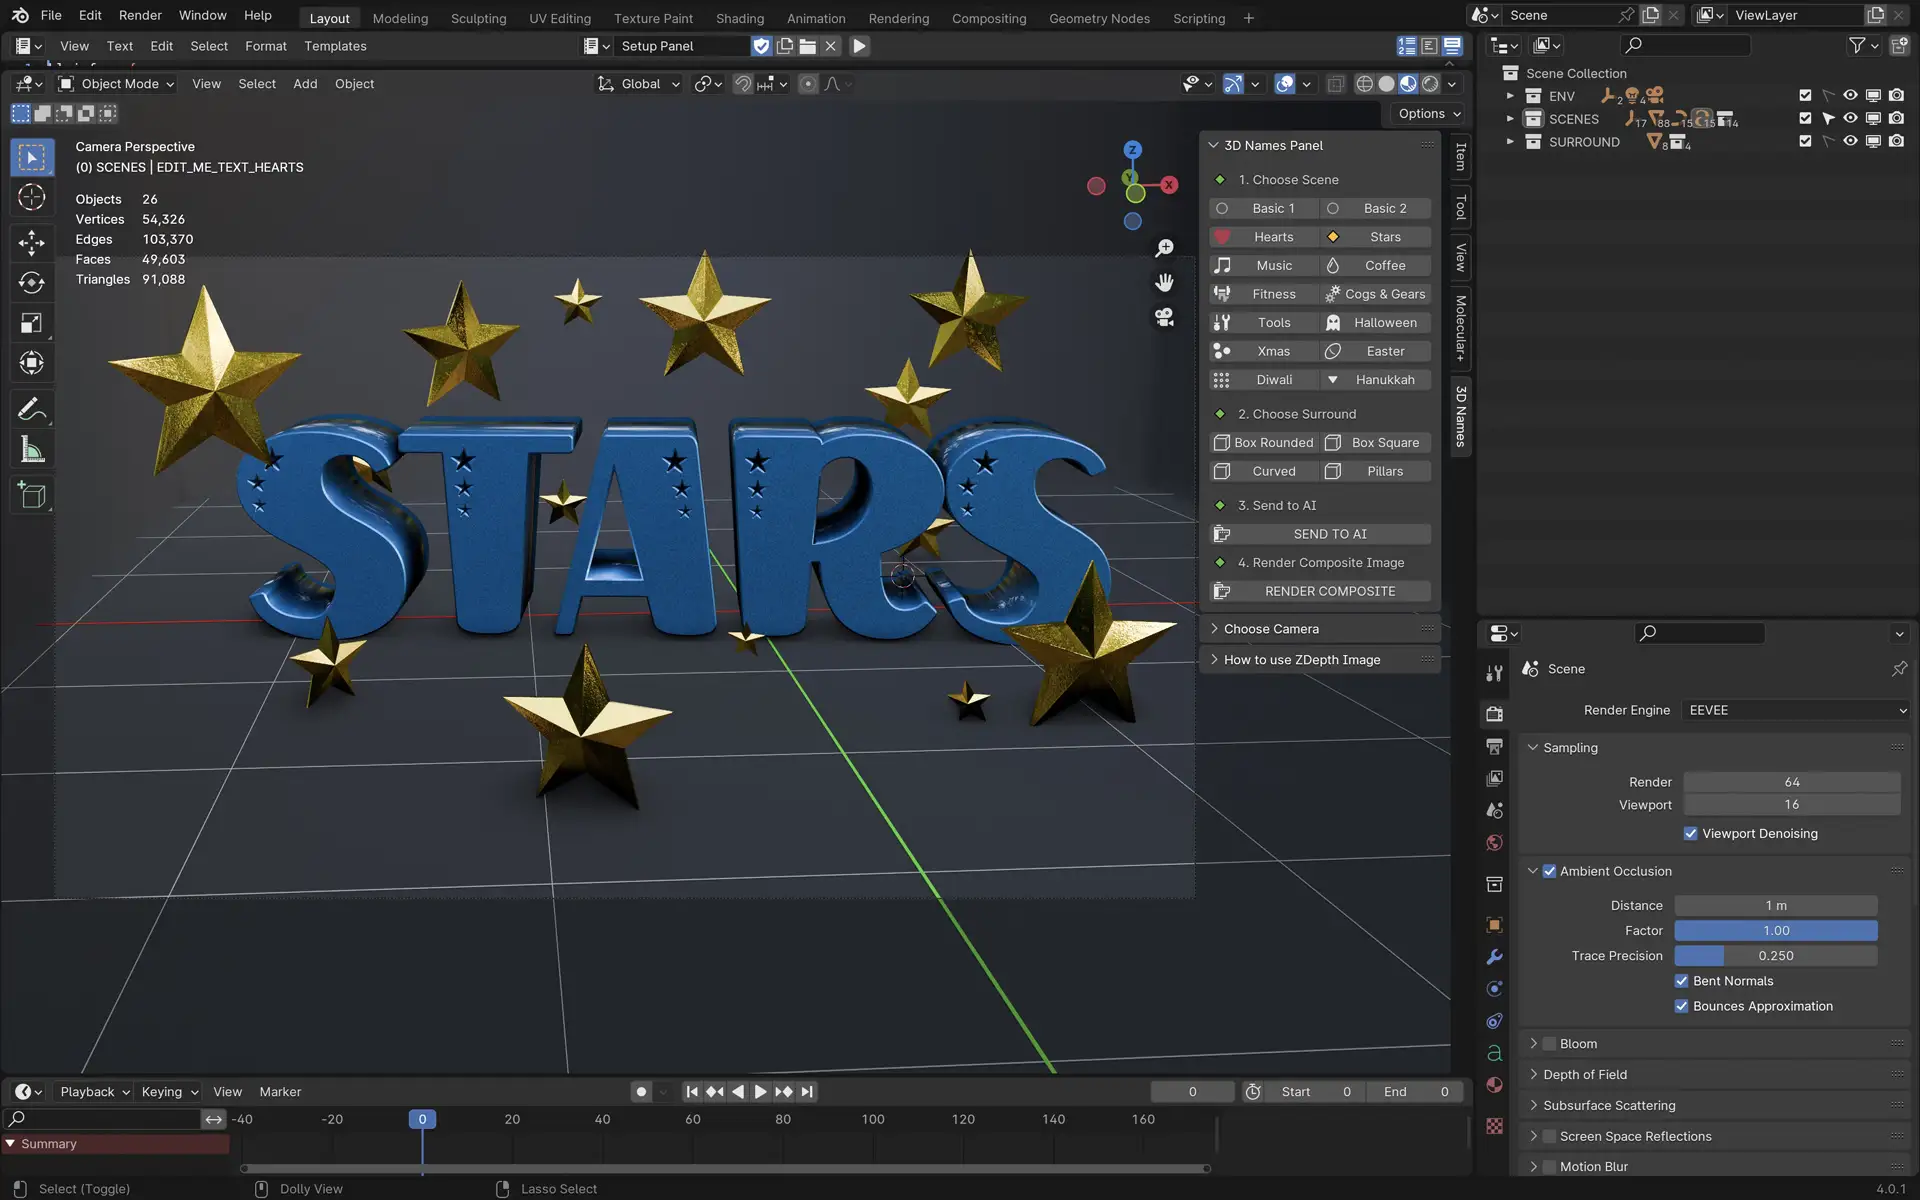
Mark as completedSo far we have just been using the hearts scene, now lets try out the Stars scene, Cogs & Gears and the Xmas scenes, using some other prompts.


14. Change the camera angle
Mark as completedBy default the camera view is locked - to change this go to the view tab as per the screenshot below and the select "Lock Camera to View" - then you can use the middle mouse button to rotate the camera and the scroll wheel to zoom in and out. Your A.I rendered scene will then match the camera angle you have chosen! Epic hey?
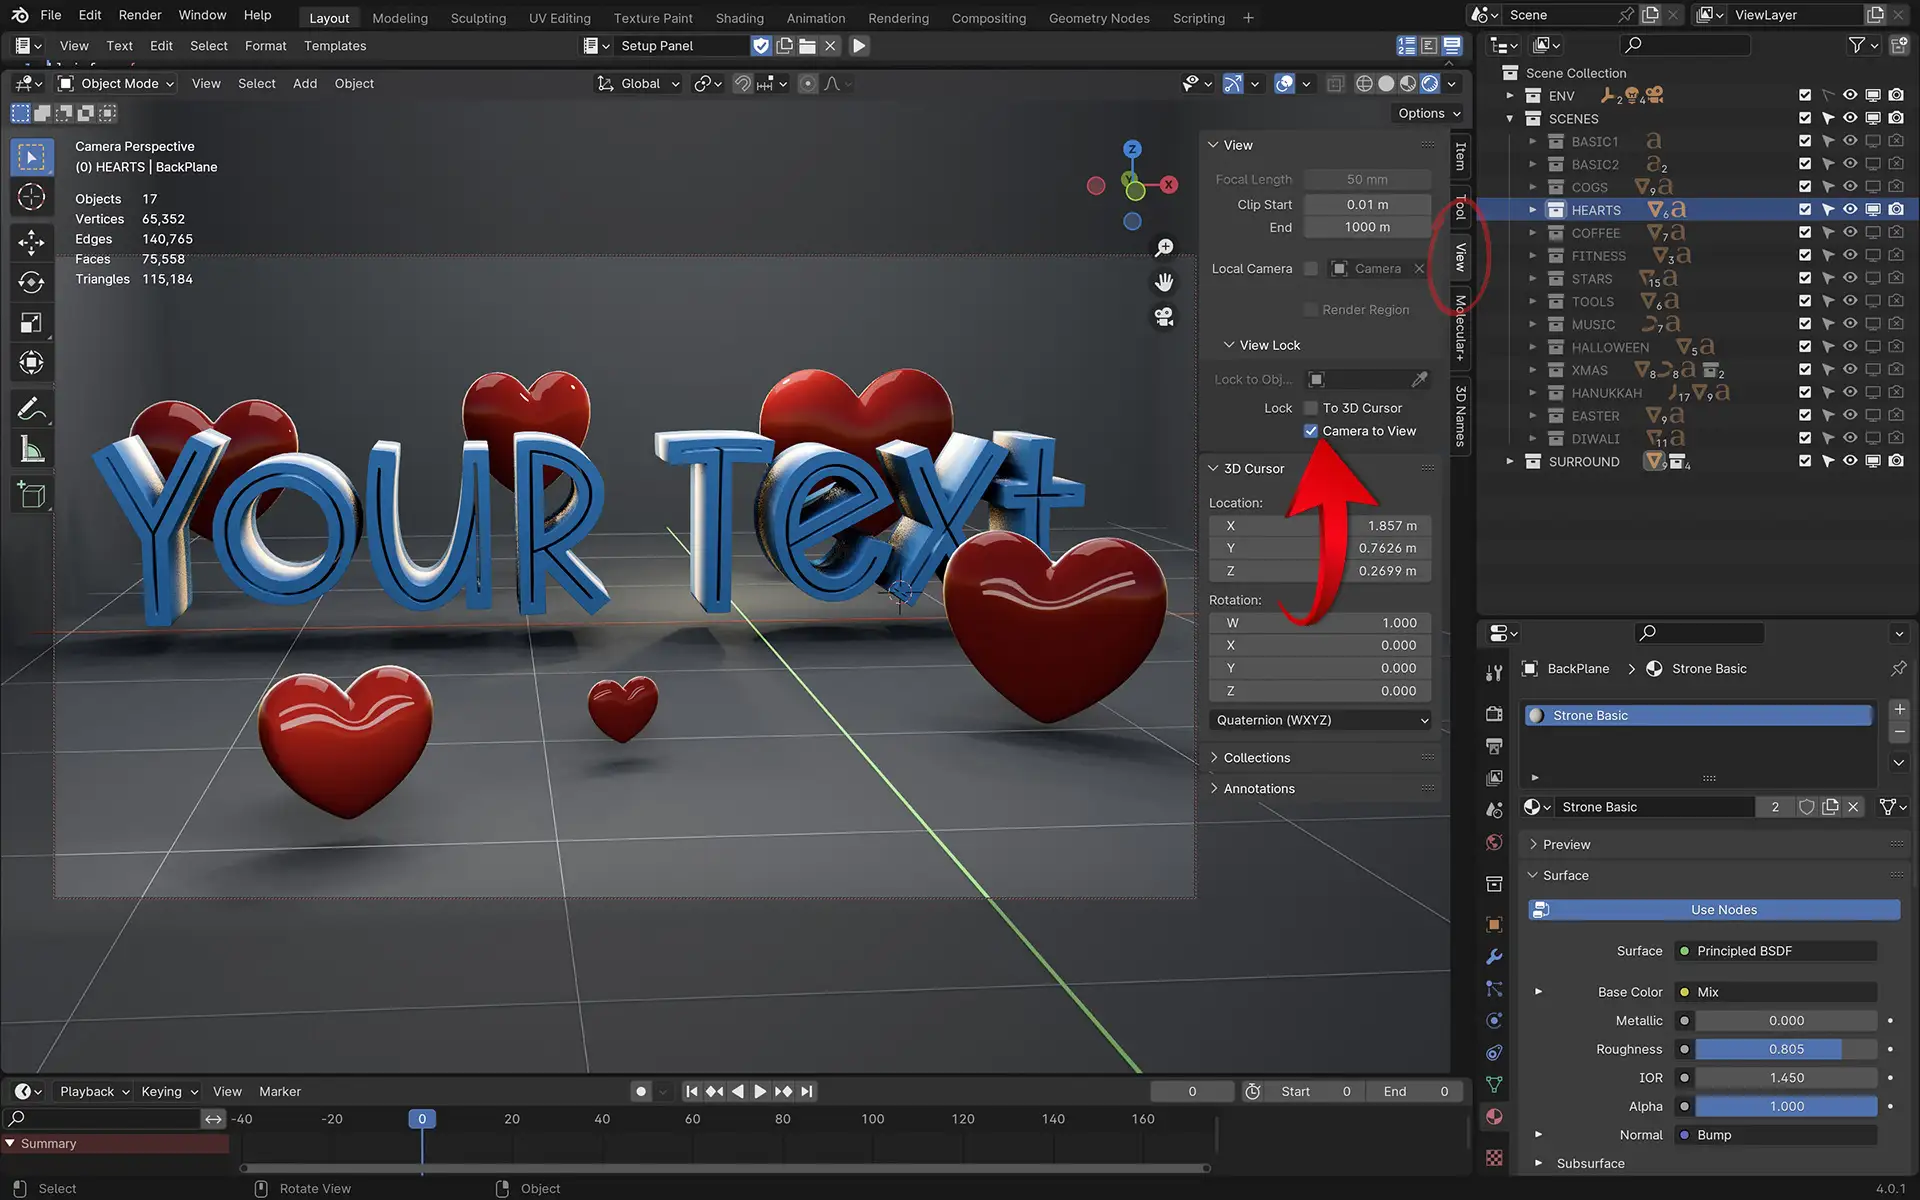
Change the camera angle to get your desired look
15. Import your own objects
Mark as completedNow lets try importing a model from online, a website that has thousands of amazing free models is www.sketchfab.com - there are paid and free models, but check the licenses as many require you to credit the author. In this example we are searching for "sneaker" and using this Reebok sneaker model Download the model as a ".usdz" file, and then in Blender go to File -> Import -> Universal Scene Description .usd and select the file you downloaded. If the object comes in either too large or too small you might need to scale it up or down using the "S" key. You can now move and rotate it using the "G" and "R" keys respectively. Finally, when you render your image using the A.I. it will appear rendered out in your chosen prompt!In this example we are using the "Basic 1 scene, and because we have imported a sneaker model we are using the prompt"a sneaker from the future, gold metal, electric, photo-realistic, (8k, masterpiece, best quality, volumetric lighting) and then we can swap the "gold metal" for red, blue, golden etc. Also because our imported objects is a sneaker, this is why we are instructing the A.I. prompt to begin with "a sneaker..."Now you can tweak the prompt to your own liking and experiment with different prompts to see what the A.I. can come up with!


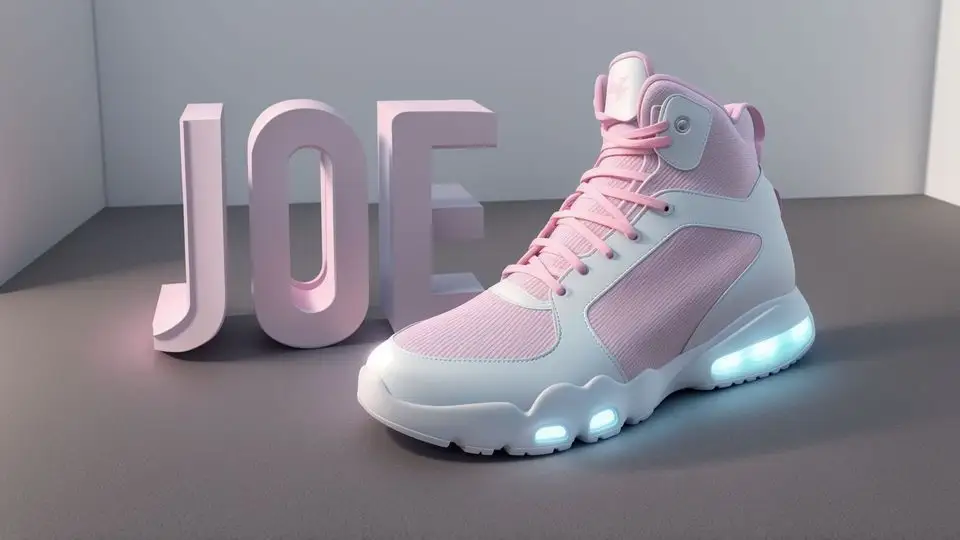
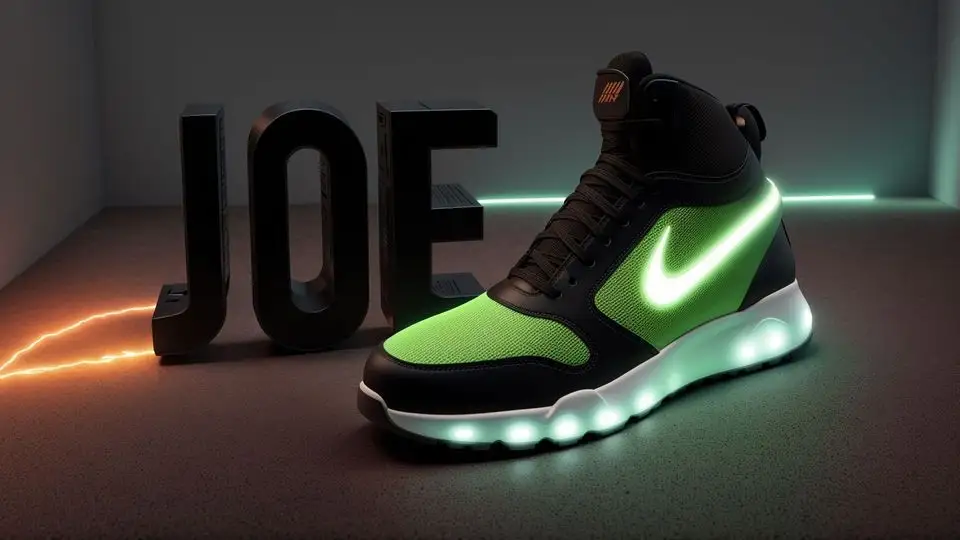
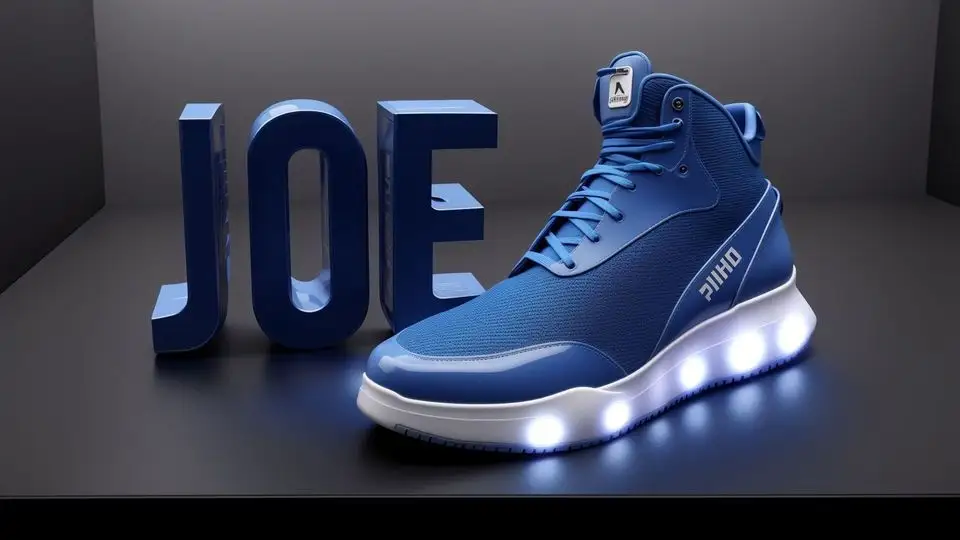
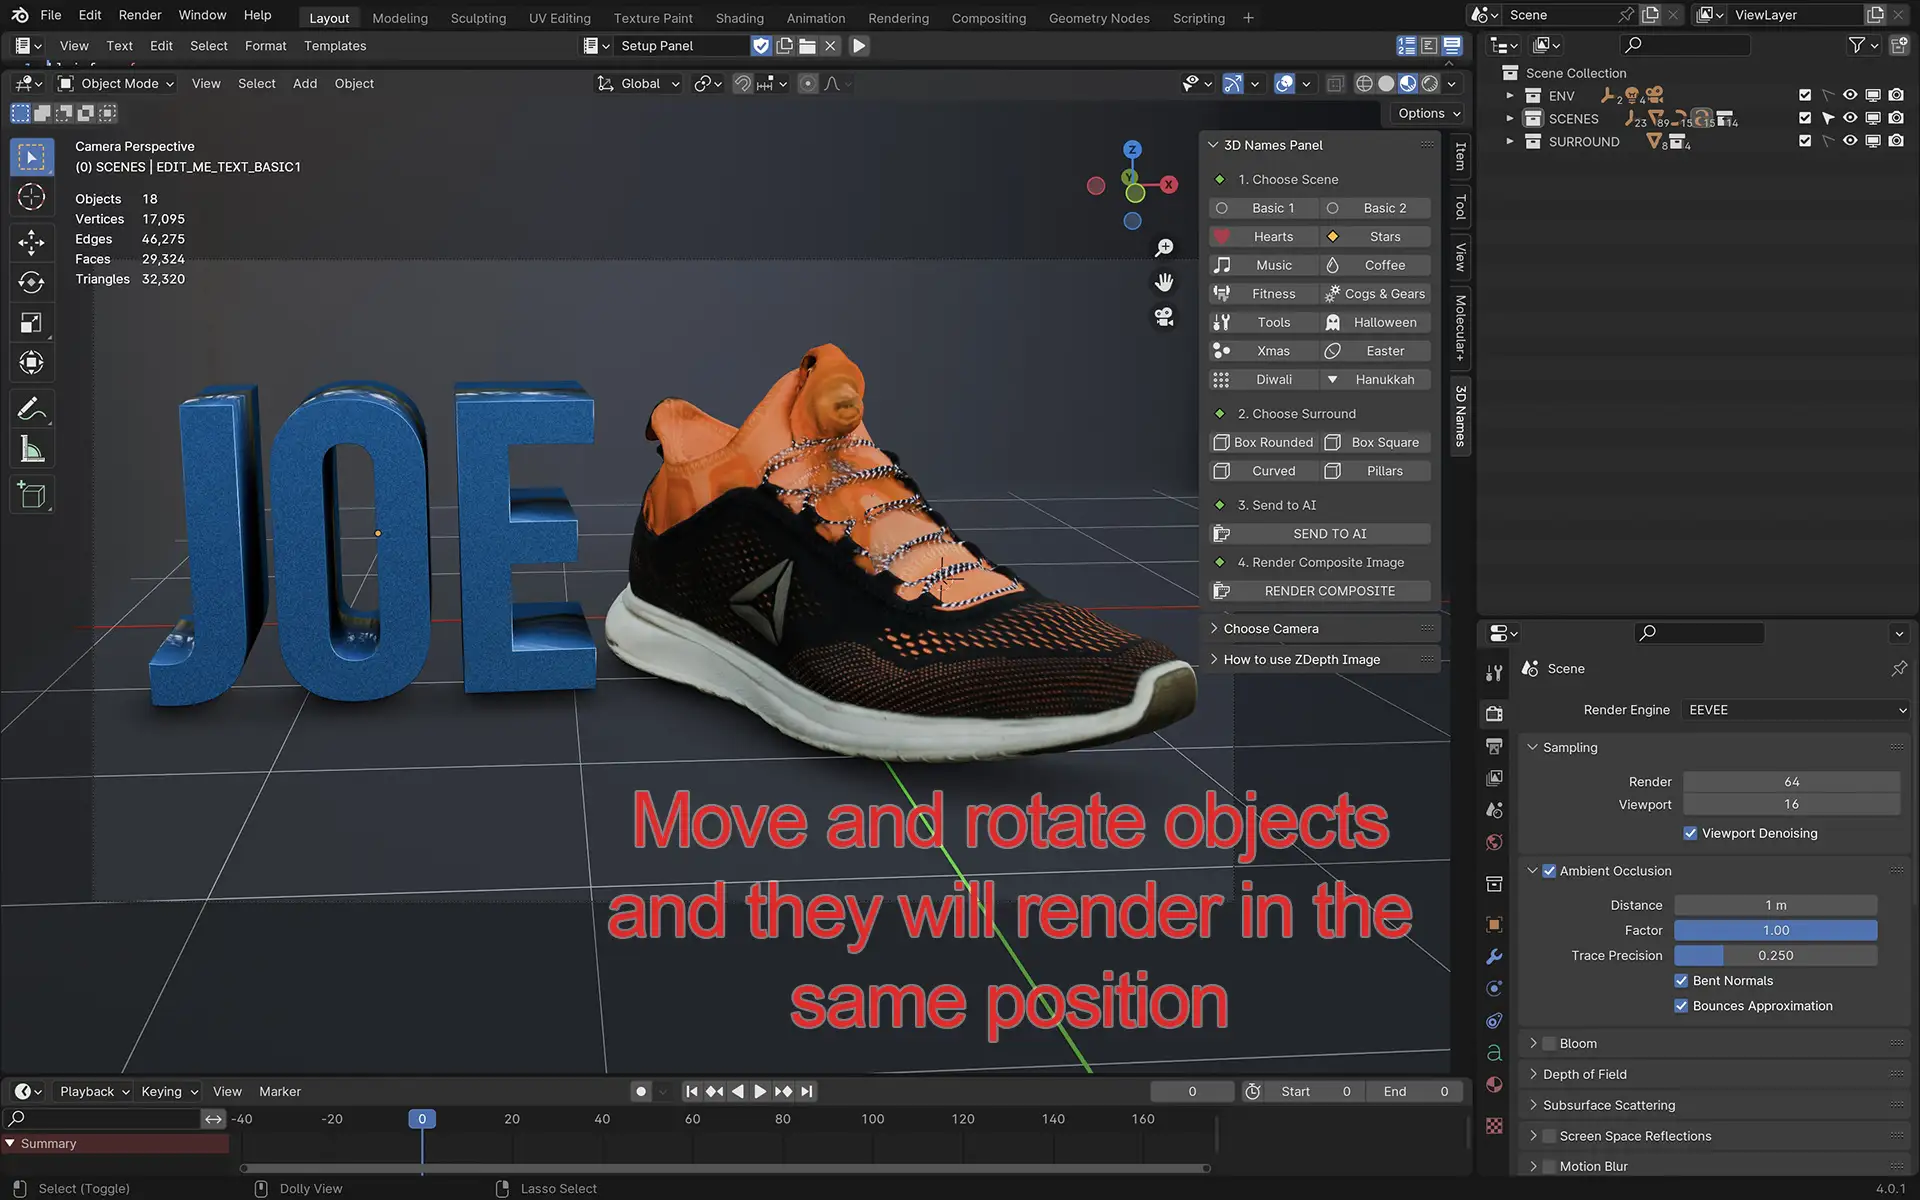

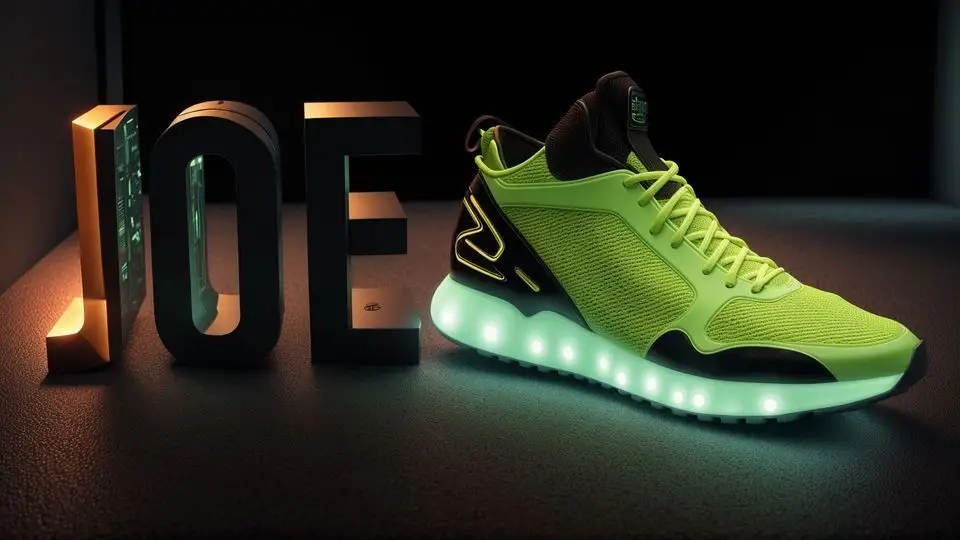
Yay - we have now rendered out our Sneaker using A.I prompts to give us amazing unique results!
16. Conclusion
Mark as completedCongratulations - you have now completed the guide on how to use the Magic Blender to A.I file, you can now create amazing 3D scenes and then send them to our A.I engine to turn them into something amazing in no time at all!Remember if you need any help, then please use our Discord Channel and feel free to share your creations with us!